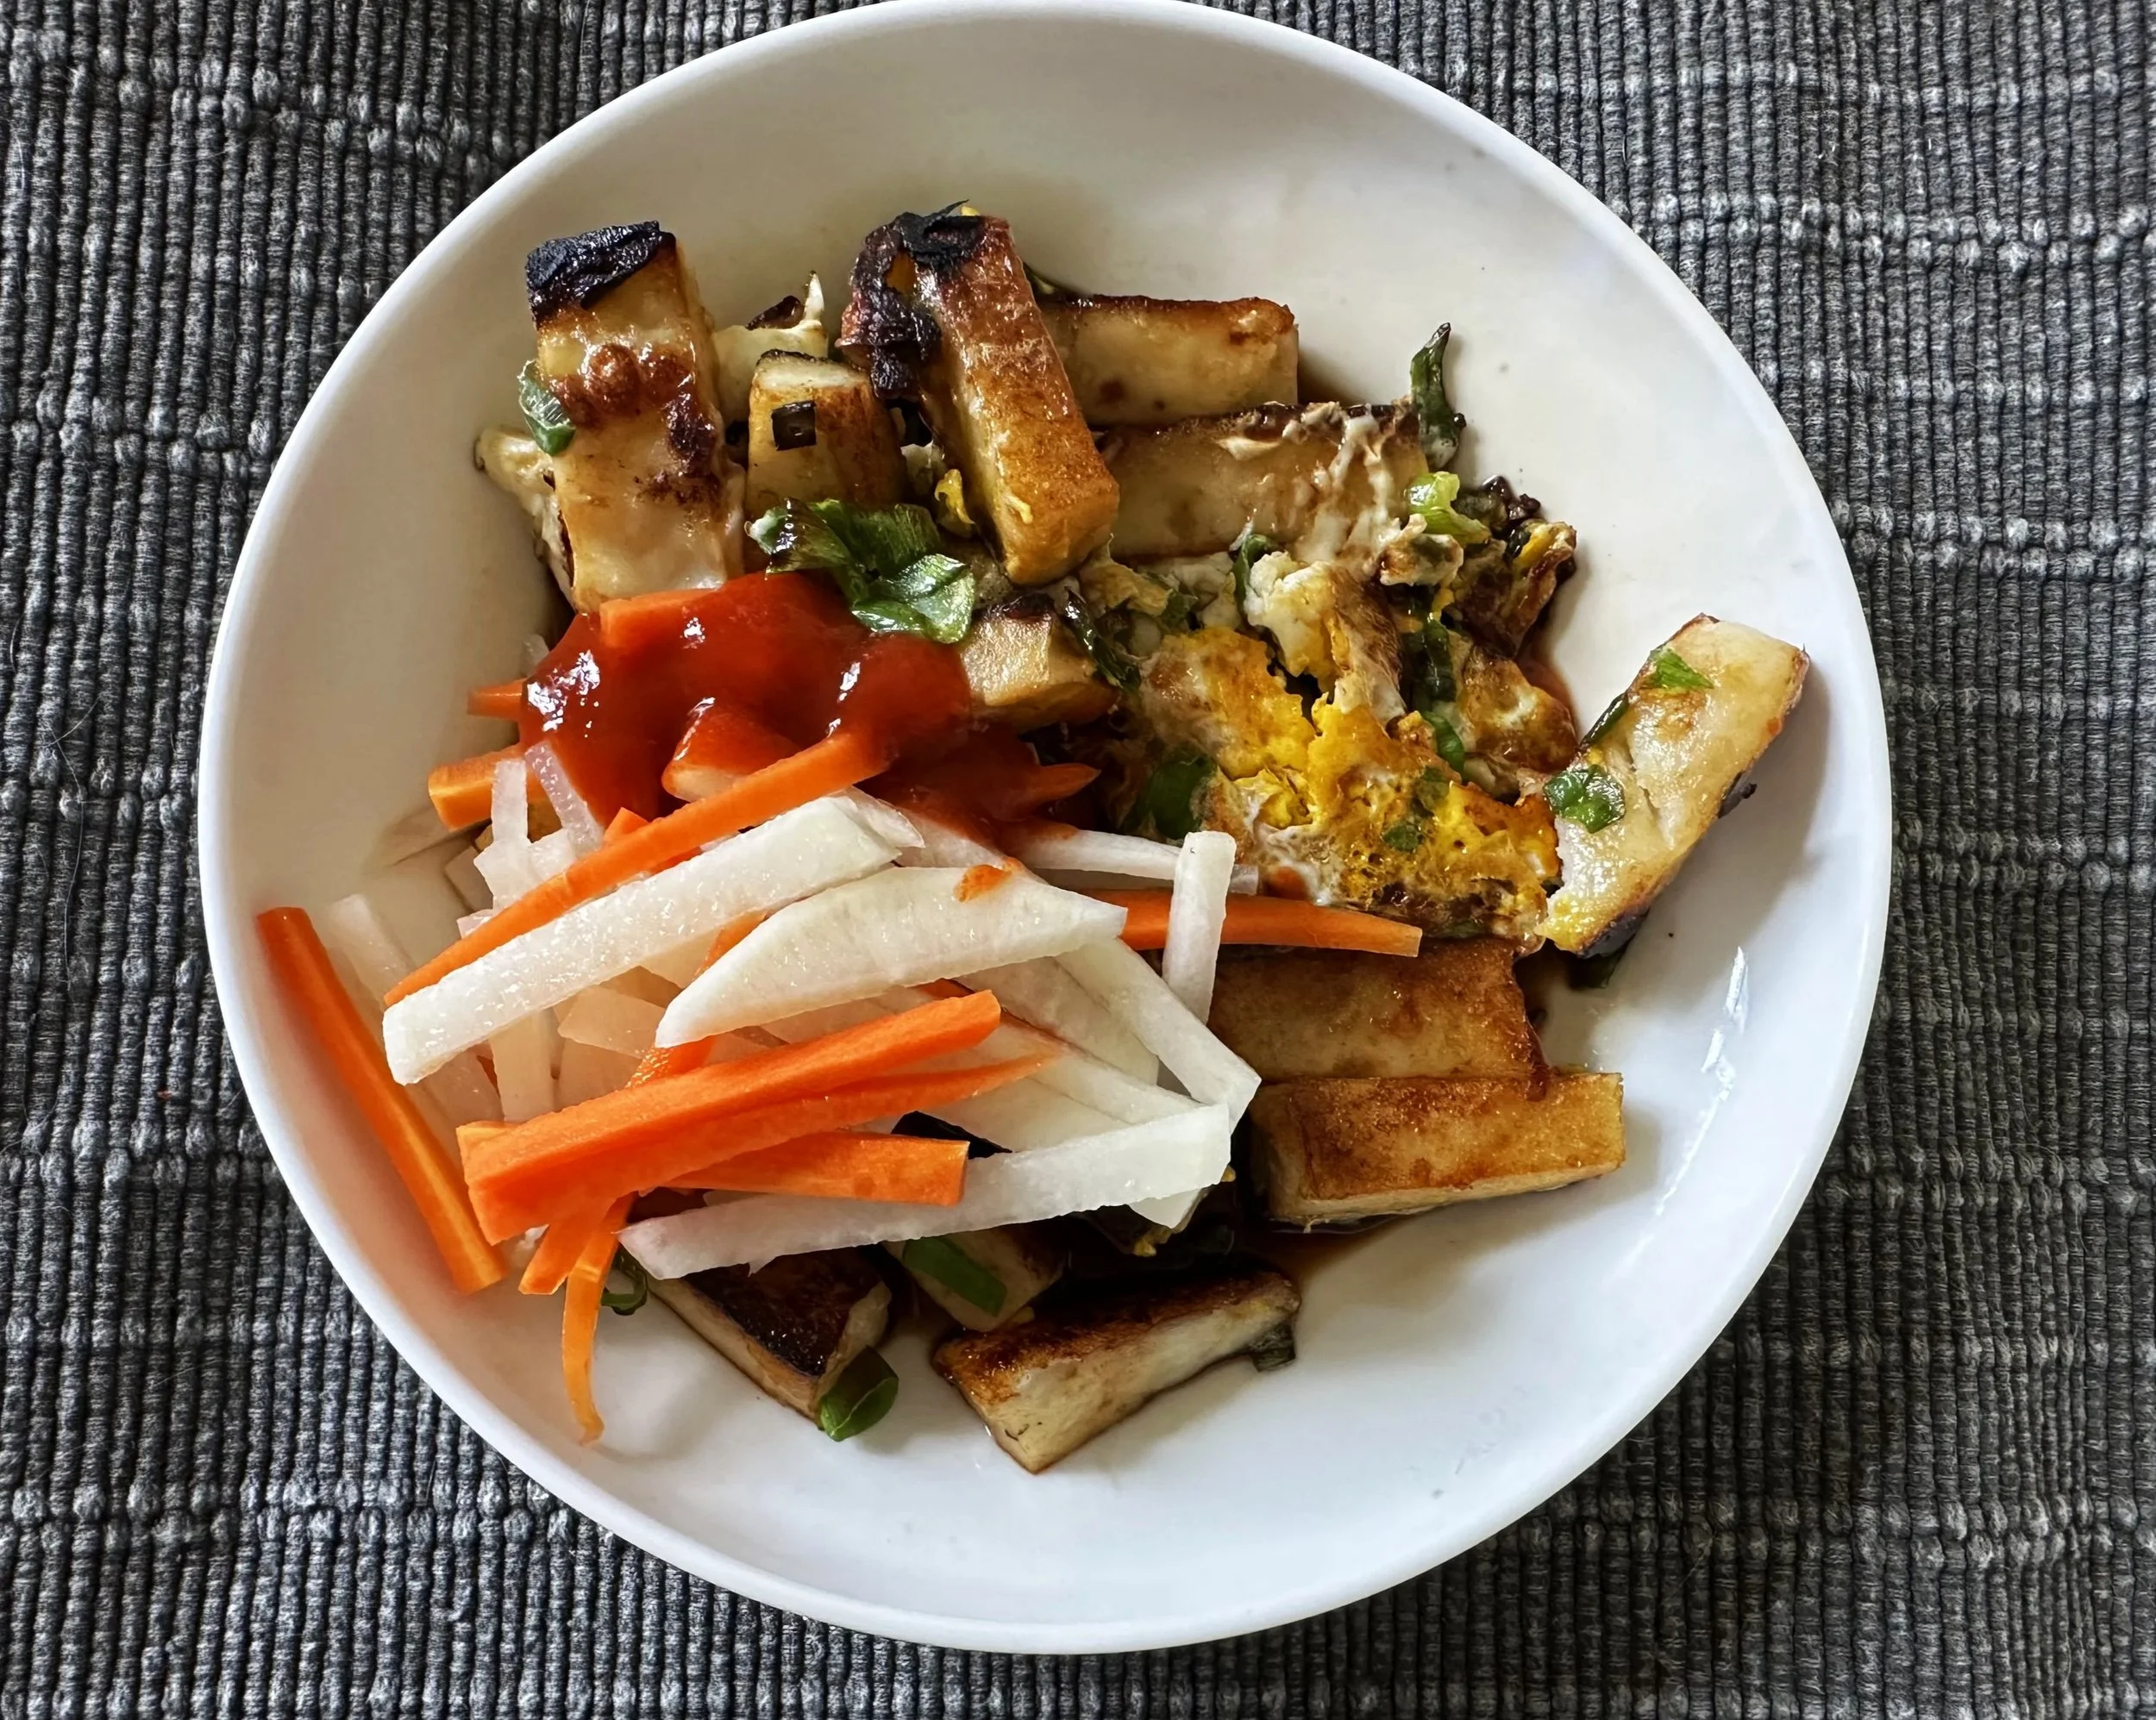
Bột Chiên
Vietnamese Crispy Fried Rice Cakes with Egg
Near my parents' house was a street where vendors sold breakfast and many other foods in the morning. If you wanted the best choices, you had to get up early. By around 9 a.m., some of the popular dishes might already be gone.
The Bột Chiên Vendor I Remember
Near my parents' house in Saigon, there was an older Chinese man who sold bột chiên from a popular street stall. He cooked on a large flat iron griddle, and there was often a line of people waiting for his breakfast.
He spoke Vietnamese with a Chinese accent, and we loved listening to him as he prepared each order. He would ask us:
“Hành? Trứng? Cháy cháy, giòn giòn?”
“Green onion? Egg? A little charred and extra crispy?”
My answer was always yes to everything.
He would slice the bột chiên, add a little nước màu for color, and fry the pieces on the hot iron until they developed those deeply browned, crispy surfaces. Then came the egg and chopped green onions.
And just before he started our order, he would say:
“Bắt đầu!”
We loved hearing those words because they meant our bột chiên was coming next.
He served it right there, hot from the griddle, with crunchy pickled papaya, dipping sauce, and red chili sauce. I especially loved mine “cháy cháy, giòn giòn”—well browned and extra crispy on the outside, but still soft and chewy inside.
Even now, when I make bột chiên at home, that is the texture I try to recreate.Even now, when I make bột chiên at home, I remember that street near my parents' house in Saigon and the people waiting for breakfast. Most of all, I remember the old Chinese vendor. As soon as it was our turn and he was ready to cook, he would announce, “Bắt đầu!”
Then we knew our bột chiên was coming.
For Frying
Eggs, quantity according to portions
Chopped green onions
Neutral cooking oil
For Serving
Soy sauce
Chinese red vinegar
Pickled vegetables
Traditionally you may see pickled papaya or carrot served alongside bột chiên. At home, I often use my pickled daikon and carrots because I already prepare them for bánh mì. They're fresh, crunchy, and work beautifully with the fried rice cakes.
Prepare the Rice Batter
Place the 200g cooked rice in a blender with some of the measured 700ml water.
Blend until the rice is very smooth.
In a large bowl, combine the 280g rice flour, 70g all-purpose flour, and 1 tsp salt.
Add the blended cooked-rice mixture and the remaining water.
Add 1 tablespoon cooking oil and mix until thoroughly combined and smooth.
Cook the Batter
Transfer the mixture to a pot.
Cook over medium to medium-high heat, stirring continuously and scraping the bottom of the pot so the mixture cooks evenly without burning.
As it heats, the batter will begin to thicken.
Once it has noticeably thickened, remove it from the heat.
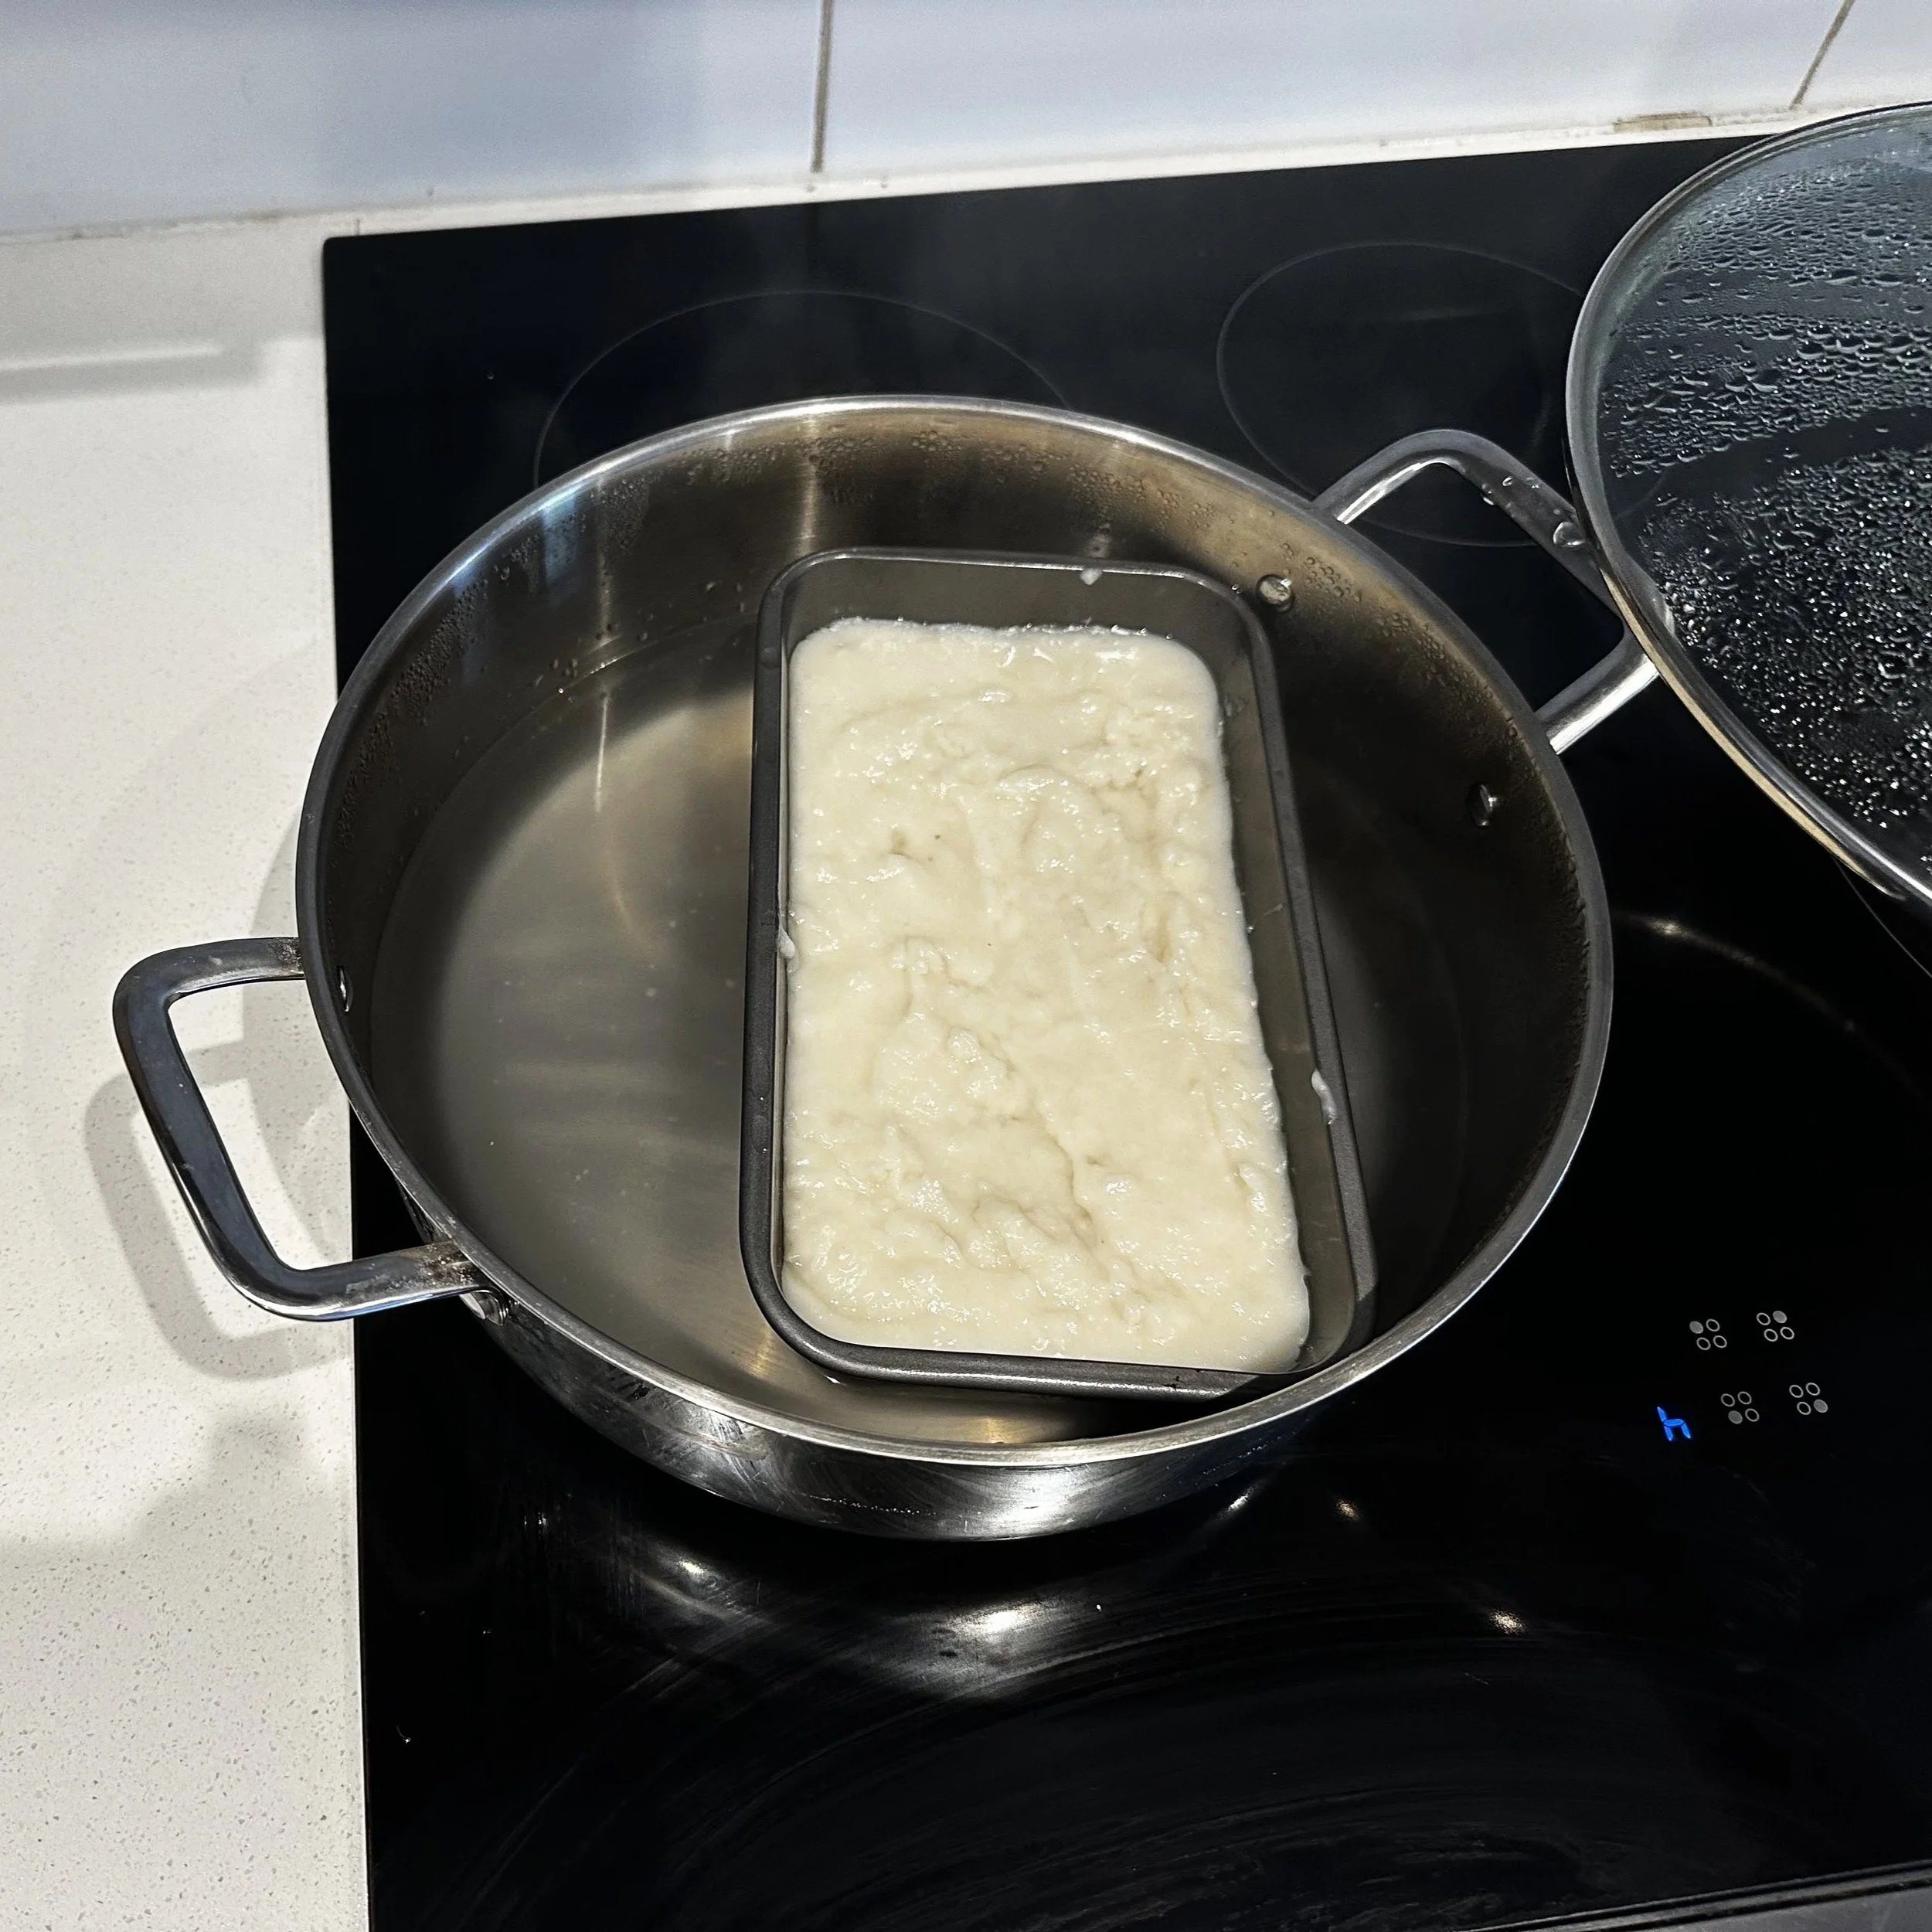
Steam
Lightly oil a loaf pan, round cake pan, or another heatproof pan that fits inside your steamer.
Pour in the thickened rice-flour mixture and smooth the surface.
Steam for approximately 30 minutes, or until the rice cake is cooked and firm.
Allow it to cool completely.
Cover and refrigerate overnight. Chilling makes the rice cake firmer and much easier to cut and fry the following day.
Cut & Fry
For My Home Version
I'd now modify your frying instructions slightly because the nước màu is an important missing ingredient:
Cut the chilled rice cake into small rectangles or bite-size pieces.
Add a small amount of nước màu and toss or turn the pieces so they pick up some color.
Heat oil in a heavy skillet or flat griddle.
Add the rice-cake pieces and fry until they begin developing a crust.
Continue frying without constantly moving them, allowing the surfaces to become deeply browned and crisp.
Add chopped green onions.
Add the egg and let it cook around the pieces of bột chiên.
Continue cooking until the egg has browned slightly and the rice cakes are as crunchy as you like them.
Serve immediately with dipping sauce, chili sauce, and pickled vegetables.Rice Cake
280g rice flour
70g all-purpose flour
700ml water
200g cooked white rice — my addition for extra rice flavor and crunch
1 tsp salt
1 tbsp neutral cooking oil, such as sunflower or canola oil
Additional oil, for greasing and frying
Serve
Serve the bột chiên with soy sauce and red vinegar, with crunchy pickled vegetables on the side.
I especially like it with my homemade daikon and carrot pickles. They're something I usually have in the refrigerator for bánh mì, so there is no need to make another pickle especially for this dish.
Kitchen’s note
Blend the cooked rice very well. You want it incorporated into the batter rather than leaving obvious pieces of cooked rice.
Cook the batter before steaming. Once the mixture begins thickening on the stove, remove it from the heat and transfer it to the prepared pan.
Chill overnight. I wouldn't treat this as an optional inconvenience. Your method specifically relies on the chilled cake becoming firm enough to cut neatly and withstand frying.
Let it crisp. Once the pieces are in the pan, resist constantly stirring them. Contact with the hot pan develops those crisp surfaces.
Serve immediately. Bột chiên is at its best when the rice cake is still hot and crisp against the egg and cool crunchy pickles.
Why I Add Cooked Rice
I add cooked rice to my bột chiên batter for both flavor and texture.
In Vietnam, rice flour traditionally had the wonderful flavor of freshly ground rice. The packaged rice flour I can buy here doesn't always have that same fresh rice aroma and taste. Blending cooked rice with the water and adding it to the flour mixture brings some of that rice flavor back into the batter.
I also find that the cooked rice gives the finished bột chiên extra crunch when it is fried, while the inside remains soft and slightly chewy.
It is a small addition, but it makes the bột chiên taste closer to what I remember eating in Saigon.