
Challah Bread
Soft Braided Bread with Olive Oil & Vanilla
Challah is one of my favorite breads to make. The beautiful braided shape makes it look special, but the dough itself is surprisingly easy to work with.
My version is soft and lightly sweet, with the gentle flavor of olive oil and vanilla. The dough is slightly firm, which makes it especially good for braiding because the strands hold their shape during proofing and baking.
When I first started my YouTube channel, some of my subscribers asked me to share this recipe. I was happy to make it because I've always enjoyed the process of shaping and braiding challah.
It also became a favorite with my son and his friends. Whenever I baked a loaf, I would often send some home for his friends and their families to enjoy.
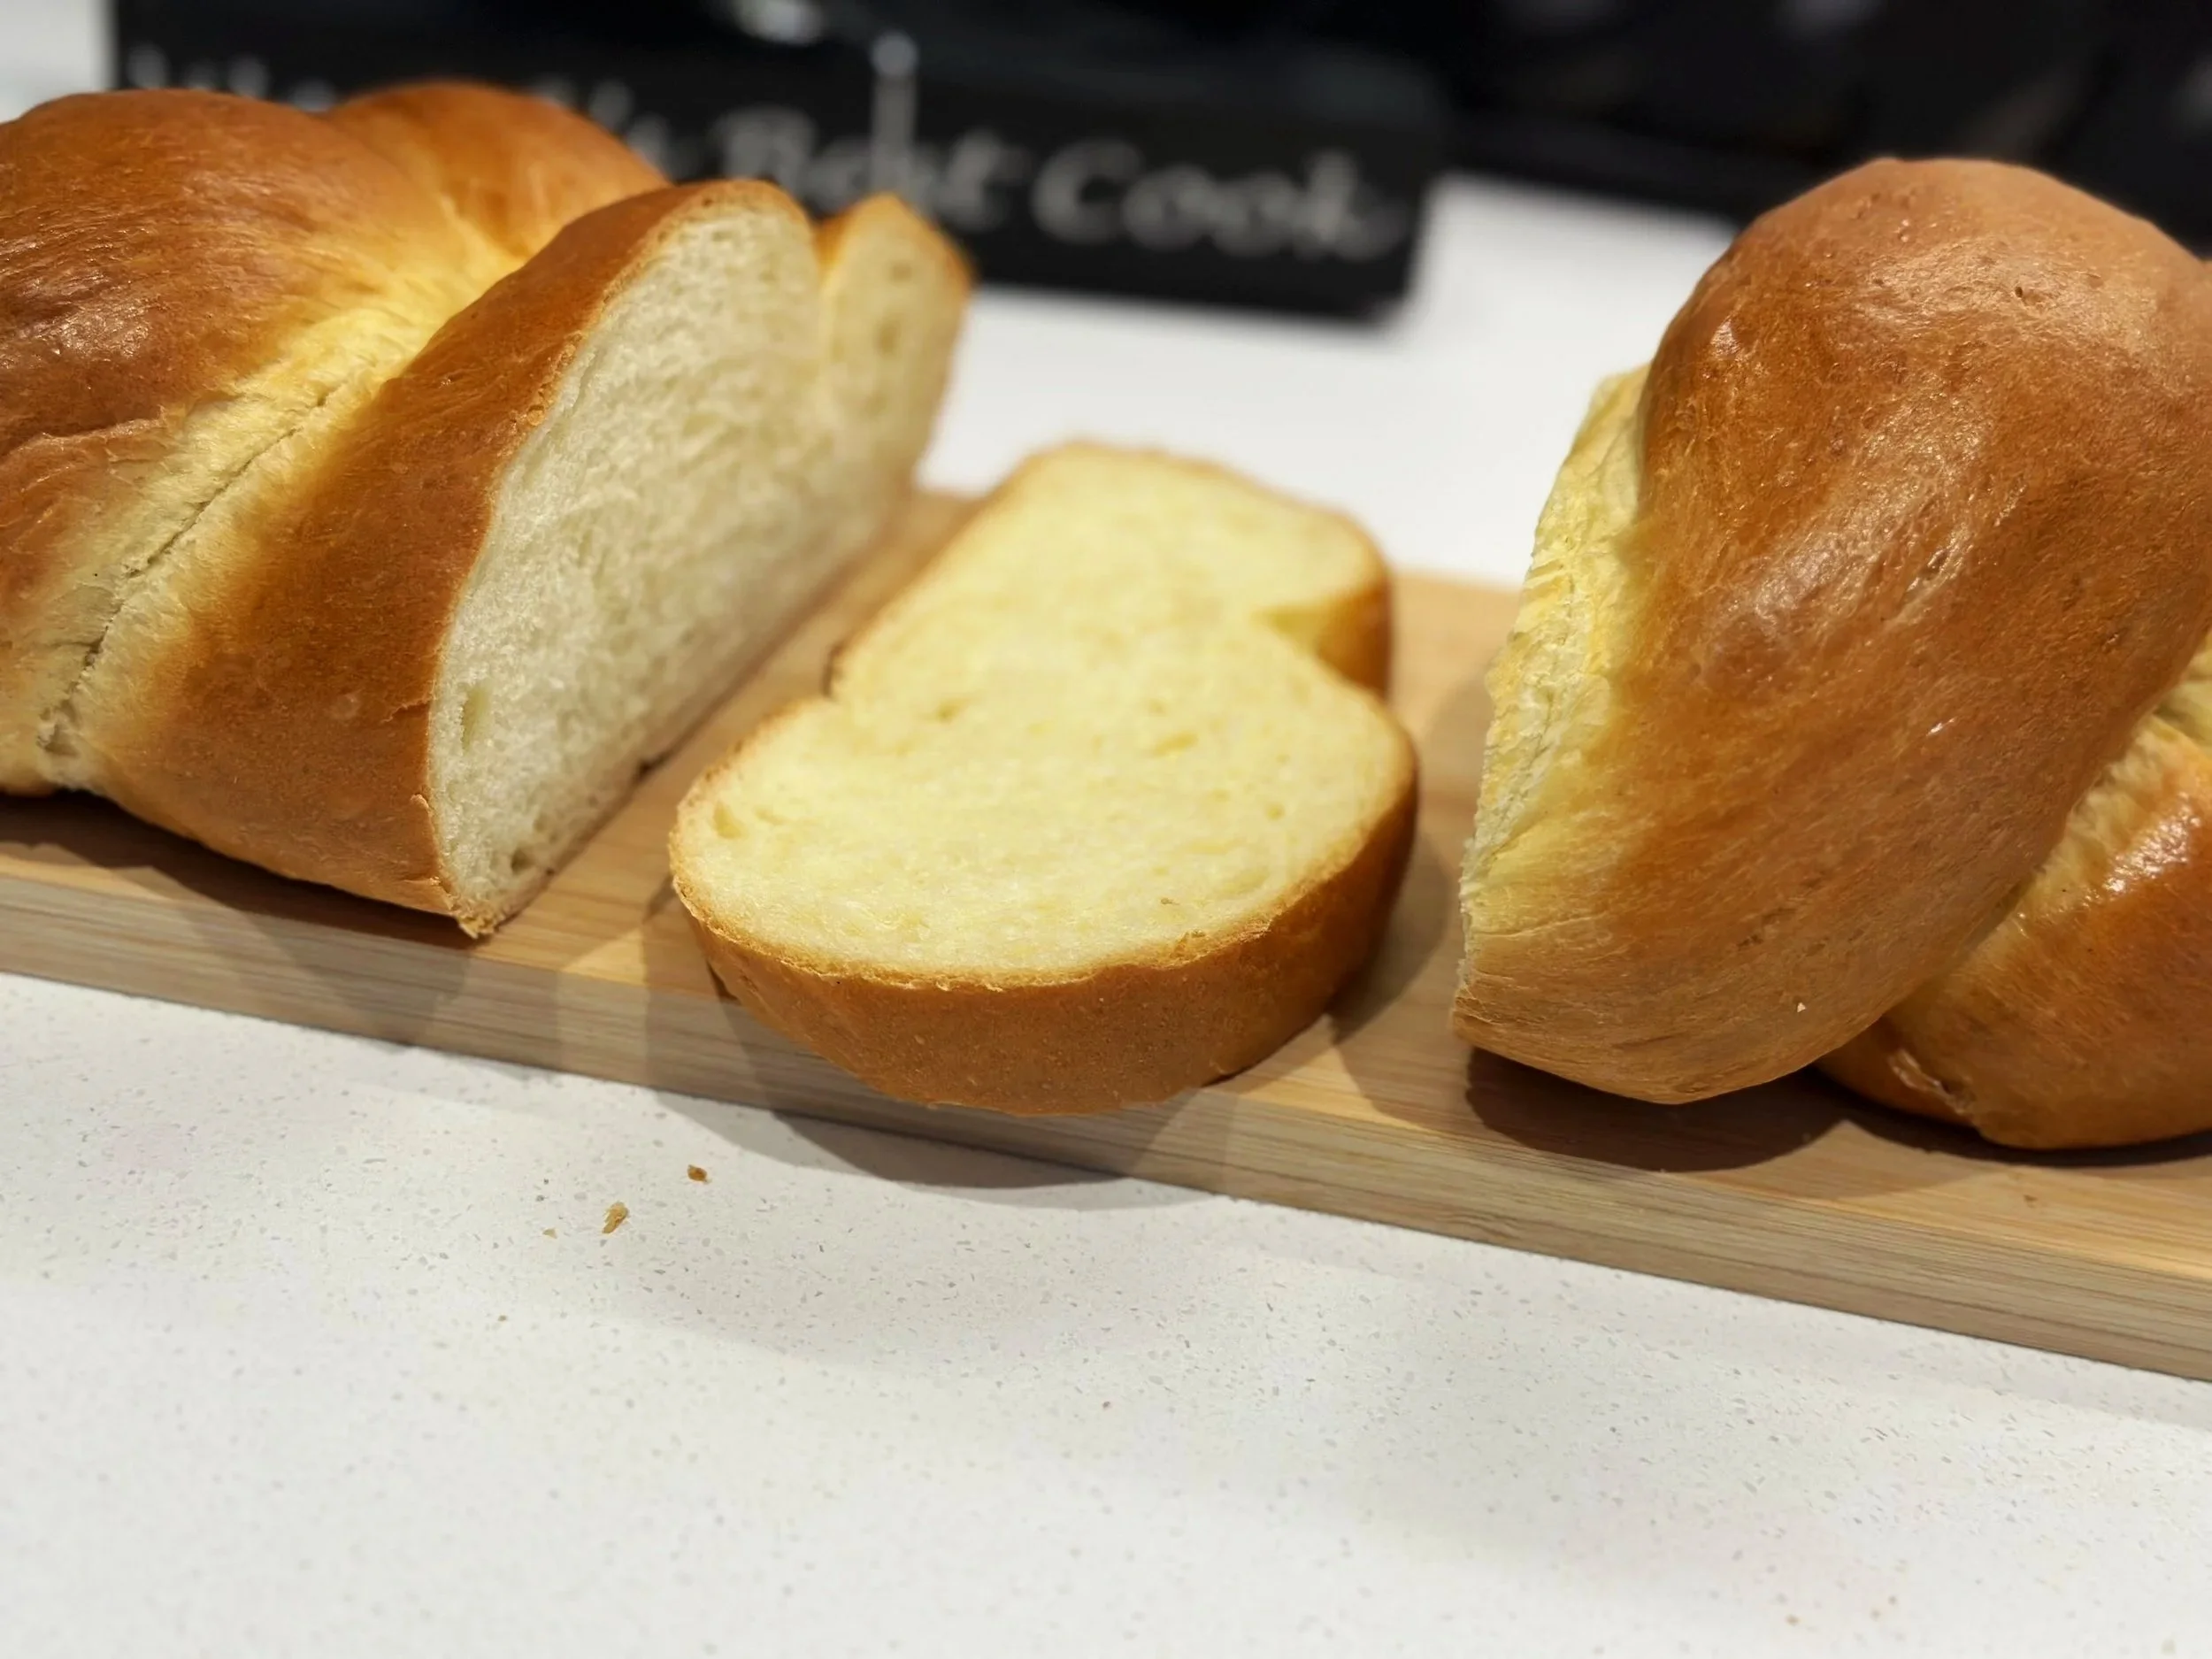
That's one of the things I love about making bread: one batch can easily become something to share.
Why Challah Is Perfect for Learning to Braid
Challah is a wonderful bread for practicing decorative shaping. The dough should be smooth and supple but firm enough that the strands don't spread or lose their definition.
Braiding also changes the way the finished loaf pulls apart. Underneath the shiny golden crust, the crumb is soft and tender, and the individual braided sections naturally separate when torn by hand.
Don't worry if your first braid isn't perfect. Once baked and beautifully golden, bread is remarkably forgiving about its earlier cosmetic difficulties.
Baker's Note
Keep the dough slightly firm for shaping. If the dough is too soft or sticky, the braid can lose definition during proofing. A properly developed dough should feel smooth, elastic, and easy to roll into even strands.
Yield:
10-15 servings
2 loaves 900g each
Supplies:
Mixing bowl large size
Scale
Standmixer
Ingredients:
2 tbsp active dry yeast
450 ml milk
1 tsp vanilla
45g sugar (3 tbsp)
1 tbsp salt (20g)
3 eggs
3 yolks
120ml oil
1000g flour
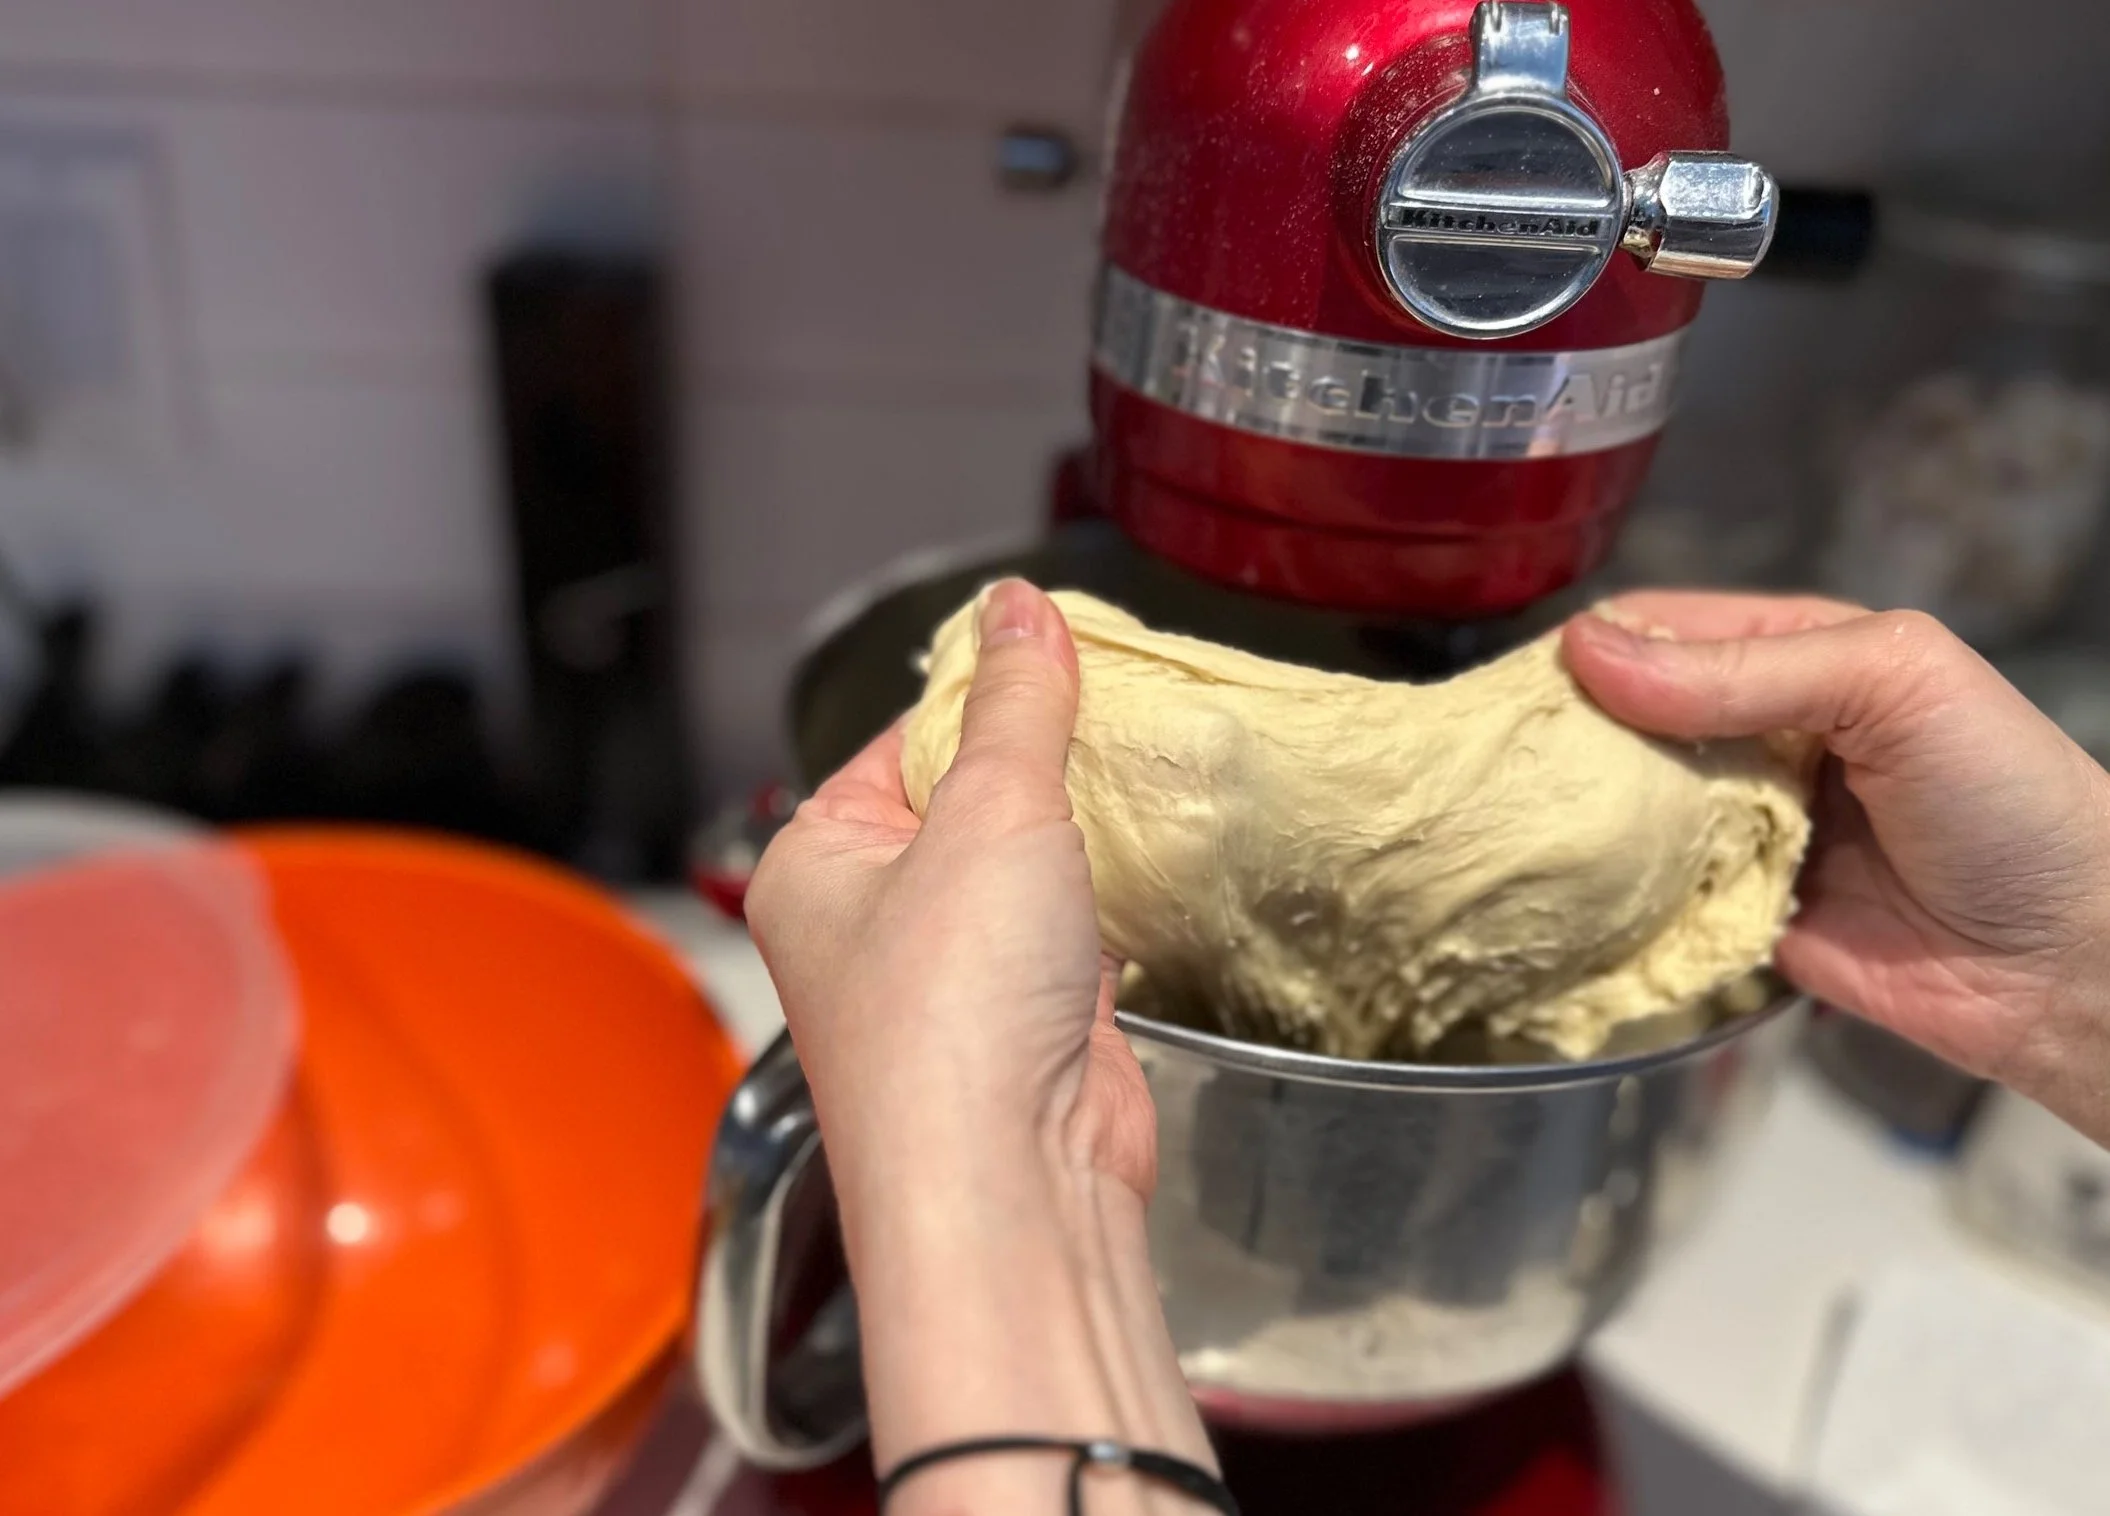
Challah — Mixing & Fermentation
Steps: Prepare the milk.
Warm the milk to approximately 80°F (27°C).
Begin the dough.
Fit a stand mixer with the dough hook. Add the milk, yeast, sugar, and eggs to the mixing bowl.Add the dry ingredients.
With the mixer running on low speed, gradually add the flour, followed by the salt and vanilla.Develop the dough.
Continue mixing for approximately 10–15 minutes, or until the dough becomes smooth and elastic and begins to pull cleanly away from the sides of the bowl.First fermentation.
Cover the dough and let it rise for approximately 2 hours, or until doubled in size.Divide the dough.
This recipe makes two large loaves. Divide the dough into two equal portions of approximately 900g each.
You can now shape each portion using your preferred braiding method.
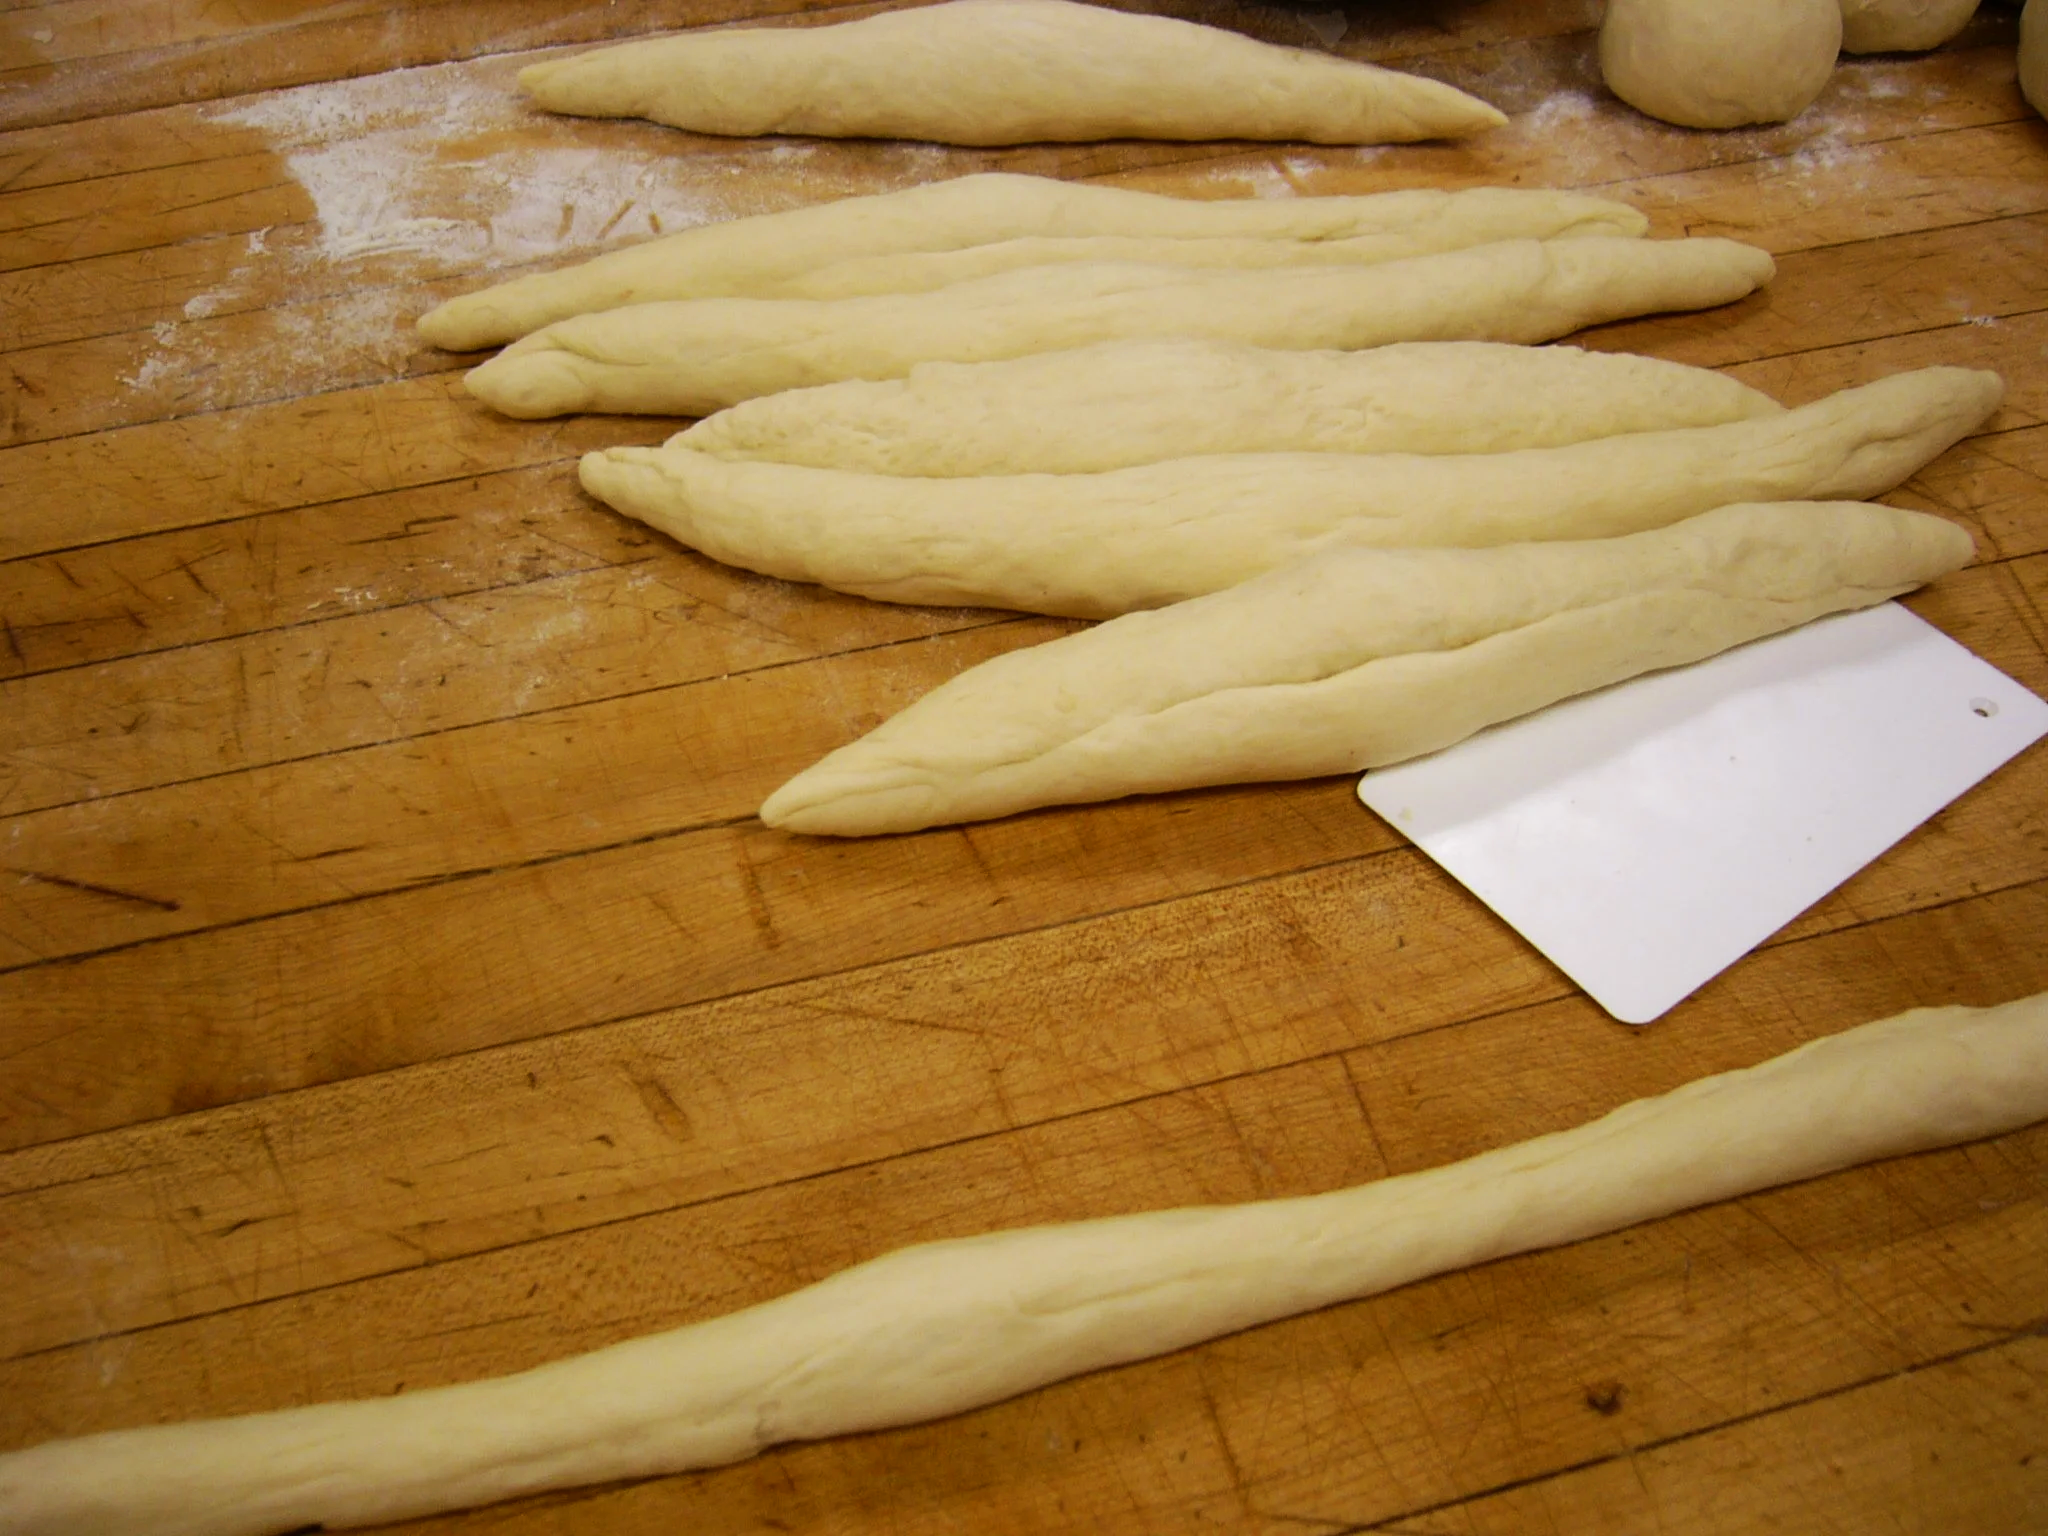
Three-Strand Challah
This is a good braid to begin with if you are new to shaping challah.
Divide one 900g portion of dough into 3 equal pieces of approximately 300g each.
Shape each piece into a ball. Cover and allow the dough to relax for 10–15 minutes. This makes the strands easier to roll without shrinking back.
Roll each piece into an even strand approximately 18 inches (45 cm) long. Try to keep the thickness consistent from one end to the other.
Cross the three strands at their centers rather than beginning at one end. You should now have something that resembles a starfish with six legs.
Beginning at the center, braid three of the strands toward one end.
Turn the loaf around and braid the remaining three strands toward the opposite end.
Pinch and tuck the ends underneath the loaf for a clean finish.
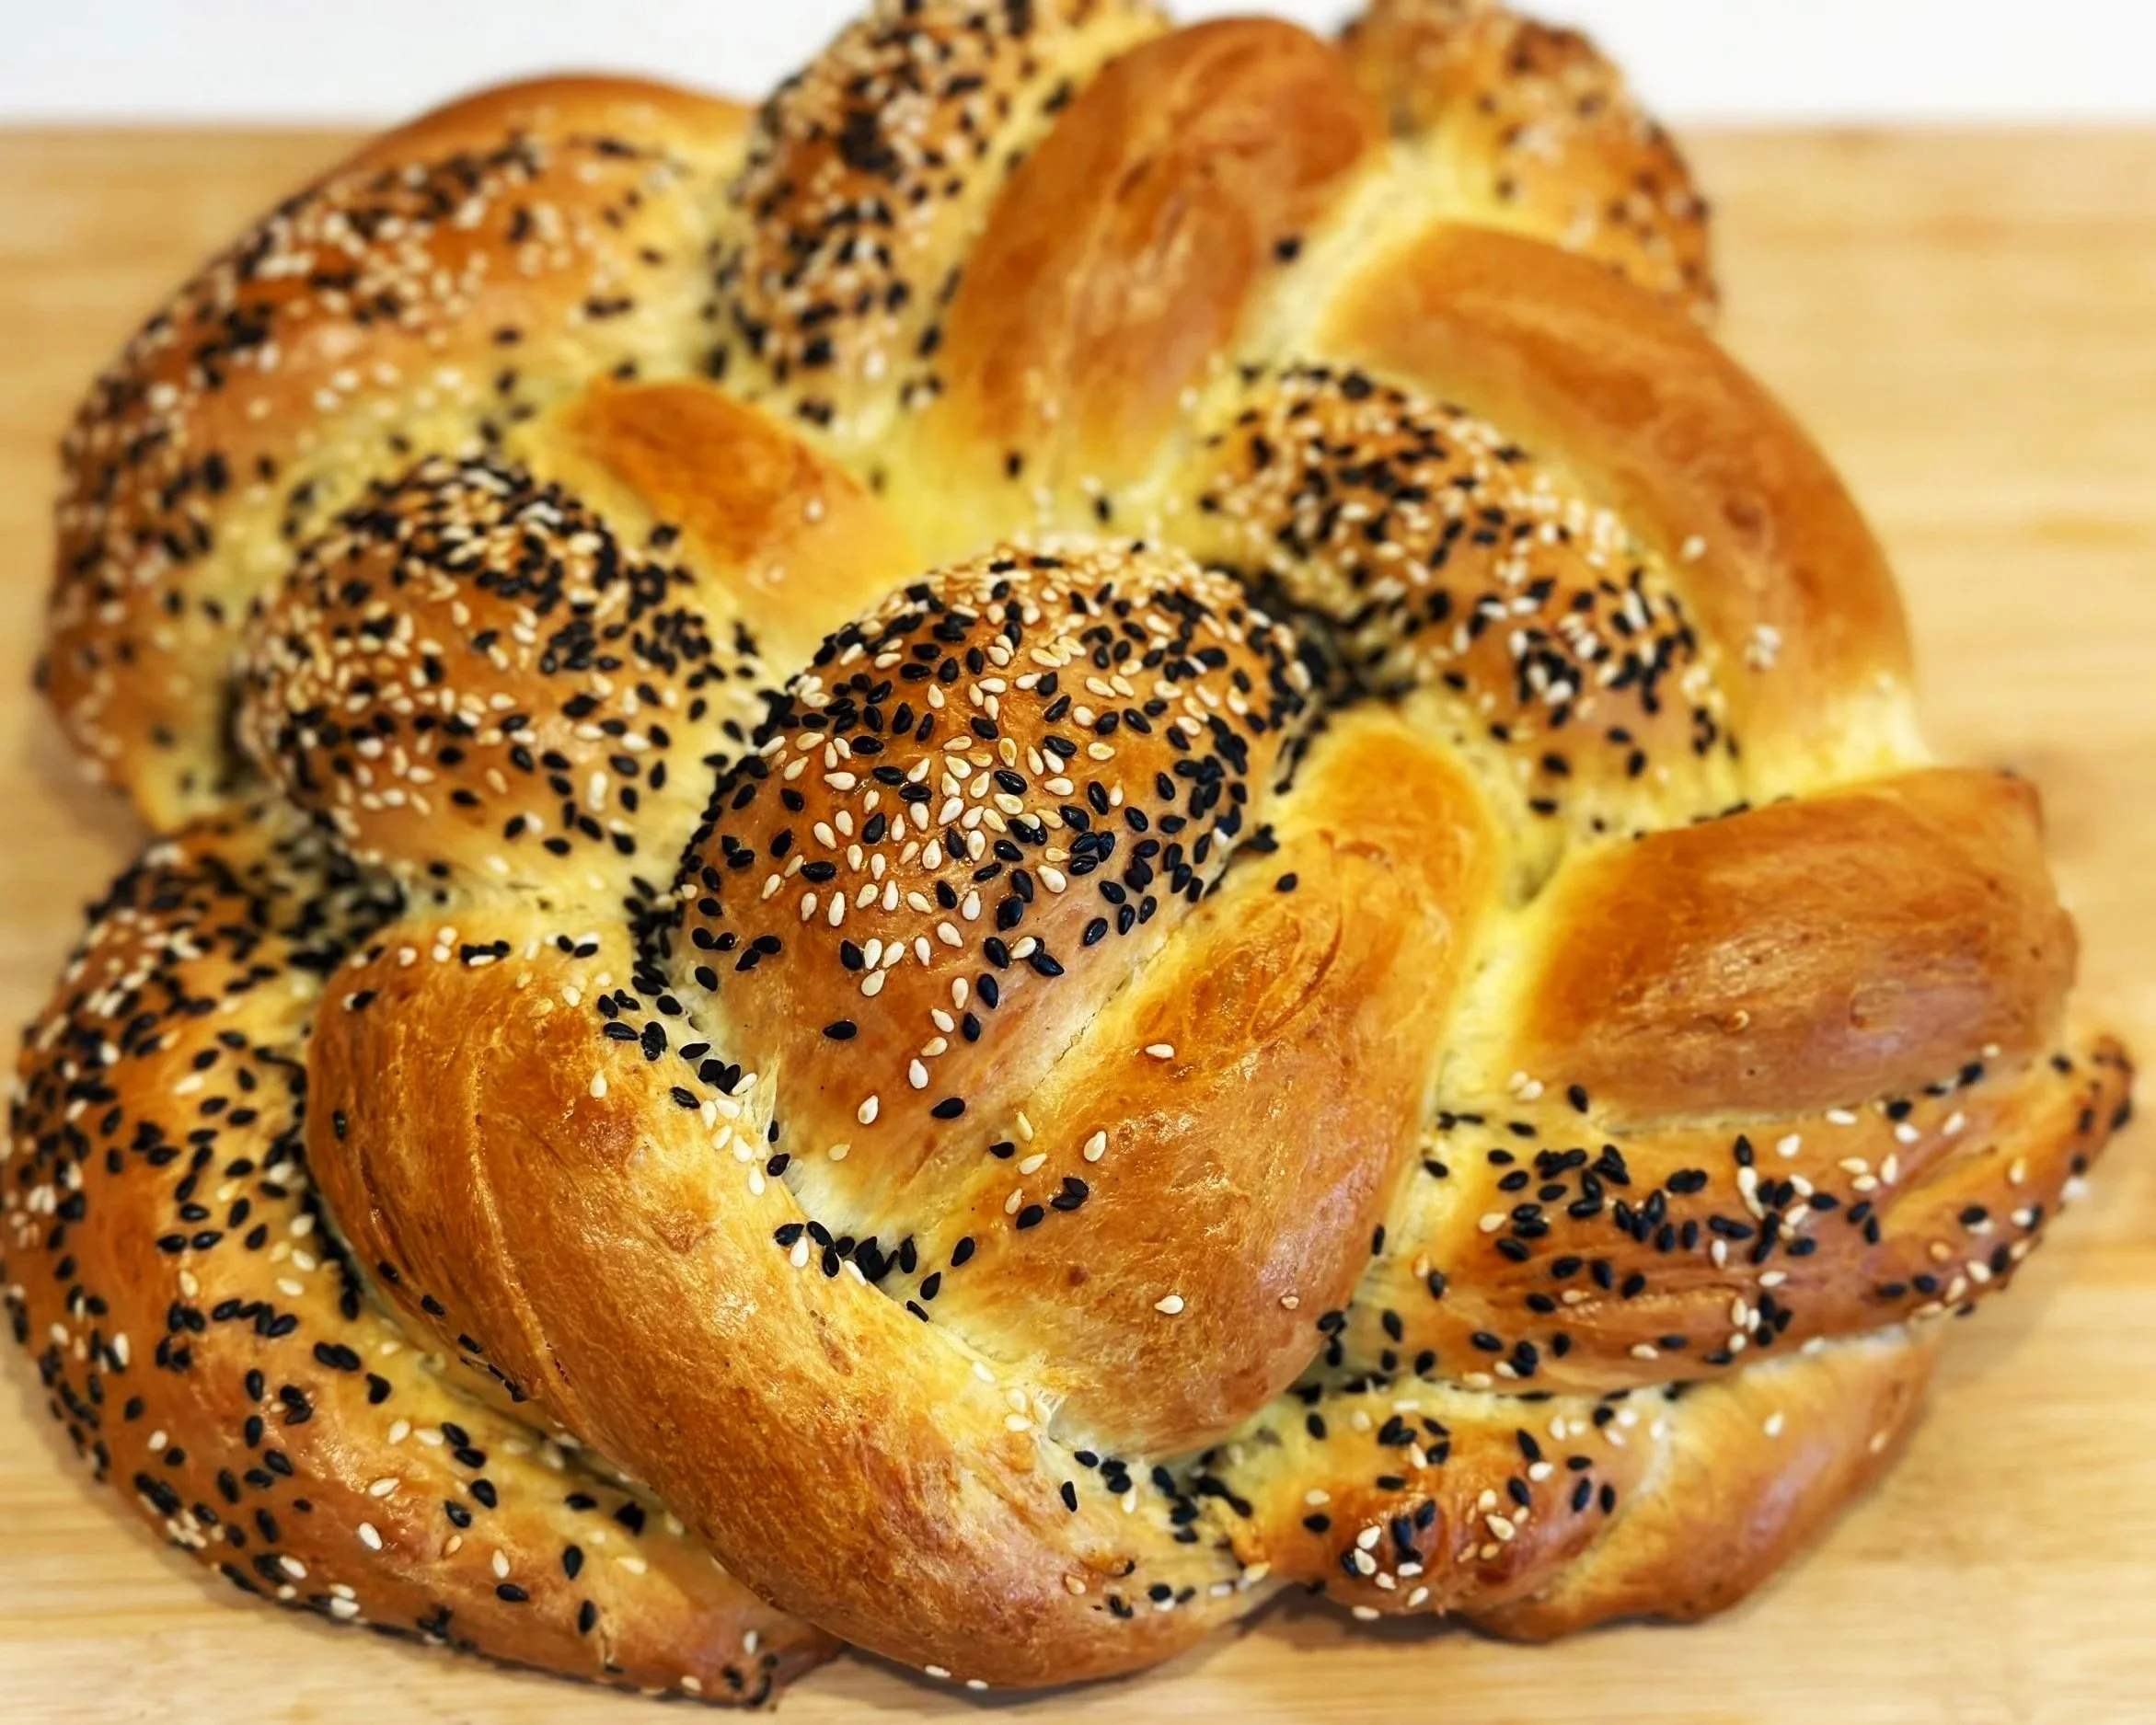
Challah Eight Strand Braids
Final Proof
Cover loosely and proof for approximately 40–50 minutes, or until noticeably light and well risen.
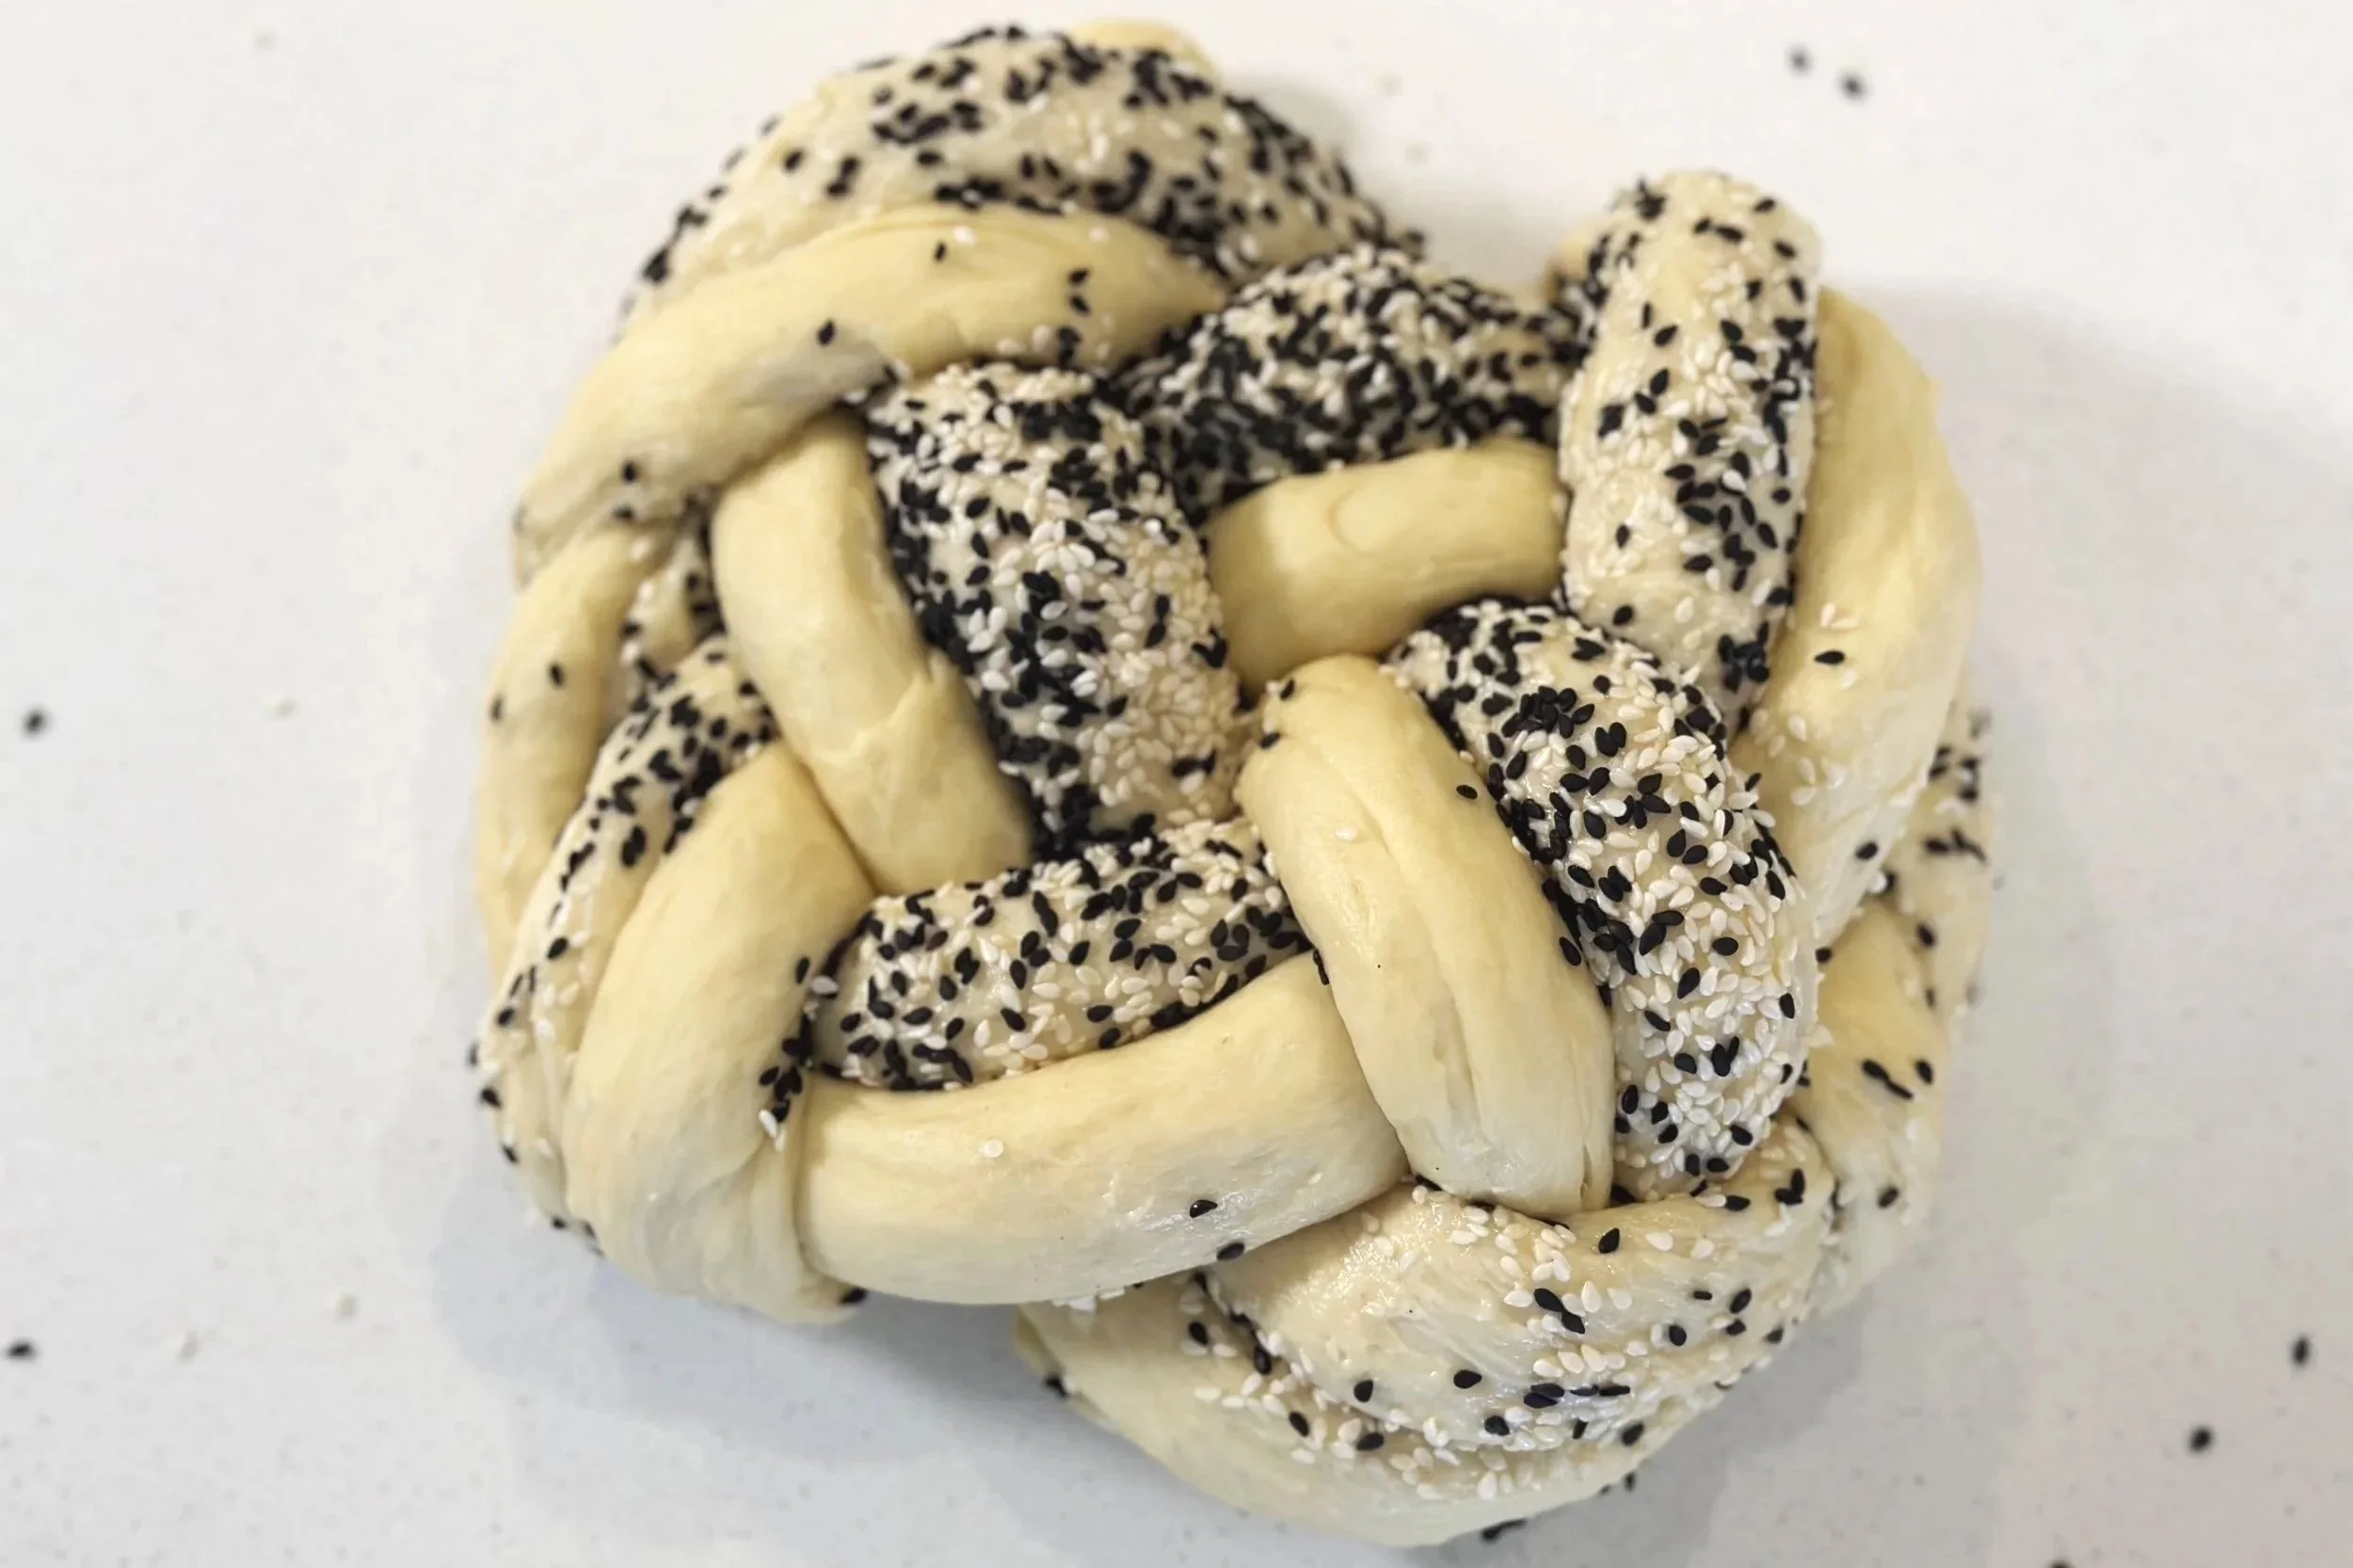
Eight-Strand Decorative Challah
This version looks elaborate, but breaking the eight strands into four pairs makes the pattern easier to understand.
Divide and Shape
Divide the second 900g portion into 8 equal pieces of approximately 112g each.
Shape the pieces into balls, cover, and rest for 10–15 minutes.
Roll each piece into a strand approximately 10 inches (25 cm) long.
Arrange the eight strands into four pairs.
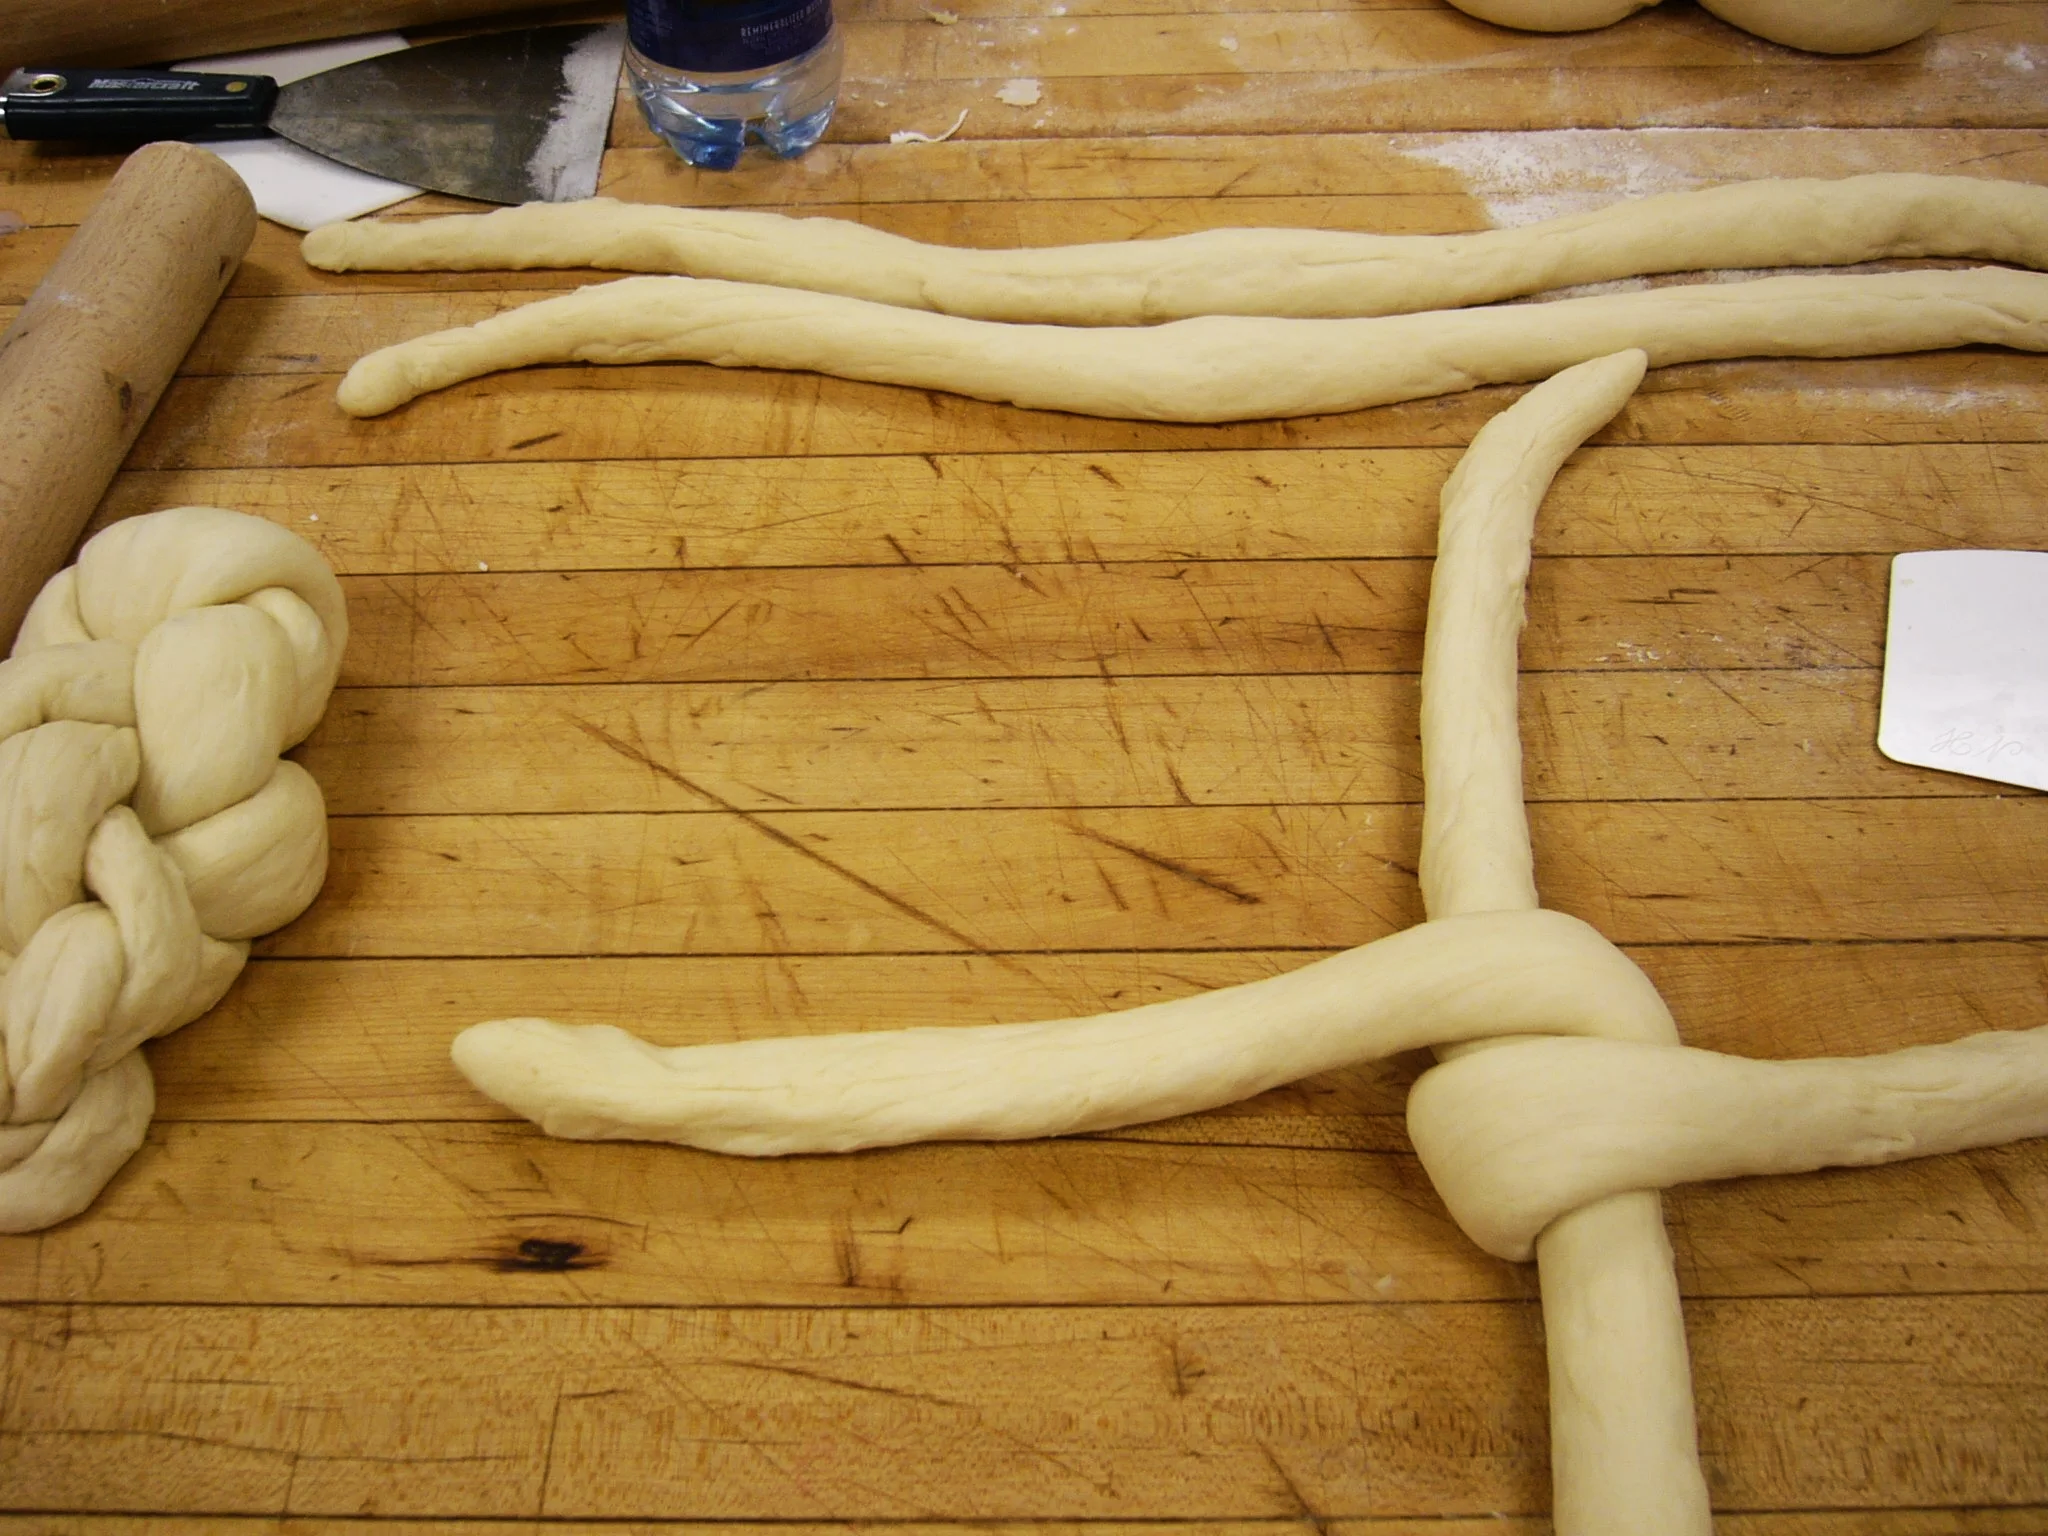
Optional Sesame or Poppy Seed Decoration
Prepare a shallow dish of cold water and another dish containing sesame or poppy seeds.
From each pair, lightly dip one strand in water and coat it with seeds. Leave its partner plain.
This creates a beautiful contrast in the finished braid.
If you prefer not to use seeds, simply leave all the strands plain.
Create the Eight-Strand Pattern
Place the first pair vertically.
Cross the second pair over the first pair.
Position the third pair underneath the first pair.
Arrange the strands neatly and keep the center close together.
Place the fourth pair over the second pair and underneath the third pair.
At this stage, the loaf should resemble an octopus with 16 legs.
Now work around the loaf, crossing the neighboring strands and tucking the ends underneath to create the finished round braid.
Don't worry if it looks slightly alarming halfway through. Eight-strand challah has a brief developmental stage in which it appears you've lost control of both the bread and the marine life. Keep following the pattern.
Final Proof
Cover and proof for approximately 50 minutes, or until the loaf is light and nearly doubled in size.
Baking
Before baking, apply your egg wash if that's part of your original recipe. For the seeded version, brush gently so you don't disturb the decorative pattern.
Bake at:
350°F (175°C) for approximately 25–30 minutes
Bake until the challah is deeply golden brown and completely baked through.
Transfer to a wire rack and allow to cool before slicing.
Baking with Confidence
Let the divided dough rest before rolling. If your strands continually shrink back, the gluten is still too tight. Give them another 5–10 minutes rather than fighting them.
Weigh the pieces. Equal pieces create evenly sized strands and a much more symmetrical finished loaf.
Don't overproof. The braid should become noticeably fuller and lighter but still retain its definition.
Keep your strands even. Uneven strands create uneven braids. A little taper at the ends is fine, but the main body of each strand should be similar in thickness.
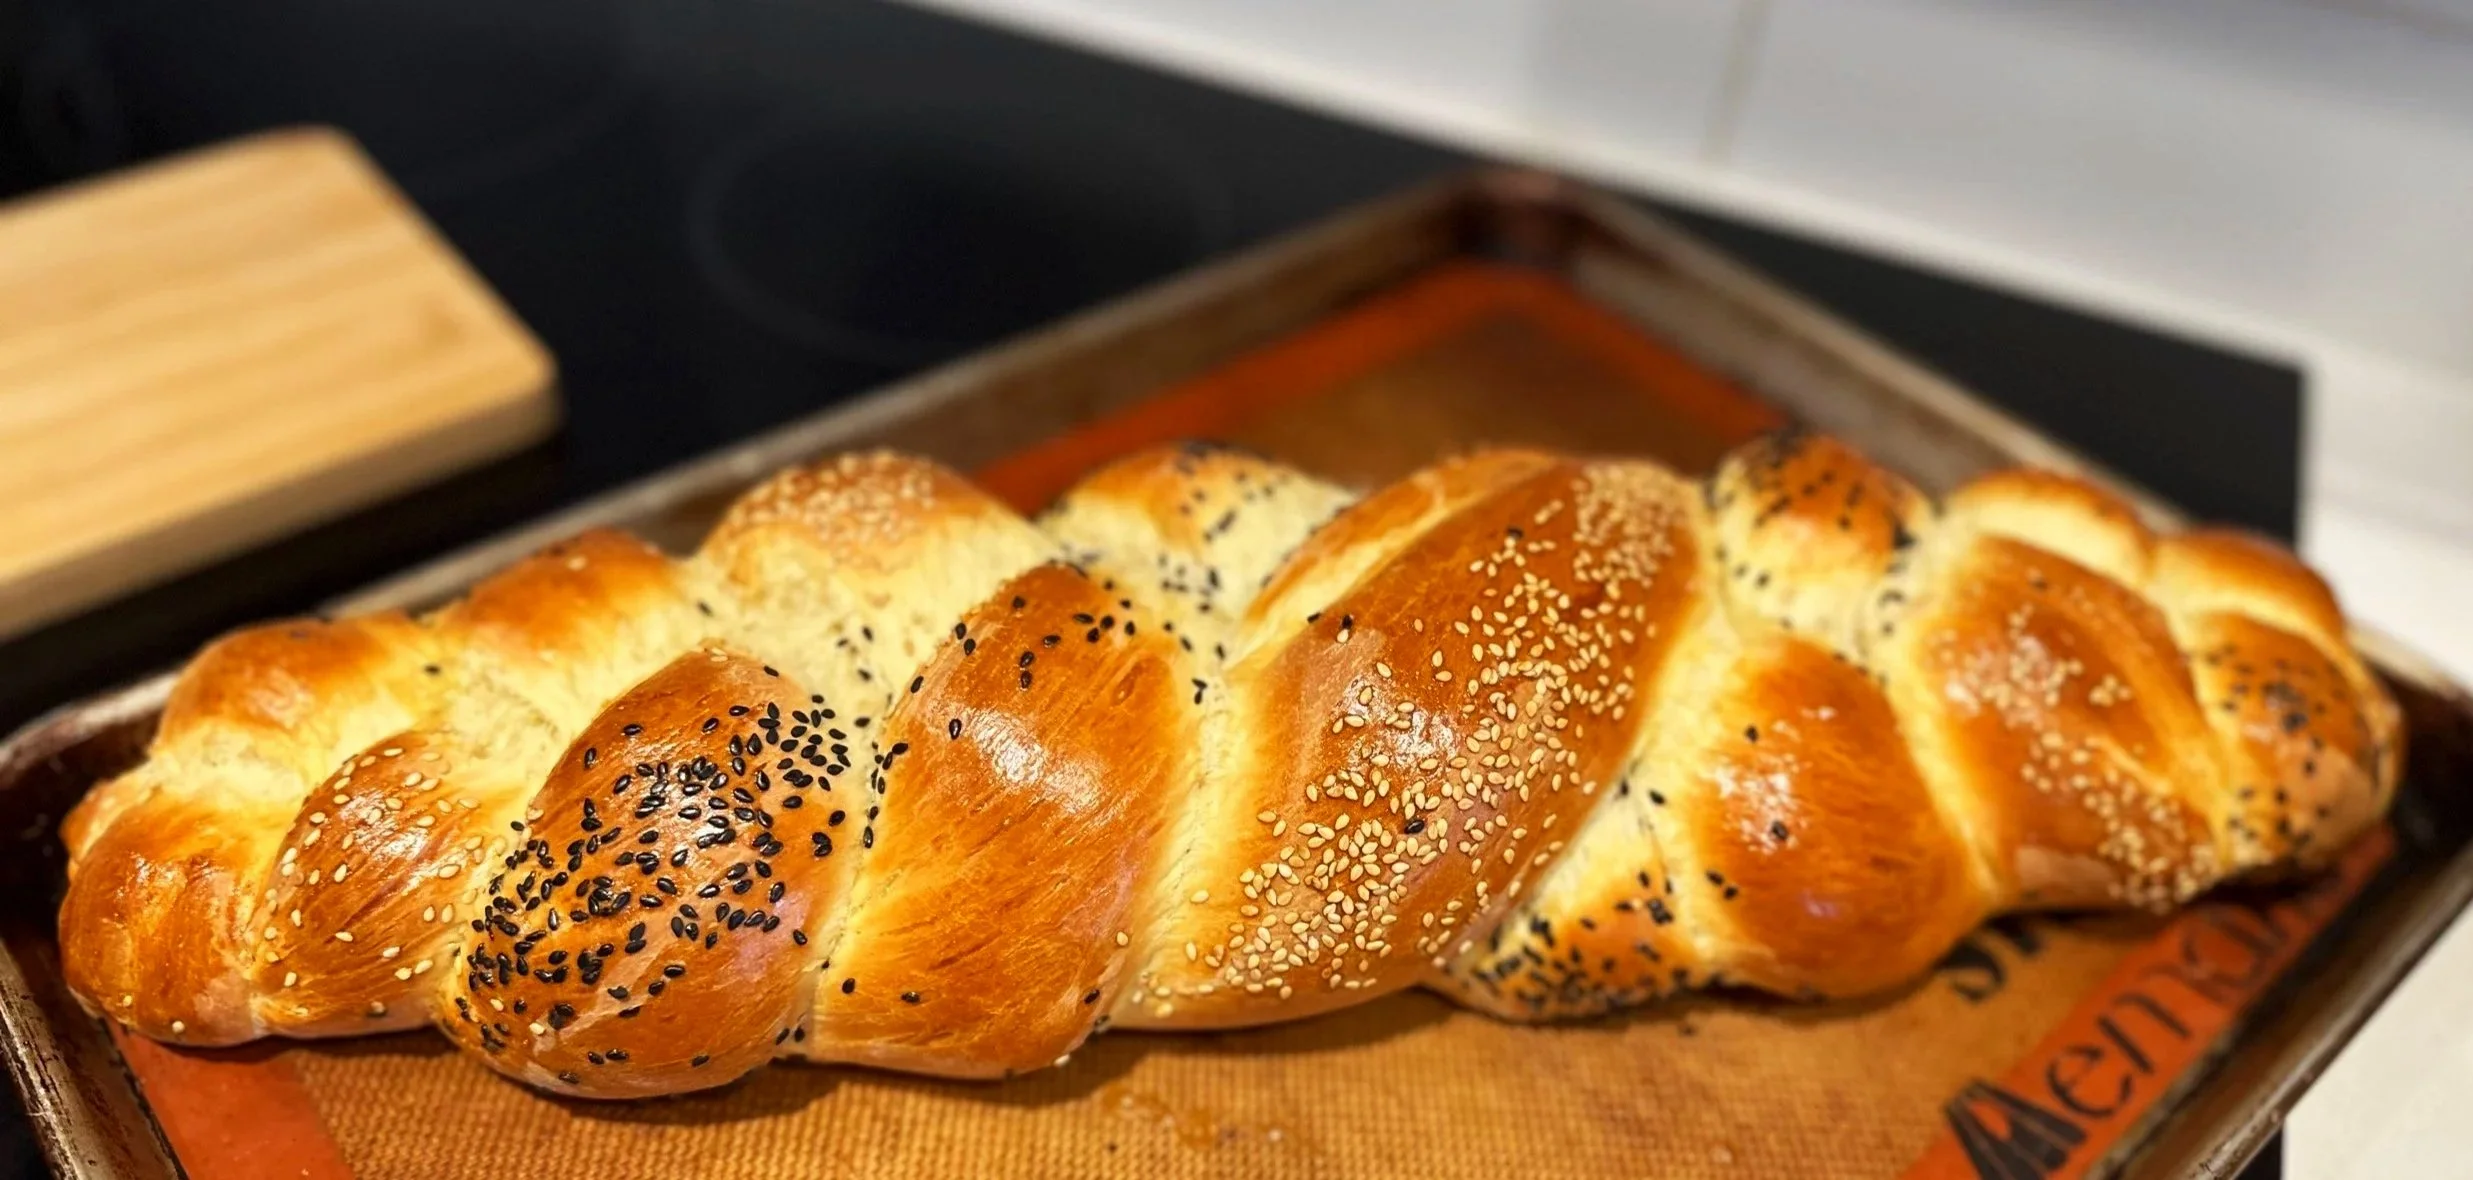
Challah Three Strand Braids
Enjoy braiding your bread and munching on your tasty challah!