Mini French Meringue Kisses
Crisp, Light & Melt-in-the-Mouth
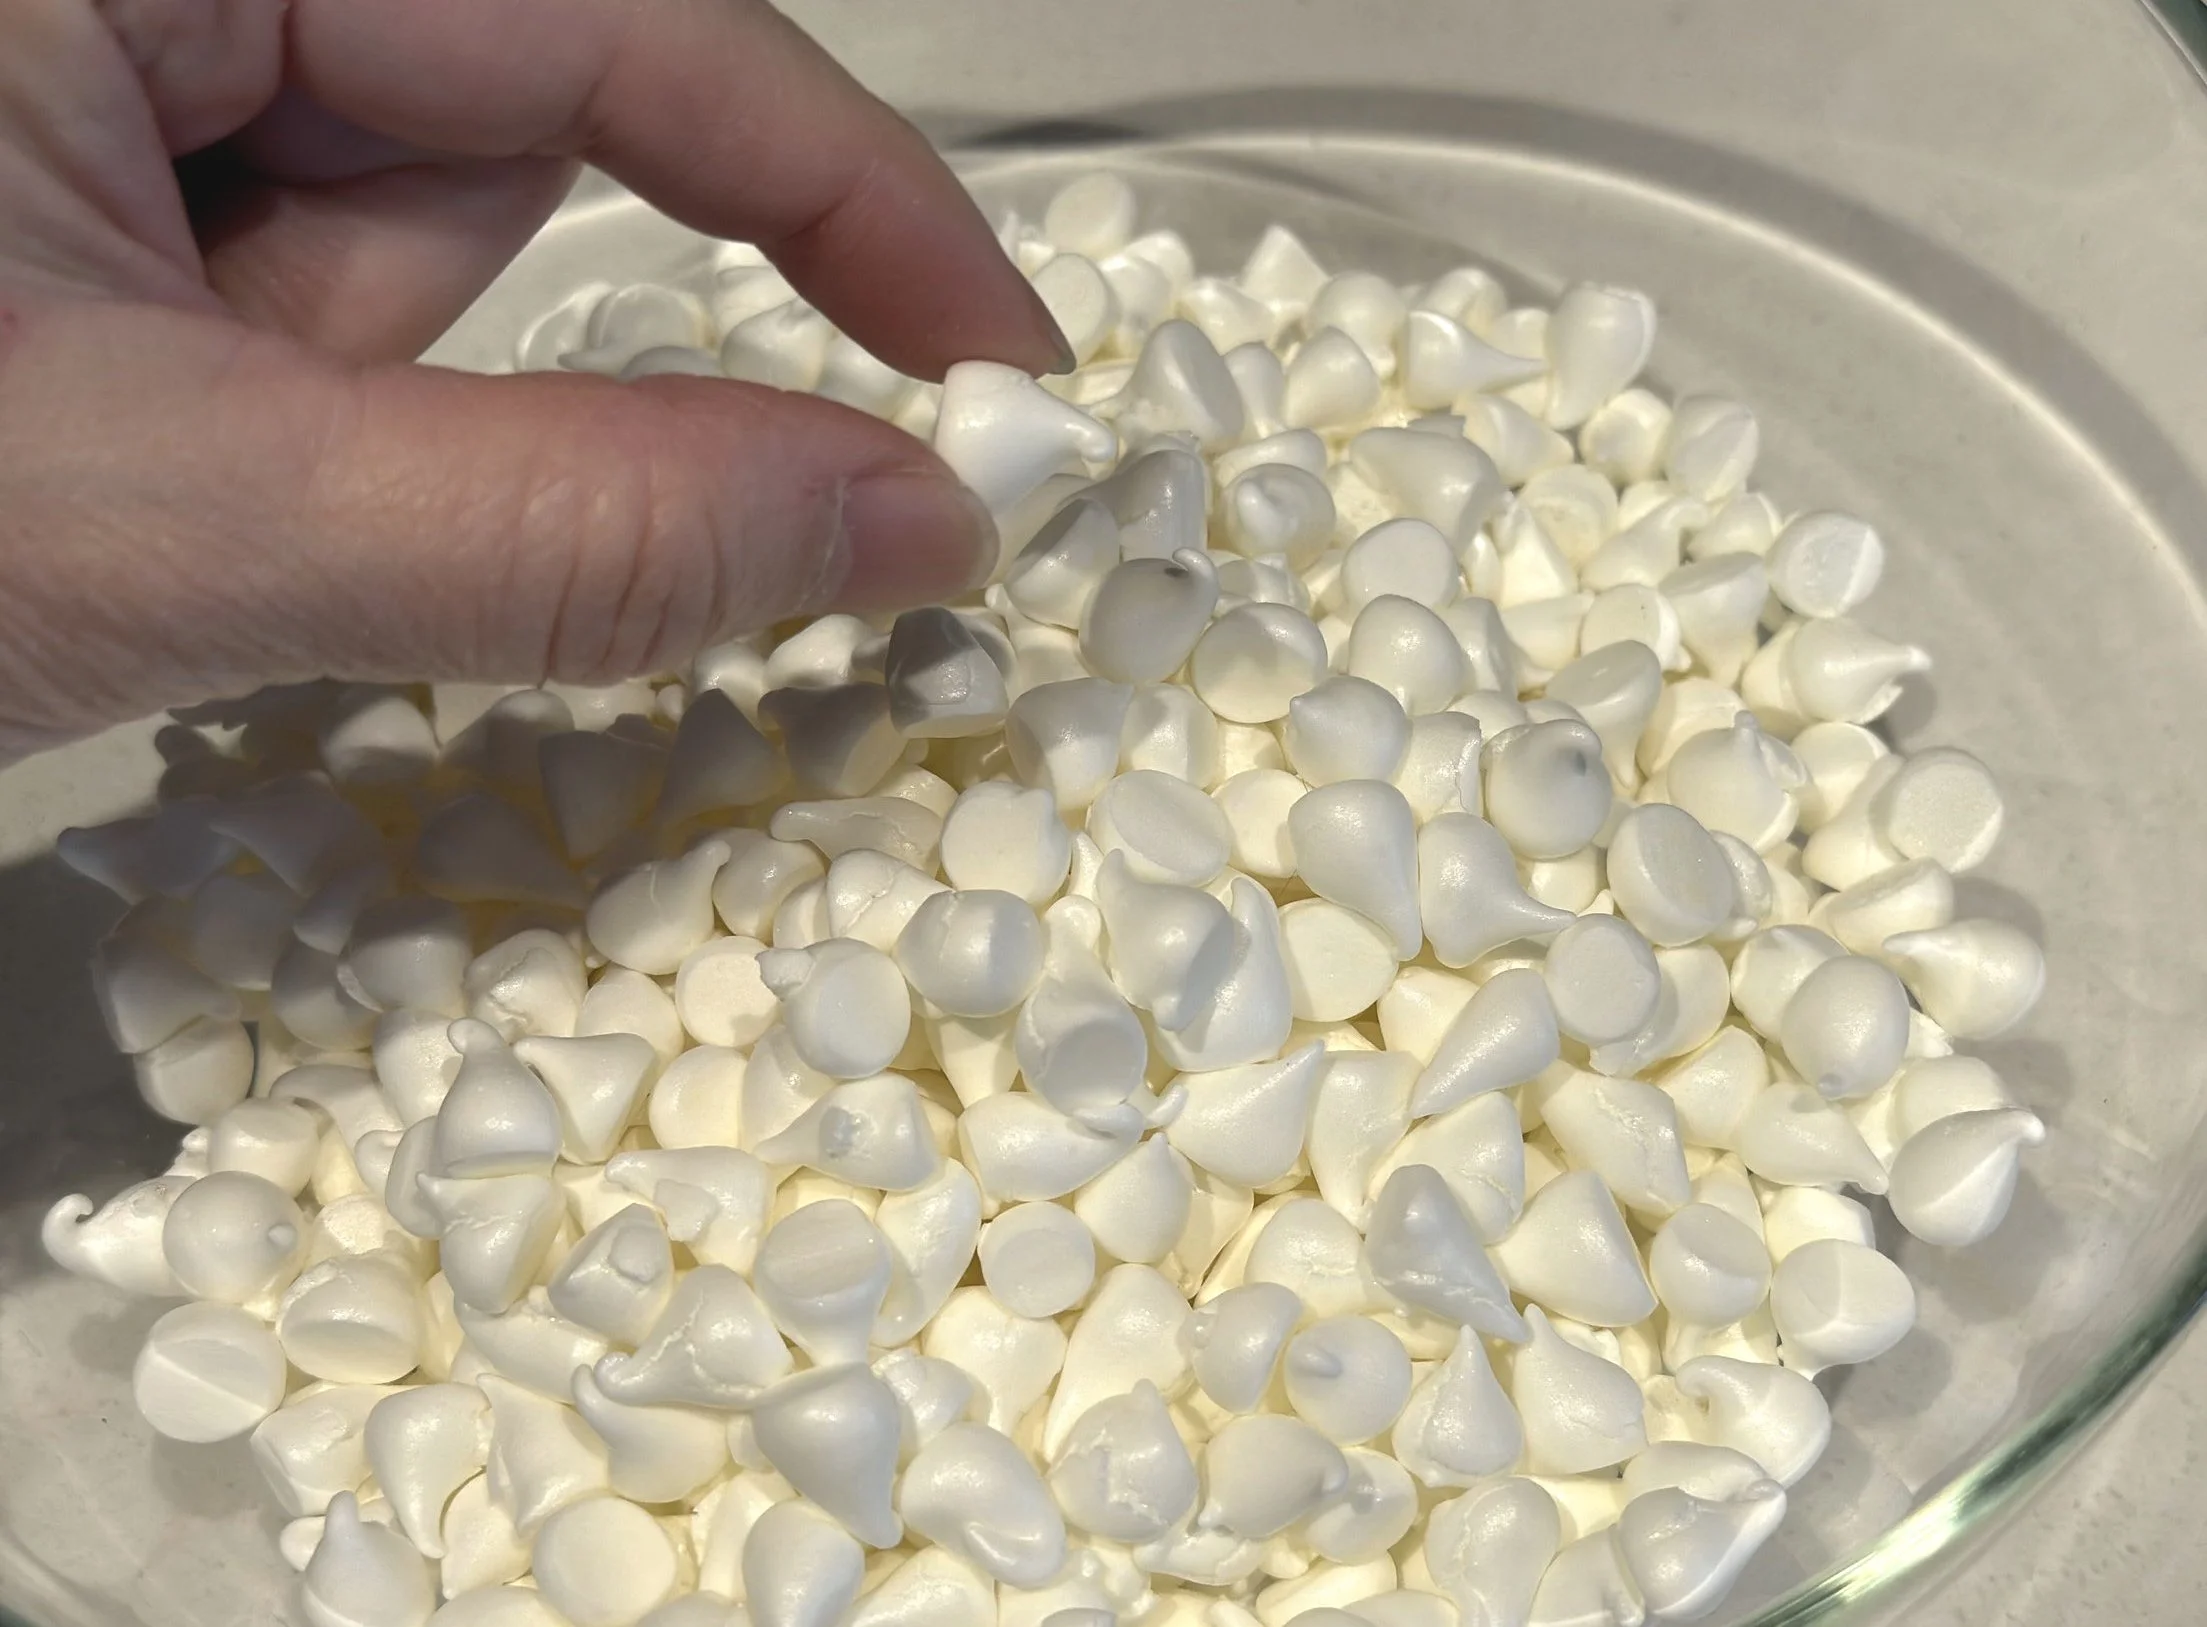
I have made thousands of these tiny meringue kisses over the years.
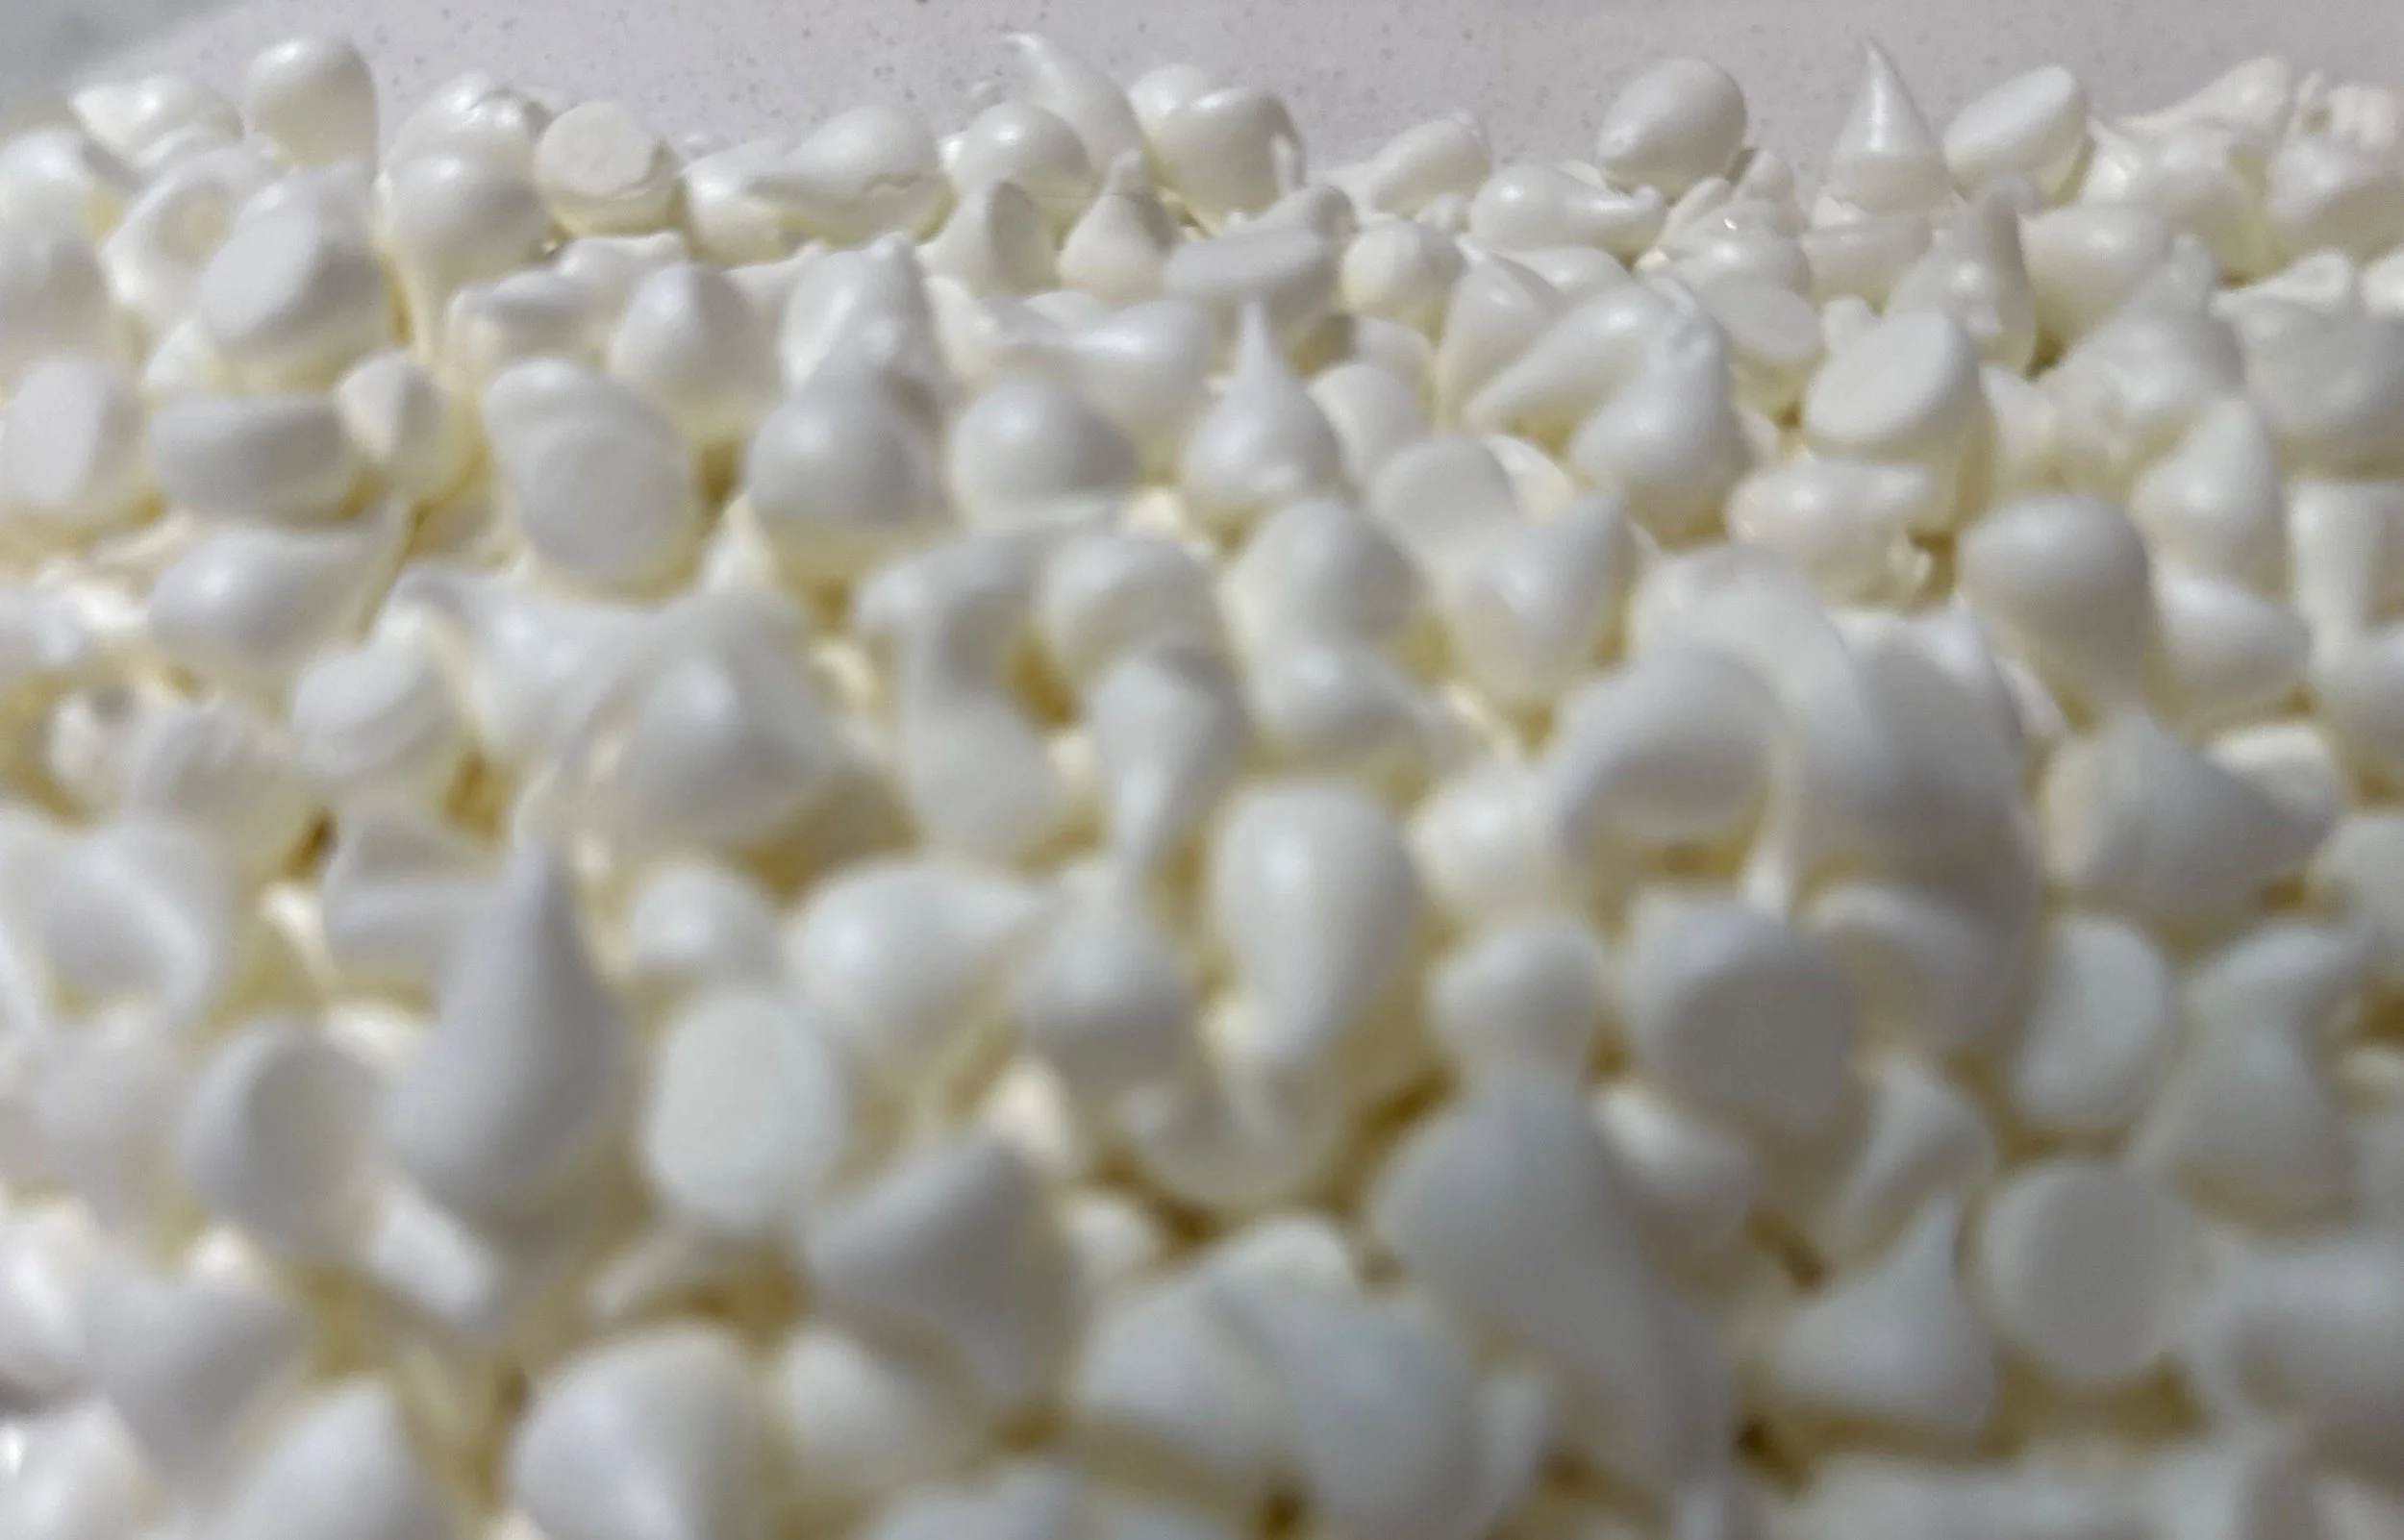
They are small, crisp, and sweet, with a delicate texture that melts almost immediately in your mouth. I like making them very small—just little teardrops—which makes them perfect for decorating cakes and plated desserts or simply serving as a sweet bite.
The recipe uses the French meringue method and follows an easy ratio to remember: one part egg whites to two parts sugar. I divide the sugar equally between caster sugar and icing sugar.
Once you understand the proper consistency of the meringue, this is a simple and useful pastry component to master.
Supplies:
Stand mixer or handhell mixer mechine
Baking trays
Parchment paper or silicone matt
Piping bag: tip-less piping bag or tip Ateco 108
Yield:
Thousands of KissesIngredients
60g egg whites (approximately 2 large egg whites), room temperature
60g caster sugar
60g icing sugar, sifted
¼ tsp cream of tartar, optional
1 tsp vanilla powder or vanilla extract, optional
Ratio:
1 part egg whites : 1 part caster sugar : 1 part icing sugar
Or, put another way:
Stiff peak
1 part egg whites : 2 parts total sugar
Before You Begin
Make sure your mixing bowl and whisk are completely clean and free of grease.
When separating the eggs, take care not to get any yolk into the whites. Even a small amount of fat can interfere with the egg whites whipping properly.
Line a baking tray with parchment paper or a silicone baking mat.
Make the French Meringue
Place the room-temperature egg whites in the bowl of a stand mixer fitted with the balloon whisk.
Whip for approximately 1 minute, until the egg whites become foamy.
If using cream of tartar, add it at this stage.
Begin adding the caster sugar gradually, a little at a time, while continuing to whip.
Adding the sugar gradually allows the egg whites to build volume while the sugar dissolves into the meringue.
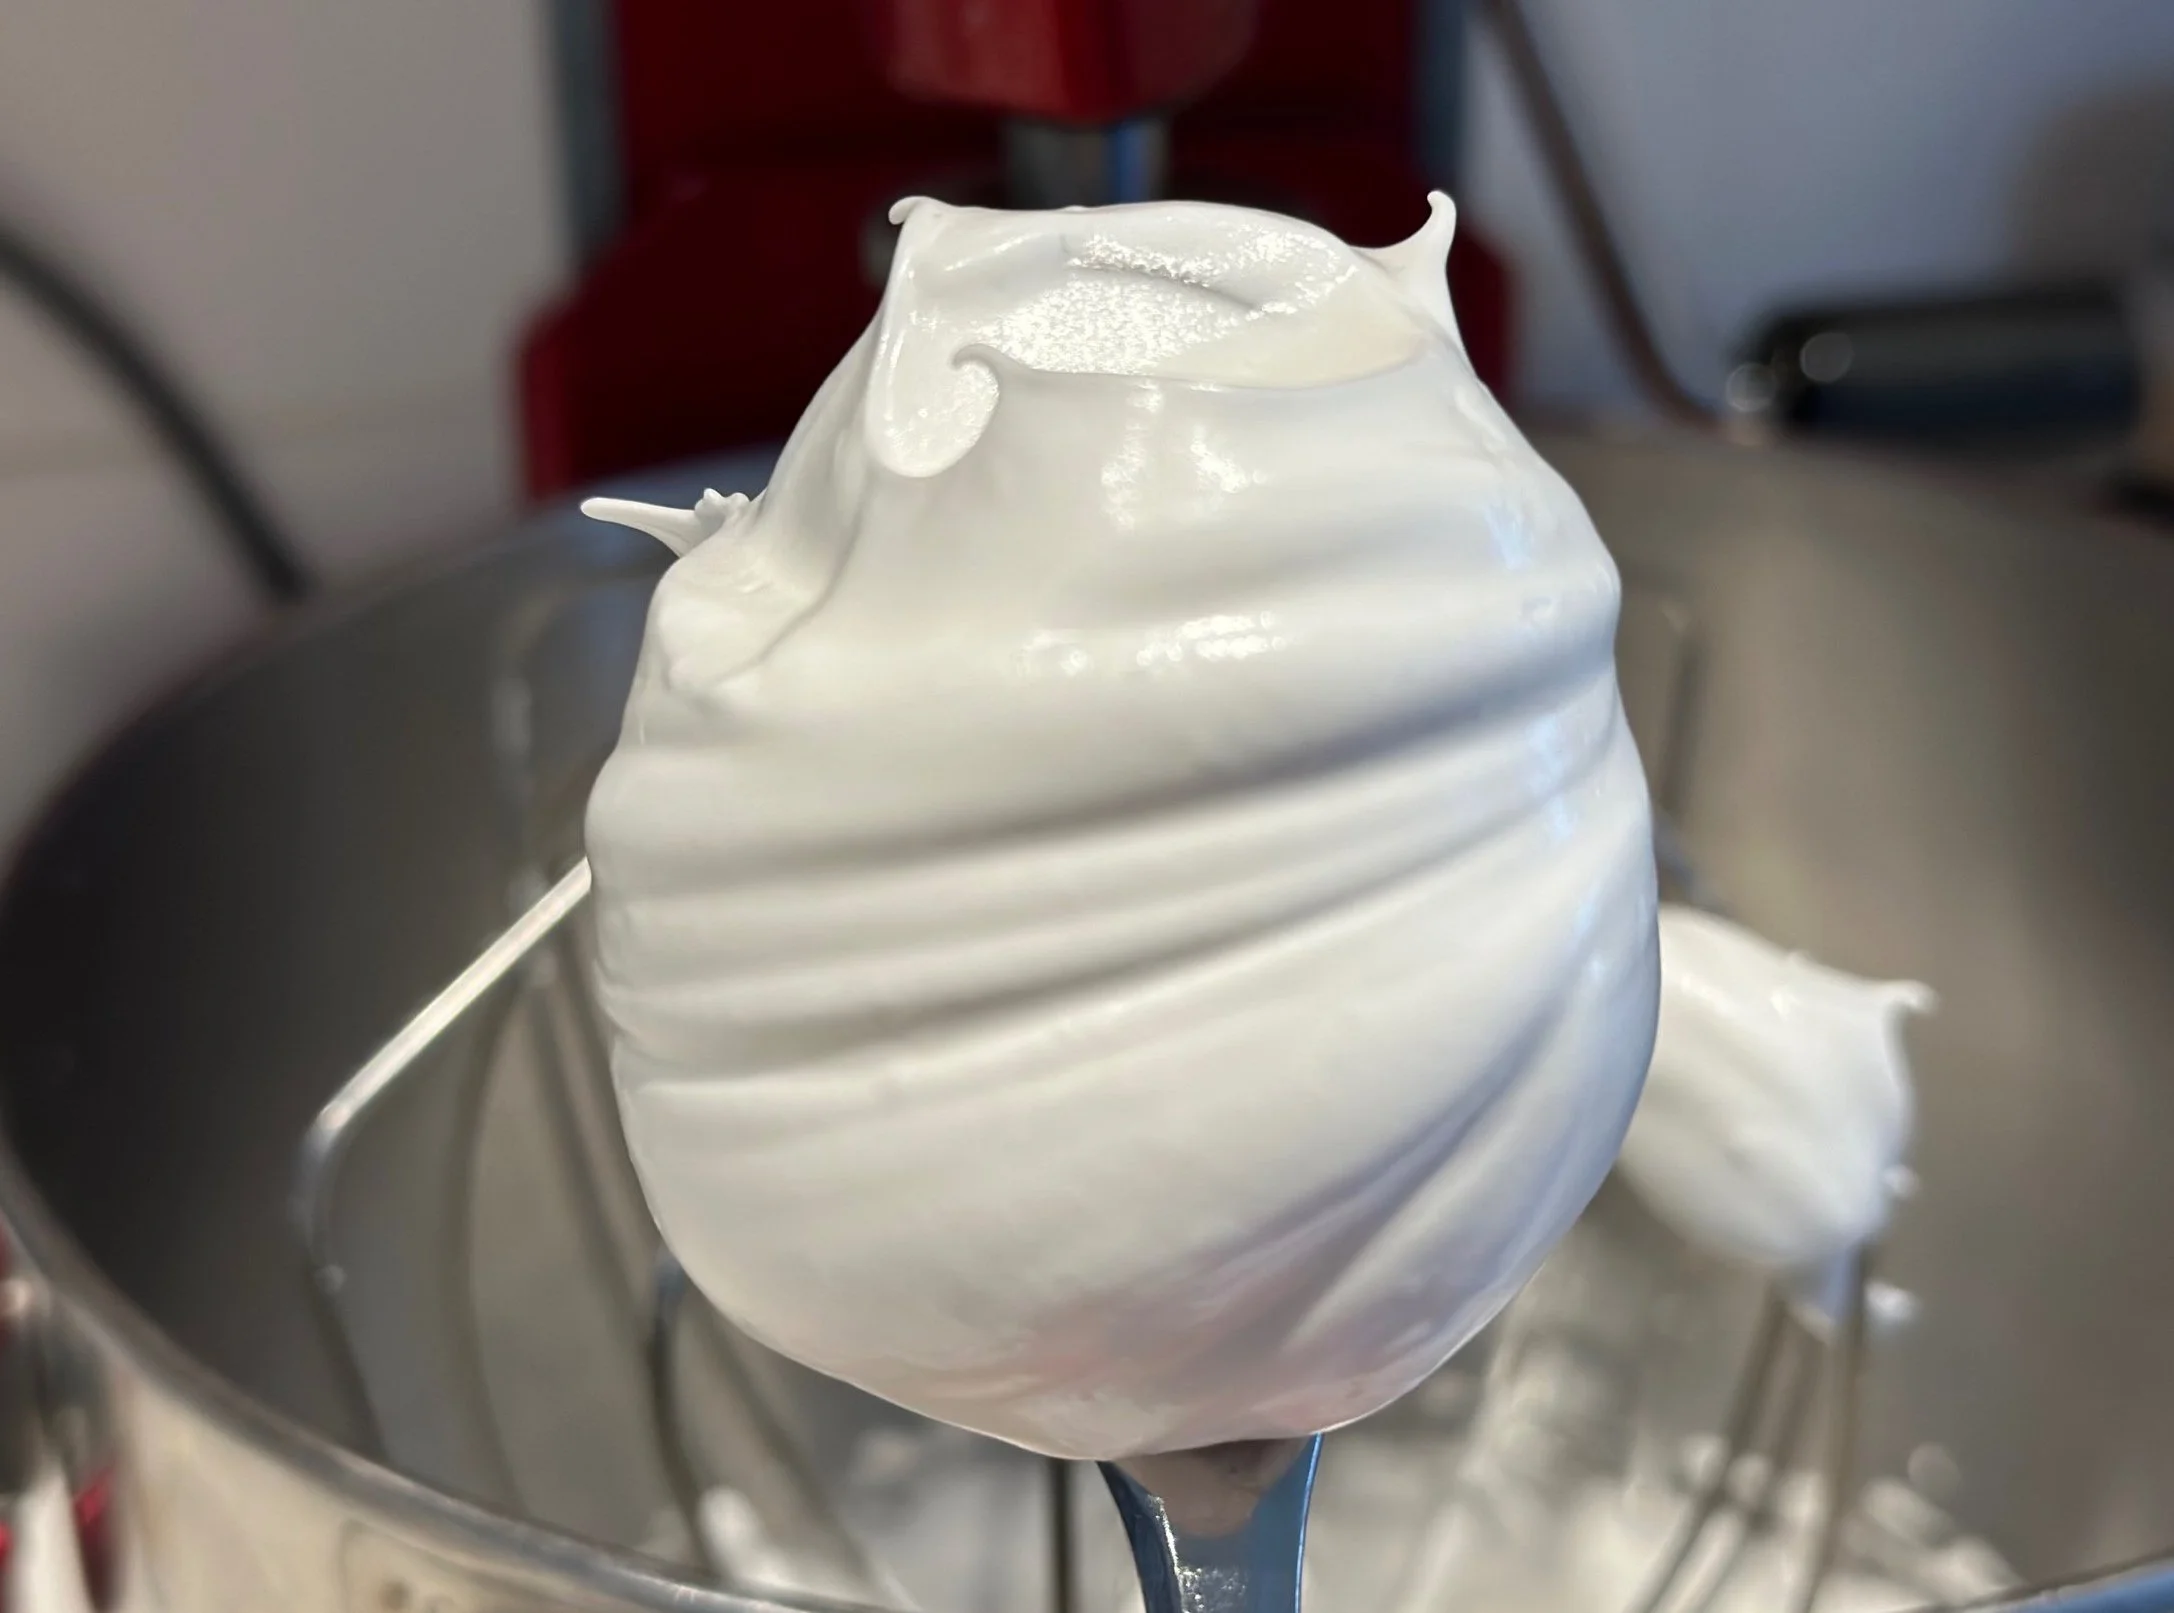
Continue whipping until the meringue is thick, glossy, and holds stiff peaks.
When you lift the whisk, the peak should stand upright without collapsing.
Stop whipping once the meringue reaches stiff peaks. Avoid continuing unnecessarily after this point.
Add the vanilla, if using.
Sift the icing sugar over the meringue and gently fold it in with a spatula until evenly incorporated.
The finished meringue should be glossy and firm enough to hold its shape when piped.
Pipe the Meringue Kisses
Transfer the meringue to a piping bag fitted with an Ateco #108 tip, or use a tipless piping bag.
If using a tipless bag, cut a very small opening approximately 2–3 mm wide.
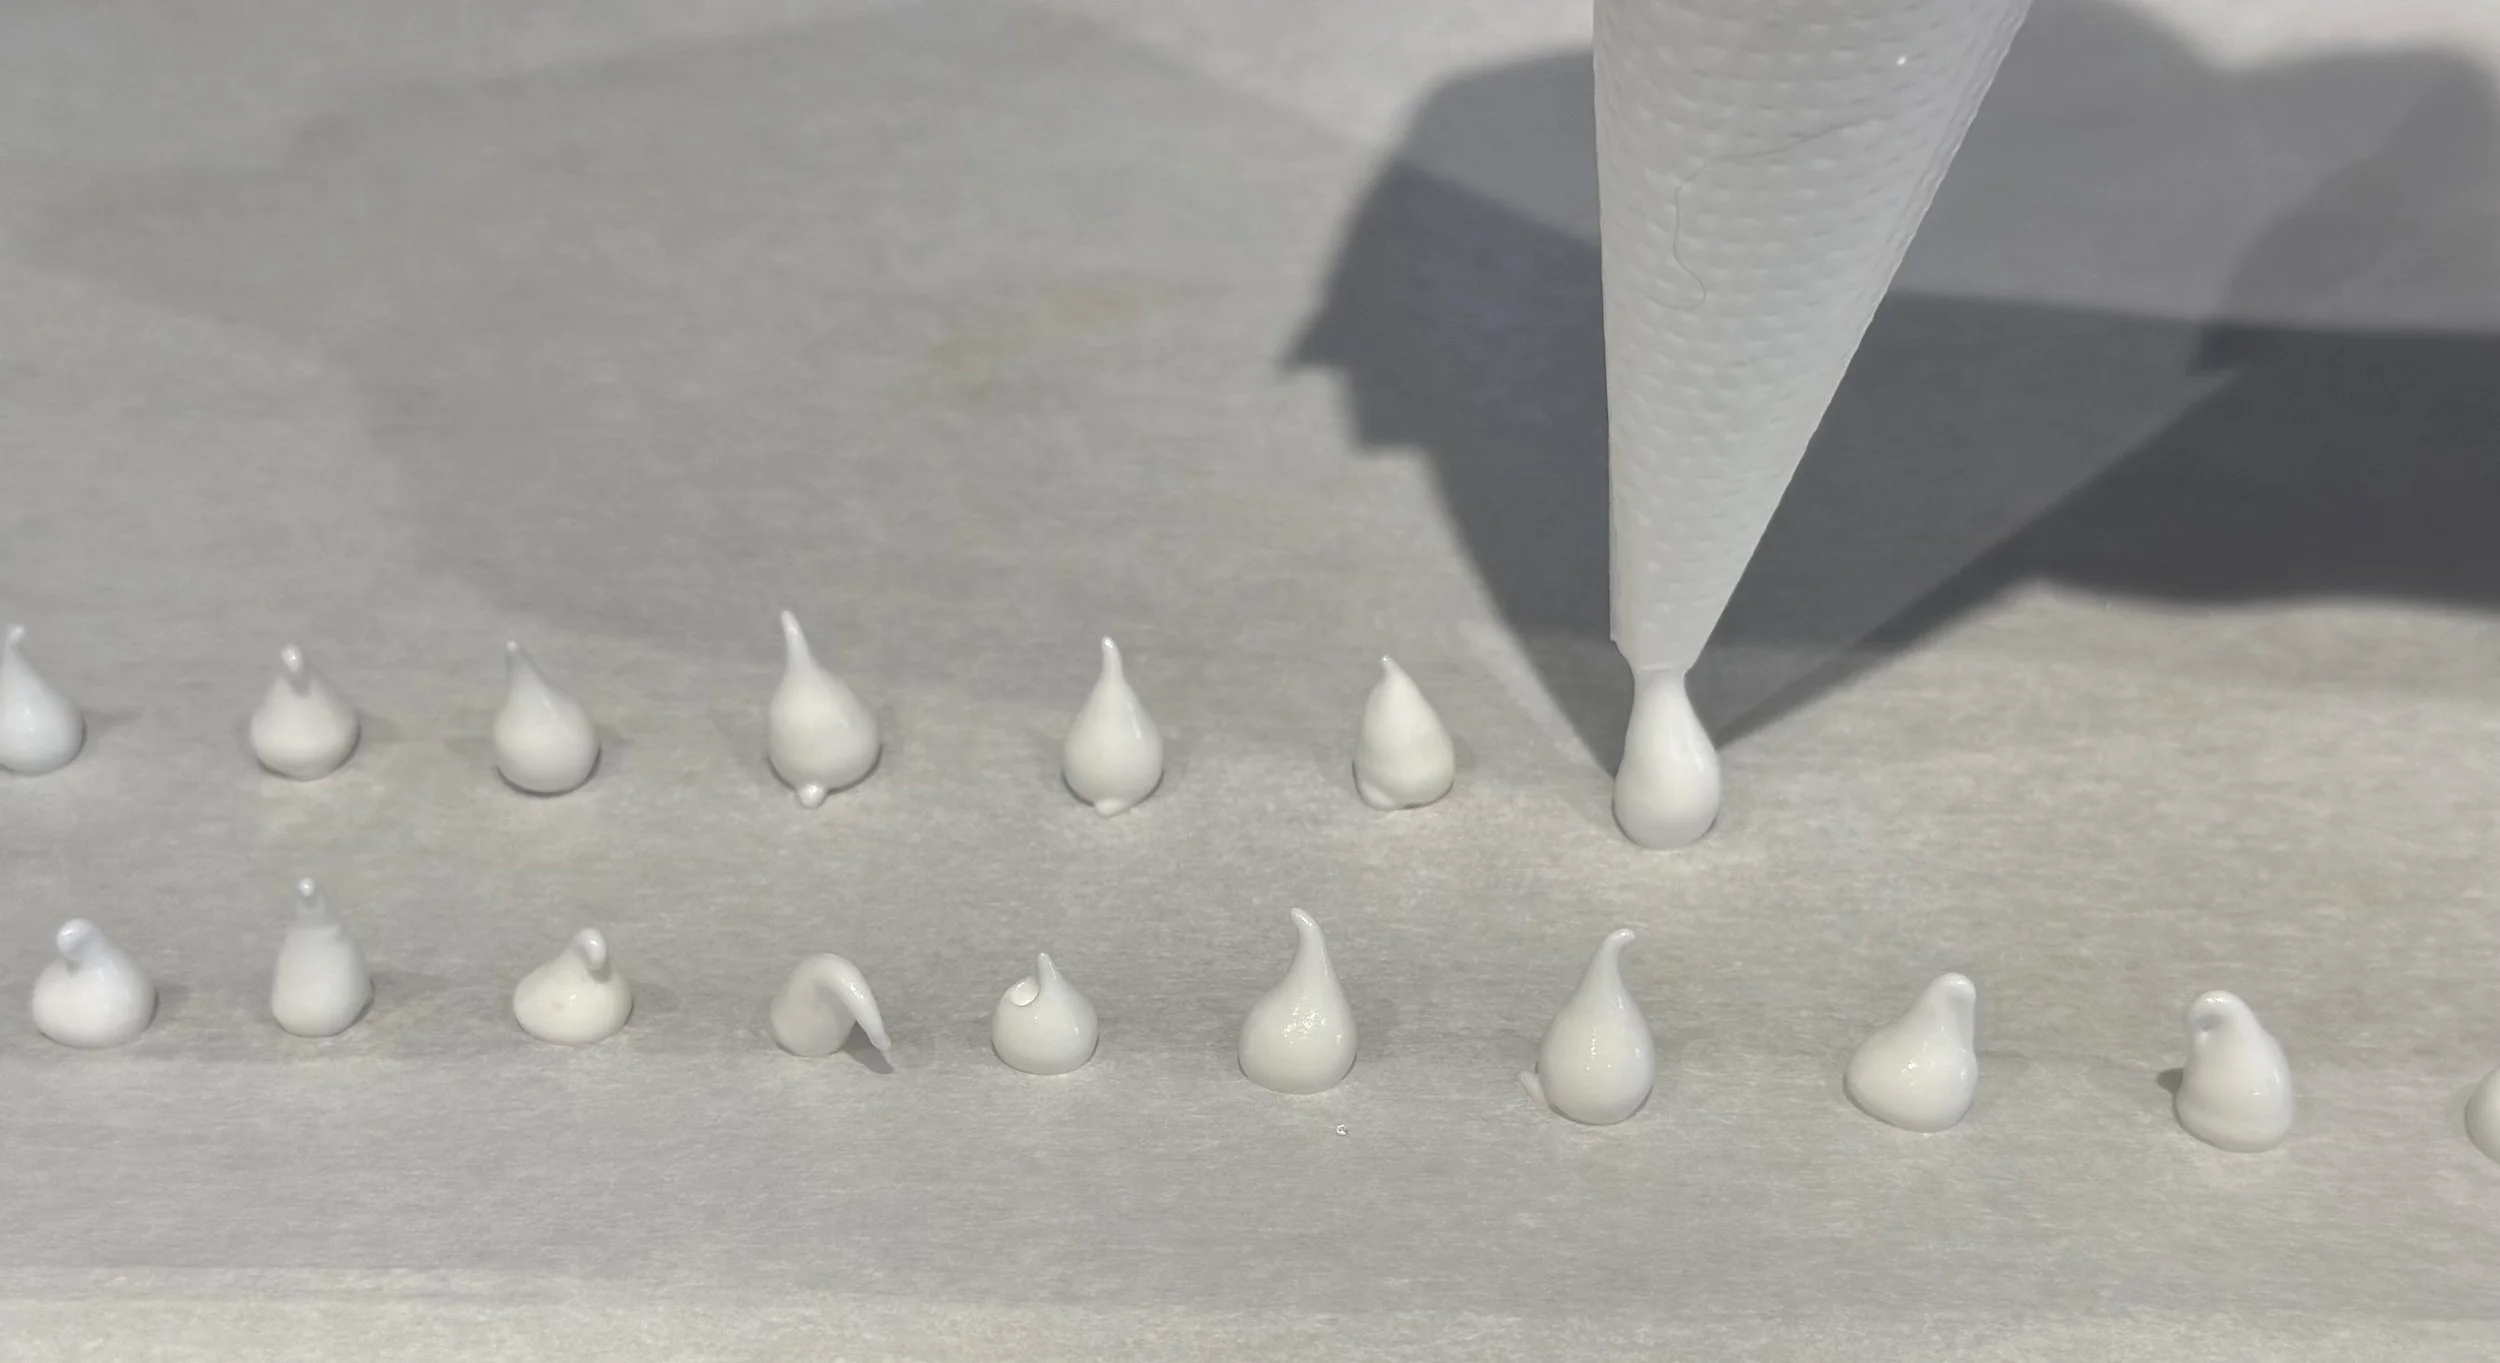
Hold the piping bag slightly above the baking tray. Apply gentle pressure to form a small drop, then stop squeezing and lift the bag upward to create the pointed tip.
Try not to touch the piping tip directly to the tray.
Pipe the kisses in even rows, keeping them approximately the same size so they dry at the same rate.
Baking with Confidence
Add the caster sugar gradually. Dumping it in all at once can make it harder to build a stable, voluminous meringue.
Look at the meringue, not only the clock. Your description of shiny, glossy, stiff peaks is a much better cue than telling readers to whip for an exact number of minutes.
Sift the icing sugar. Little lumps are particularly noticeable when you're piping tiny kisses.
Keep them small and consistent. Uniform meringues bake and dry at approximately the same rate.
Humidity is the enemy. Meringue absorbs moisture from the air and becomes sticky, so cool the kisses completely and transfer them promptly to an airtight container.
Storage
Store completely cooled meringue kisses in an airtight container at room temperature, away from heat and humidity.
Pastry Component
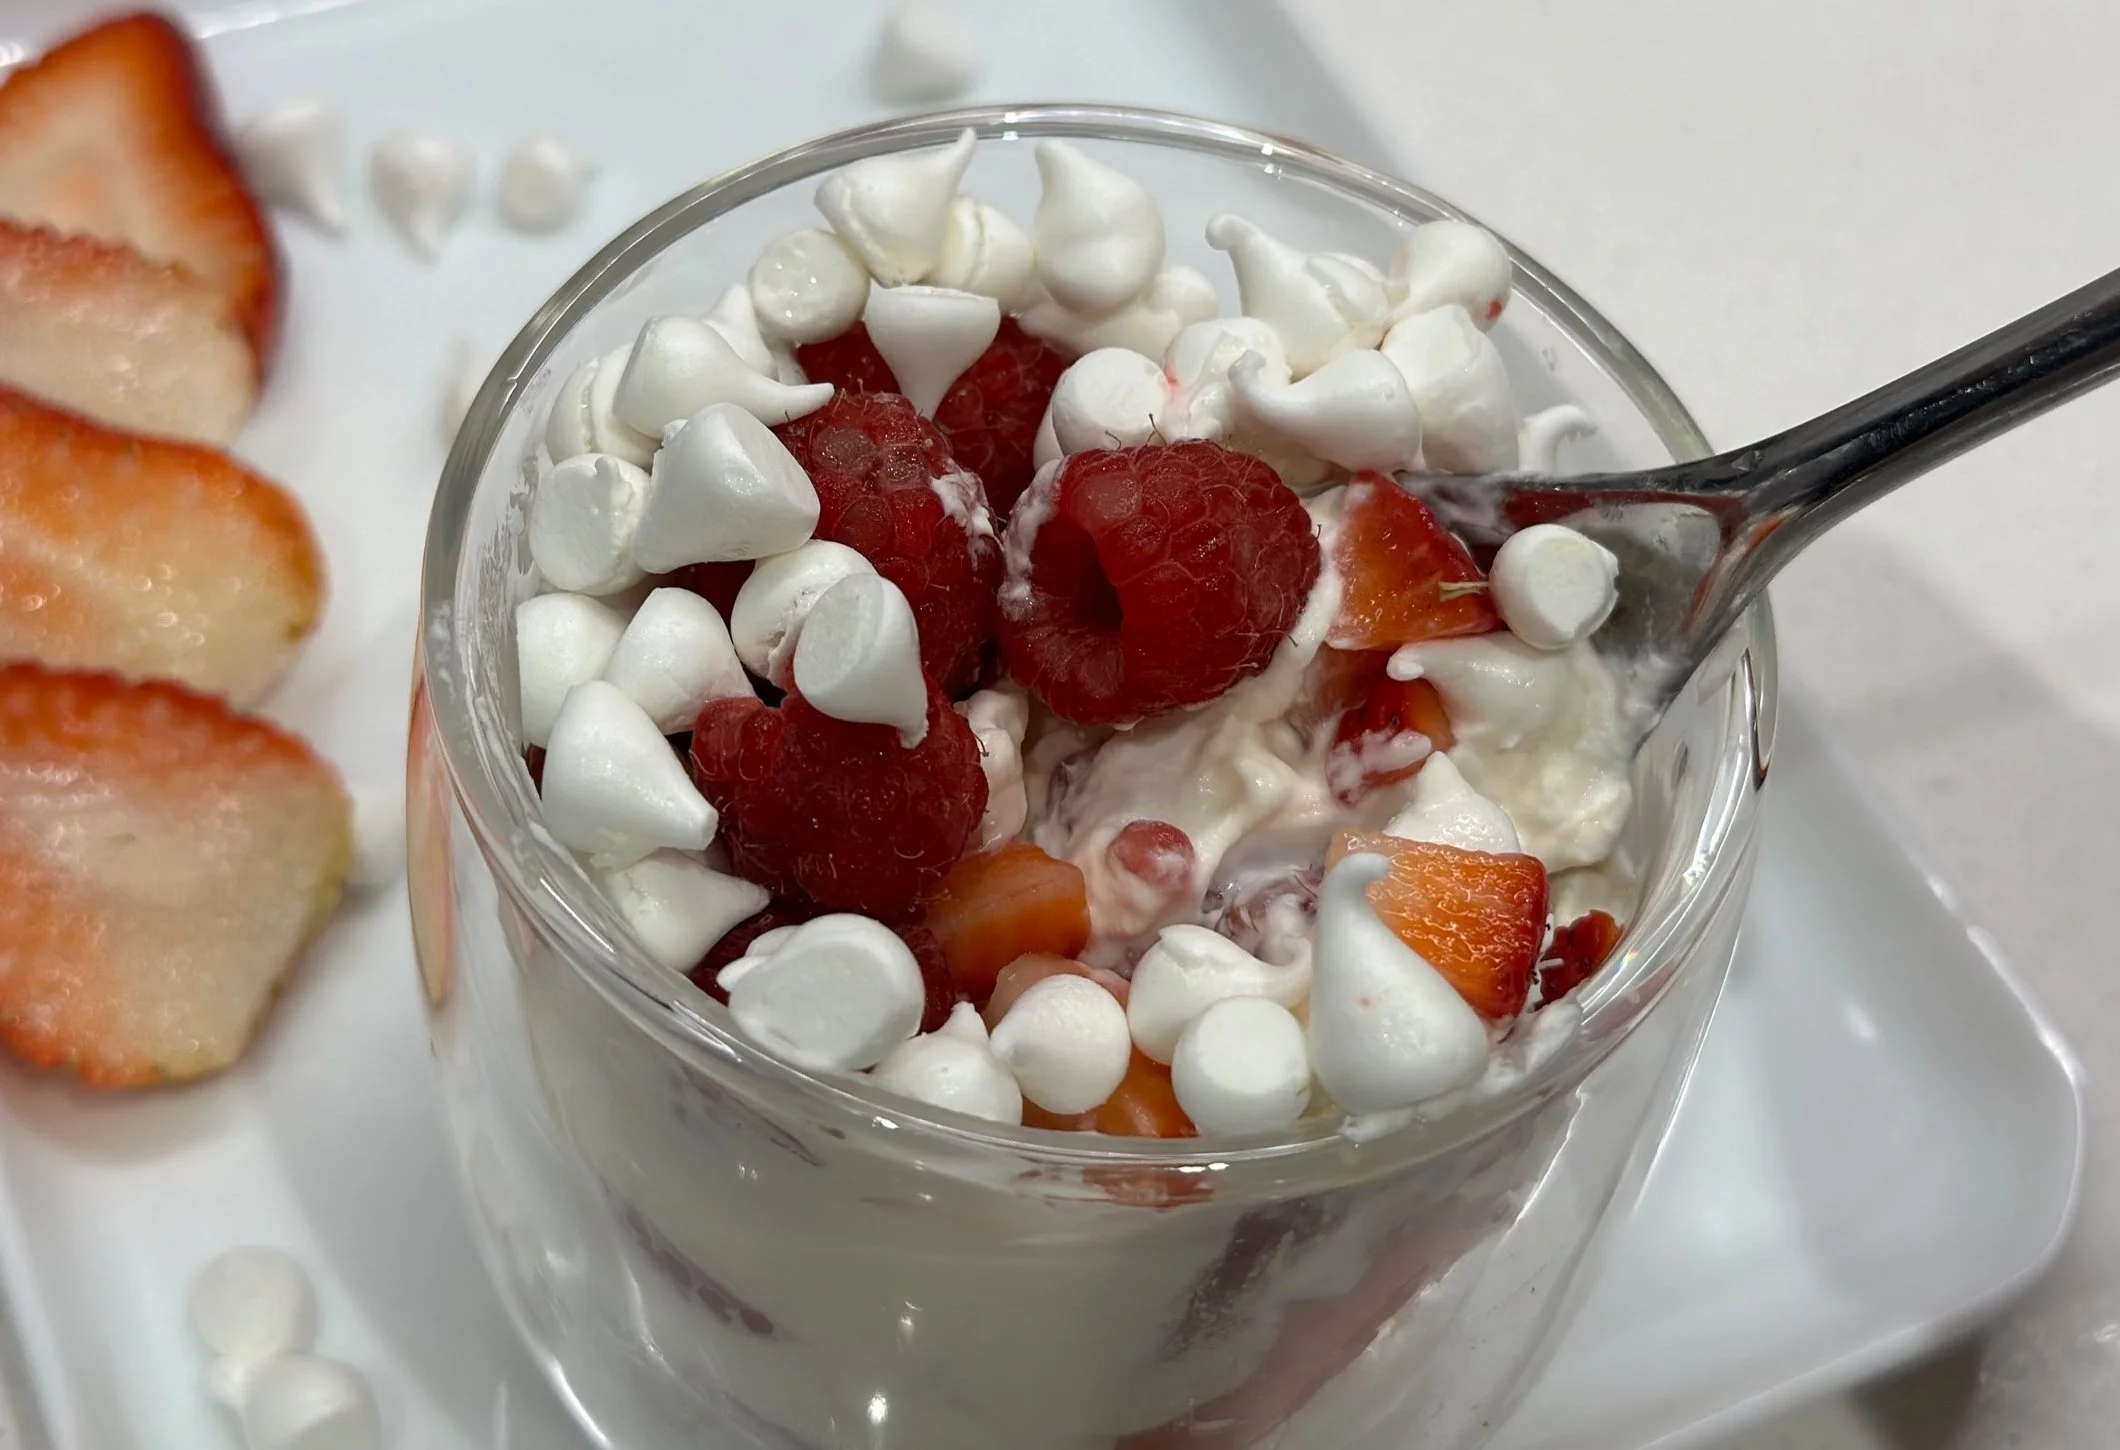
Use these meringue kisses to decorate mousse cakes, tarts, ice cream, fruit desserts, or the Berry & Orange Fruit Salad. They can also be crushed to add a light, crisp texture to plated desserts.