Canelés
Caramelized French Pastries with Rum & Vanilla-Style Custard Interior
My Michel Roux–Inspired Version
I first discovered this canelé recipe in Michel Roux's Finest Desserts, a book I bought around 1996, before I went to pastry school. At the time I was living in the United States and originally bought the book because I wanted to learn how to make génoise.
Years later, when my parents came to visit me in Halifax, I made these canelés for them.
My father took a bite and immediately said, “This is exactly the cake your sister bought for me to try in France.”
My parents had visited my sisters in France, where they had tasted canelés. My father then told me that they had said this was a pastry that was very difficult to make at home.
Hearing him recognize mine made me especially happy.
When I later talked with my sister in France about the recipe, she was surprised that I used sweetened condensed milk. Her version of canelé didn't use it. But the Michel Roux recipe I had learned from offered a condensed-milk approach, and I chose sweetened condensed milk because it was readily available where I lived.
After hearing my father's reaction, I thought, maybe condensed milk isn't such a bad idea after all.
And Michel Roux certainly knew his desserts.
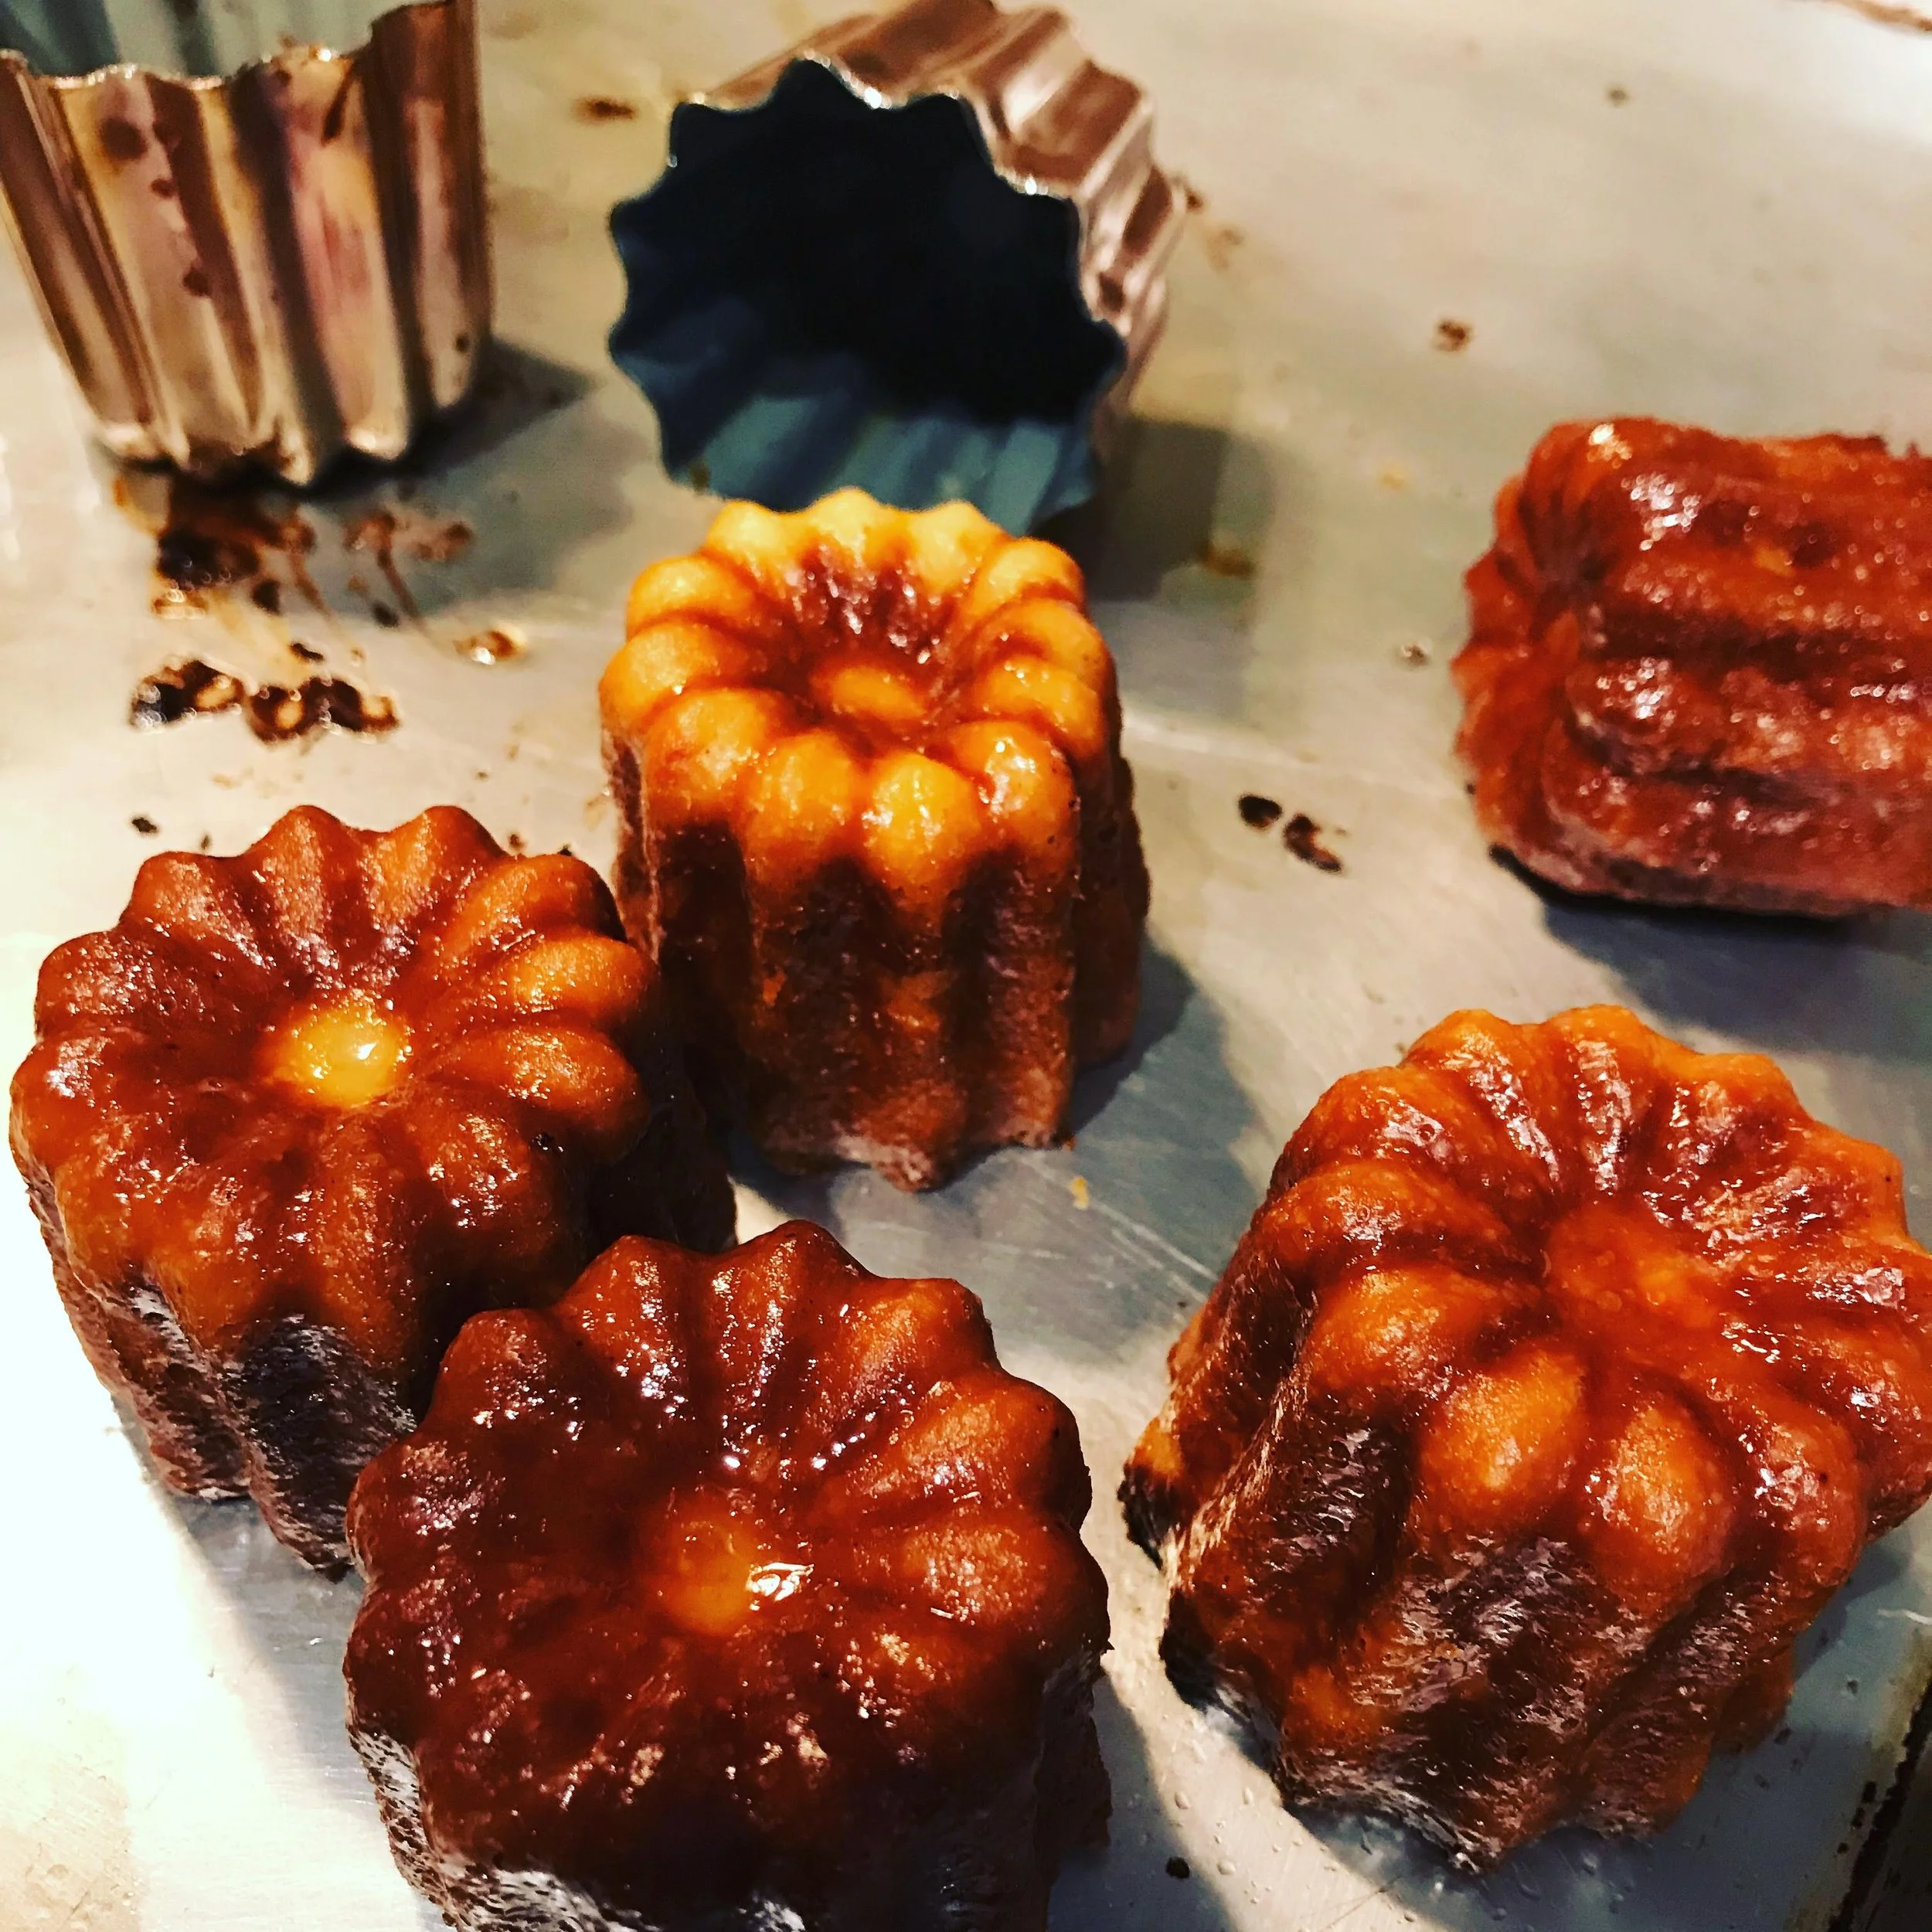
Canelés are all about contrast: the exterior should become deeply caramelized, dark, and crisp, while the center remains soft and custardy.
For the best texture, I prepare the batter at least 24 hours before baking. The long rest allows the batter to hydrate and settle before it goes into the molds.
For the traditional finish, I use copper canelé molds coated very lightly with beeswax and oil. The coating needs to be thin—too much wax can collect in the bottom or leave an overly heavy coating on the pastry.
When I talked to my sister in France about this recipe, she immediately said, “We don't use condensed milk for canelés!”
The recipe I learned from Michel Roux offered a condensed-milk variation. I chose the sweetened condensed milk version because it was easy for me to find where I live. It became the version I continued making, and I love the deeply caramelized exterior and soft center it produces.
Ingredients
350ml sweetened condensed milk
440g granulated sugar
240g all-purpose flour
3 whole eggs
2 egg yolks
5 Tbsp rum
600ml water
60g unsalted butter
60g whole milk powder
Beeswax and neutral oil, for coating copper molds
Method
Combine the water, butter, and whole milk powder in a saucepan. Bring to a boil.
In a separate bowl, combine the whole eggs, egg yolks, sweetened condensed milk, and sugar.
Slowly pour the boiling milk mixture into the egg mixture while whisking continuously. Add it gradually so the hot liquid doesn't cook the eggs.
Add the flour and mix until smooth. Add the rum and mix again until incorporated.
Strain the batter to remove any lumps and produce a smooth consistency.
Allow the batter to cool, transfer it to an airtight container, and refrigerate for at least 24 hours.
Prepare the Copper Molds
Melt the beeswax and oil together over low heat.
Brush a very thin coating over the inside of each copper mold. Turn the molds upside down so the excess can drain away, then allow the coating to cool and set.
Fill & Bake
After the batter has rested, gently mix it again without incorporating unnecessary air.
Fill the prepared molds, leaving approximately 2mm of space at the top.
Bake at 400°F (205°C) for 30 minutes.
Rotate the tray, then continue baking for another 20–25 minutes, or until the canelés have developed a deep brown, well-caramelized exterior.
What to Look For
Don't be frightened by the color. A properly baked canelé should be considerably darker than an ordinary cake.
You're looking for a deep caramelized brown shell, not merely light golden brown. That dark exterior provides the characteristic contrast with the softer interior.
At the same time, there's a difference between deeply caramelized and “we should probably notify the fire department.”The final minutes are worth watching closely.
Why This Recipe Works
24-hour rest: Gives the flour time to fully hydrate and allows the batter to settle.
Straining: Produces a smoother batter and removes any flour or egg particles that haven't incorporated completely.
Copper molds: Conduct heat extremely efficiently, helping create the intensely caramelized exterior.
Beeswax and oil: Create a thin release coating and contribute to the characteristic exterior finish.
Rotating after 30 minutes: Helps compensate for uneven oven heat so the canelés color more consistently.
Beeswax + oil
Food-grade beeswax + neutral oil, as needed for coating the molds
Melt a small amount of beeswax over low heat and add enough neutral oil to make the mixture thin and fluid enough to brush easily. You only want a very light coating inside the copper molds. Brush the molds, then invert them so any excess can drain away.
That's actually better teaching than pretending 17.3g beeswax + 42.7g oil is some sacred Bordeaux equation. Your real cue is consistency and an extremely thin coating.
Yield: depends on the size of the copper canelé molds
Confidence Note
The most important visual cue is color. Don't pull them from the oven simply because they've reached 50 minutes. If the exterior is still pale, they haven't developed the crust you're looking for.