
Classic Vanilla Crème Brûlée
Smooth Vanilla Custard with Caramelized Sugar
Crème brûlée is one of the desserts I became especially confident making while working in catering.
I prepared it many times for clients at my previous job, and the response was always wonderful. I still remember clients telling me that the crème brûlée was better than versions they had eaten in New York City restaurants. What they especially loved was the texture—smooth, creamy, and rich without being heavy.
At work, I made crème brûlée in large quantities. At home, I use this smaller recipe and a shorter baking time, but I look for exactly the same result: a silky custard that is just set, with a thin layer of crisp caramelized sugar on top.
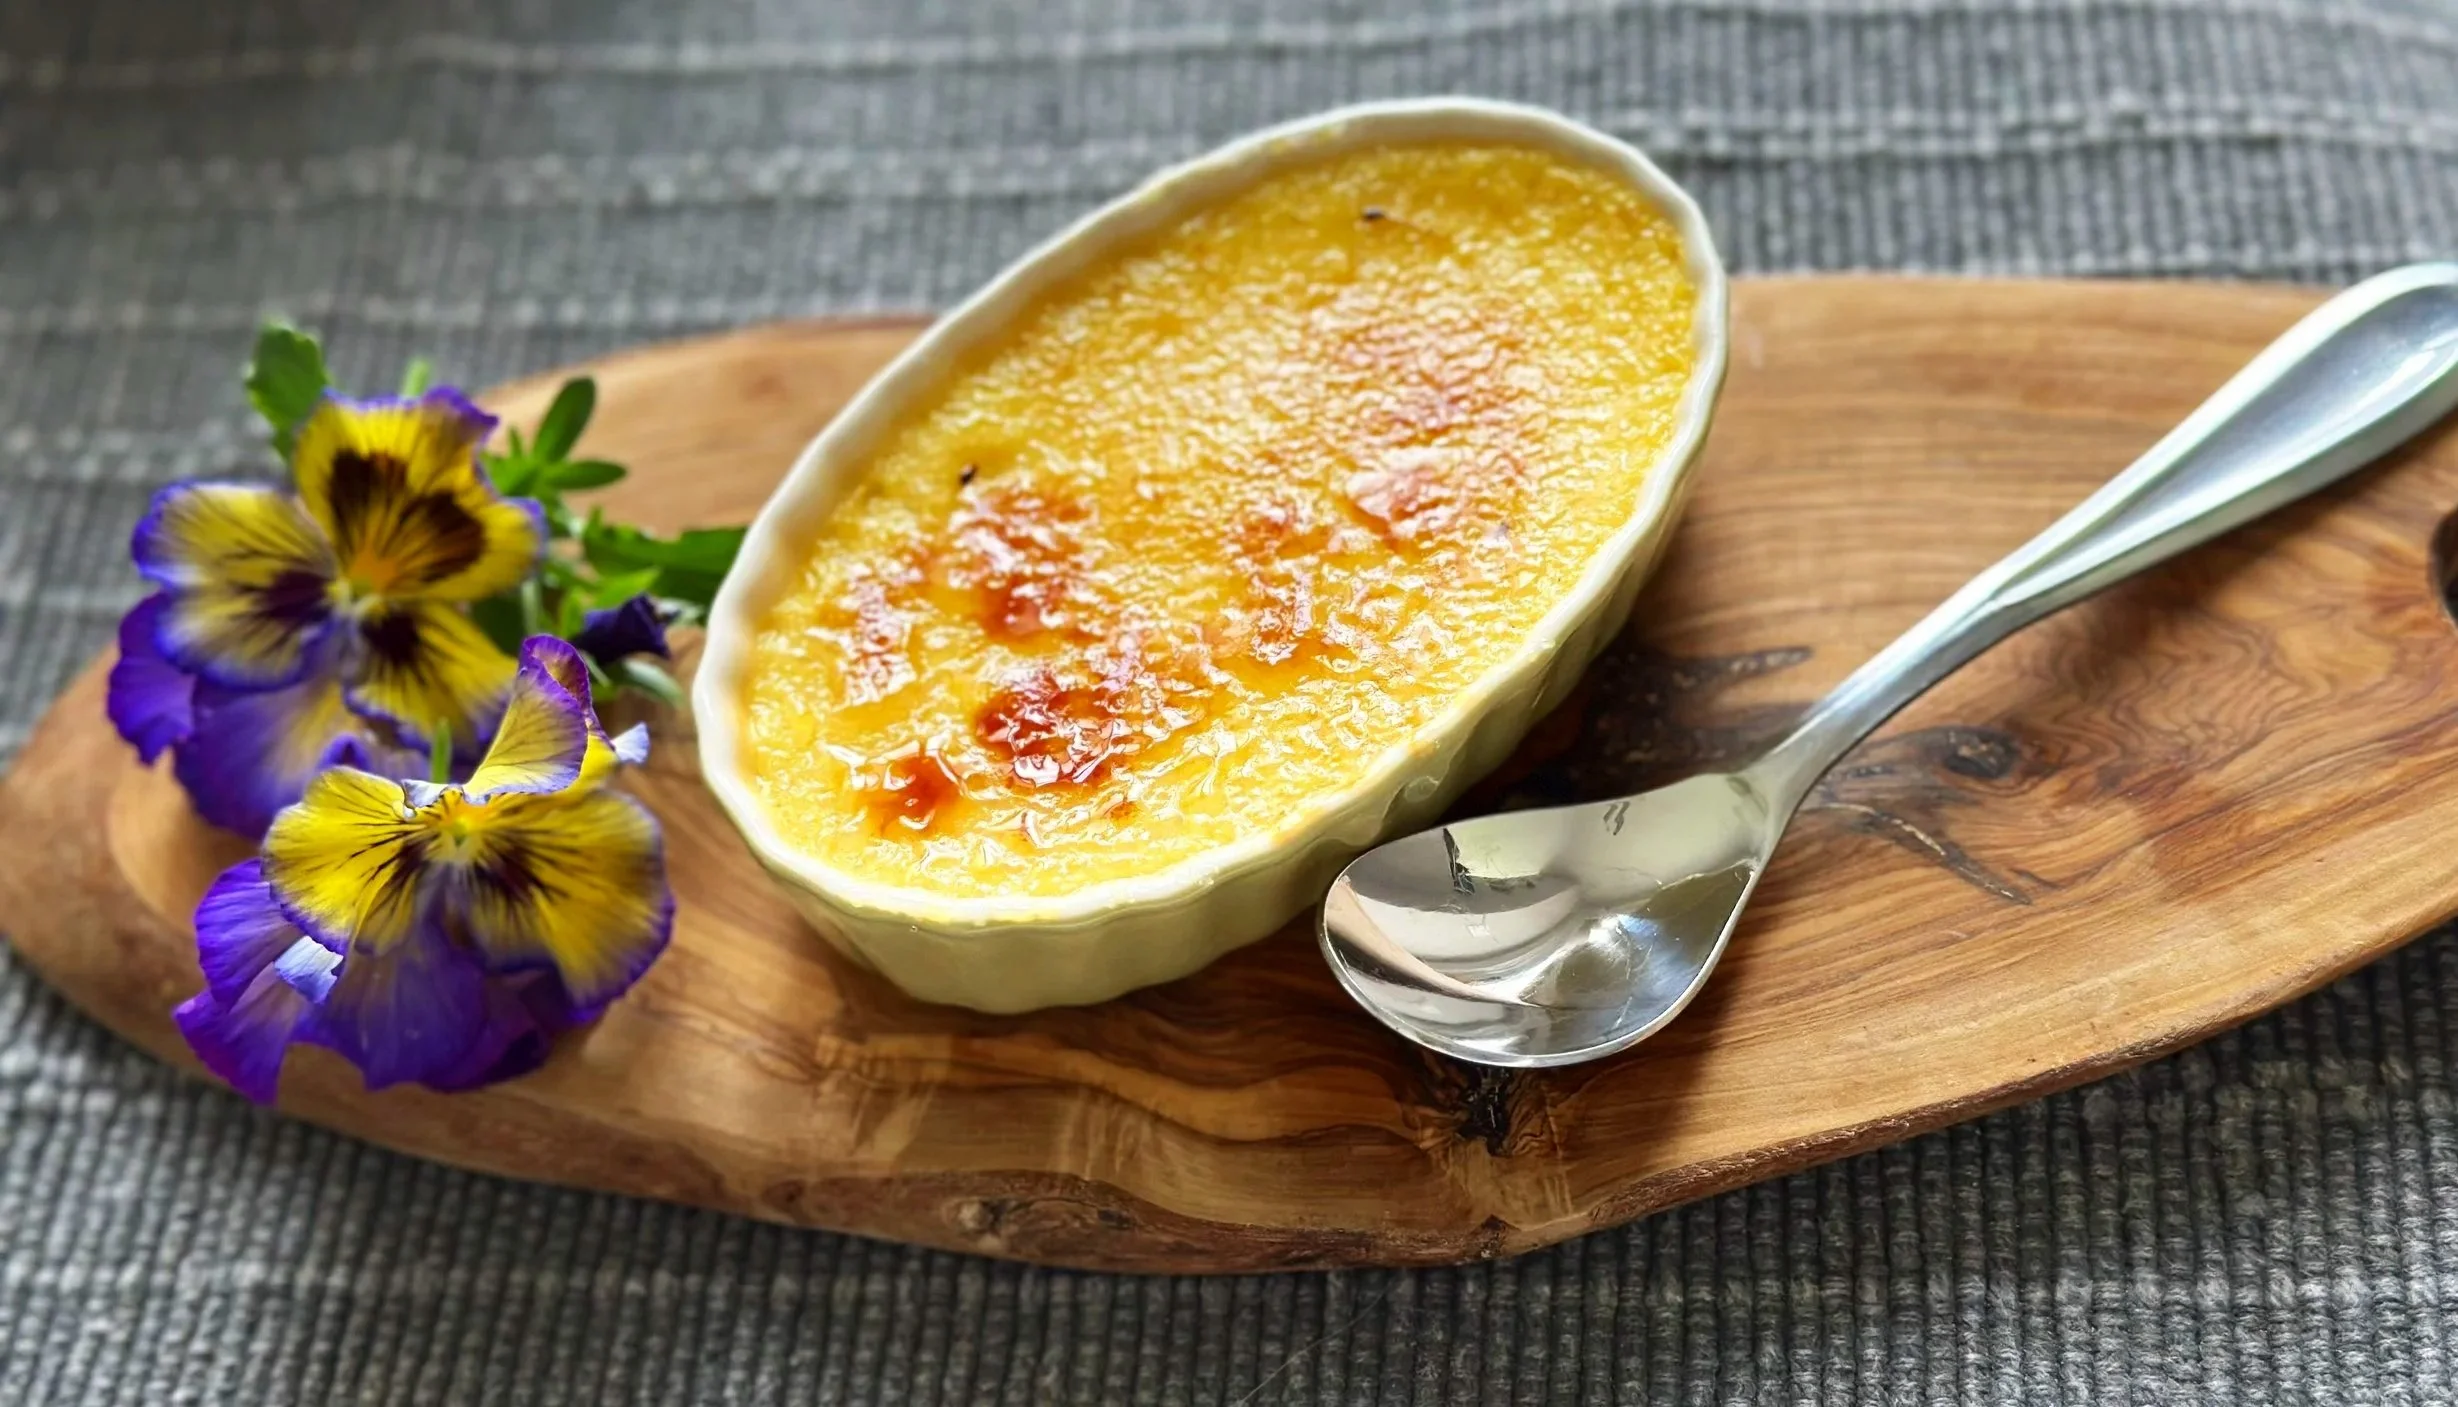
This vanilla version is my basic crème brûlée recipe. Once you understand the technique, you can use the same idea to create other flavors, such as chocolate or raspberry, or incorporate the custard into more elaborate desserts.
Supply:
Ramekins or baking dishes
Kitchen torch
Whisk
Measuring cups and spoons
Fine-mesh strainer
Crème Brûlée Recipe:
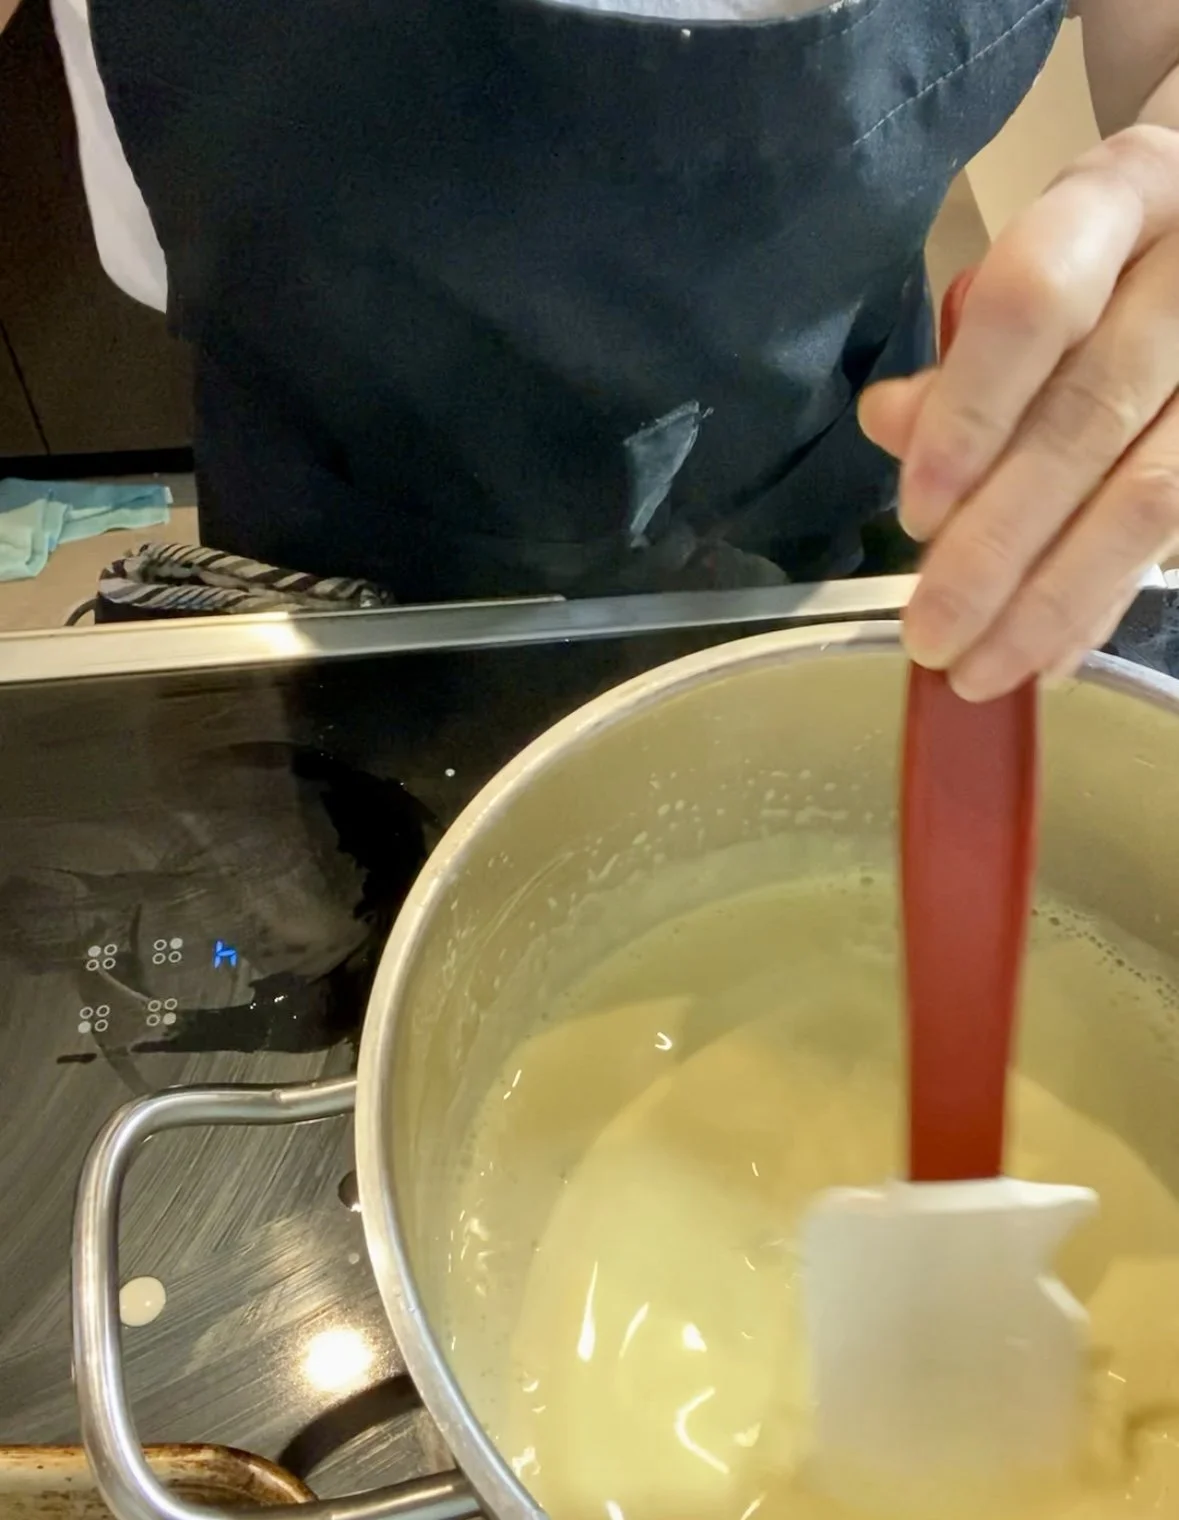
Return the entire mixture to the saucepan.
Cook the Custard
Cook over medium heat, stirring continuously, for approximately 1–2 minutes, until the mixture becomes hot and begins to steam.
Reduce the heat to low and continue stirring gently for approximately 10–15 minutes, or until the custard begins to thicken.
Keep the mixture moving, particularly across the bottom and into the corners of the saucepan, so the eggs cook evenly without scrambling.
Why I Thicken the Custard First
I partially thicken my crème brûlée custard on the stovetop before pouring it into the ramekins.
This gives the custard a smooth, creamy texture and reduces the amount of time it needs to bake in the oven. Because the custard is already partially cooked, it can finish setting gently without spending too much time in the oven.
Overbaking crème brûlée changes its texture. Instead of being silky and creamy, the custard can become firm, develop small holes, or have an unpleasant buttery or separated texture.
The goal is a custard that is smooth, creamy, and just set.
Bake
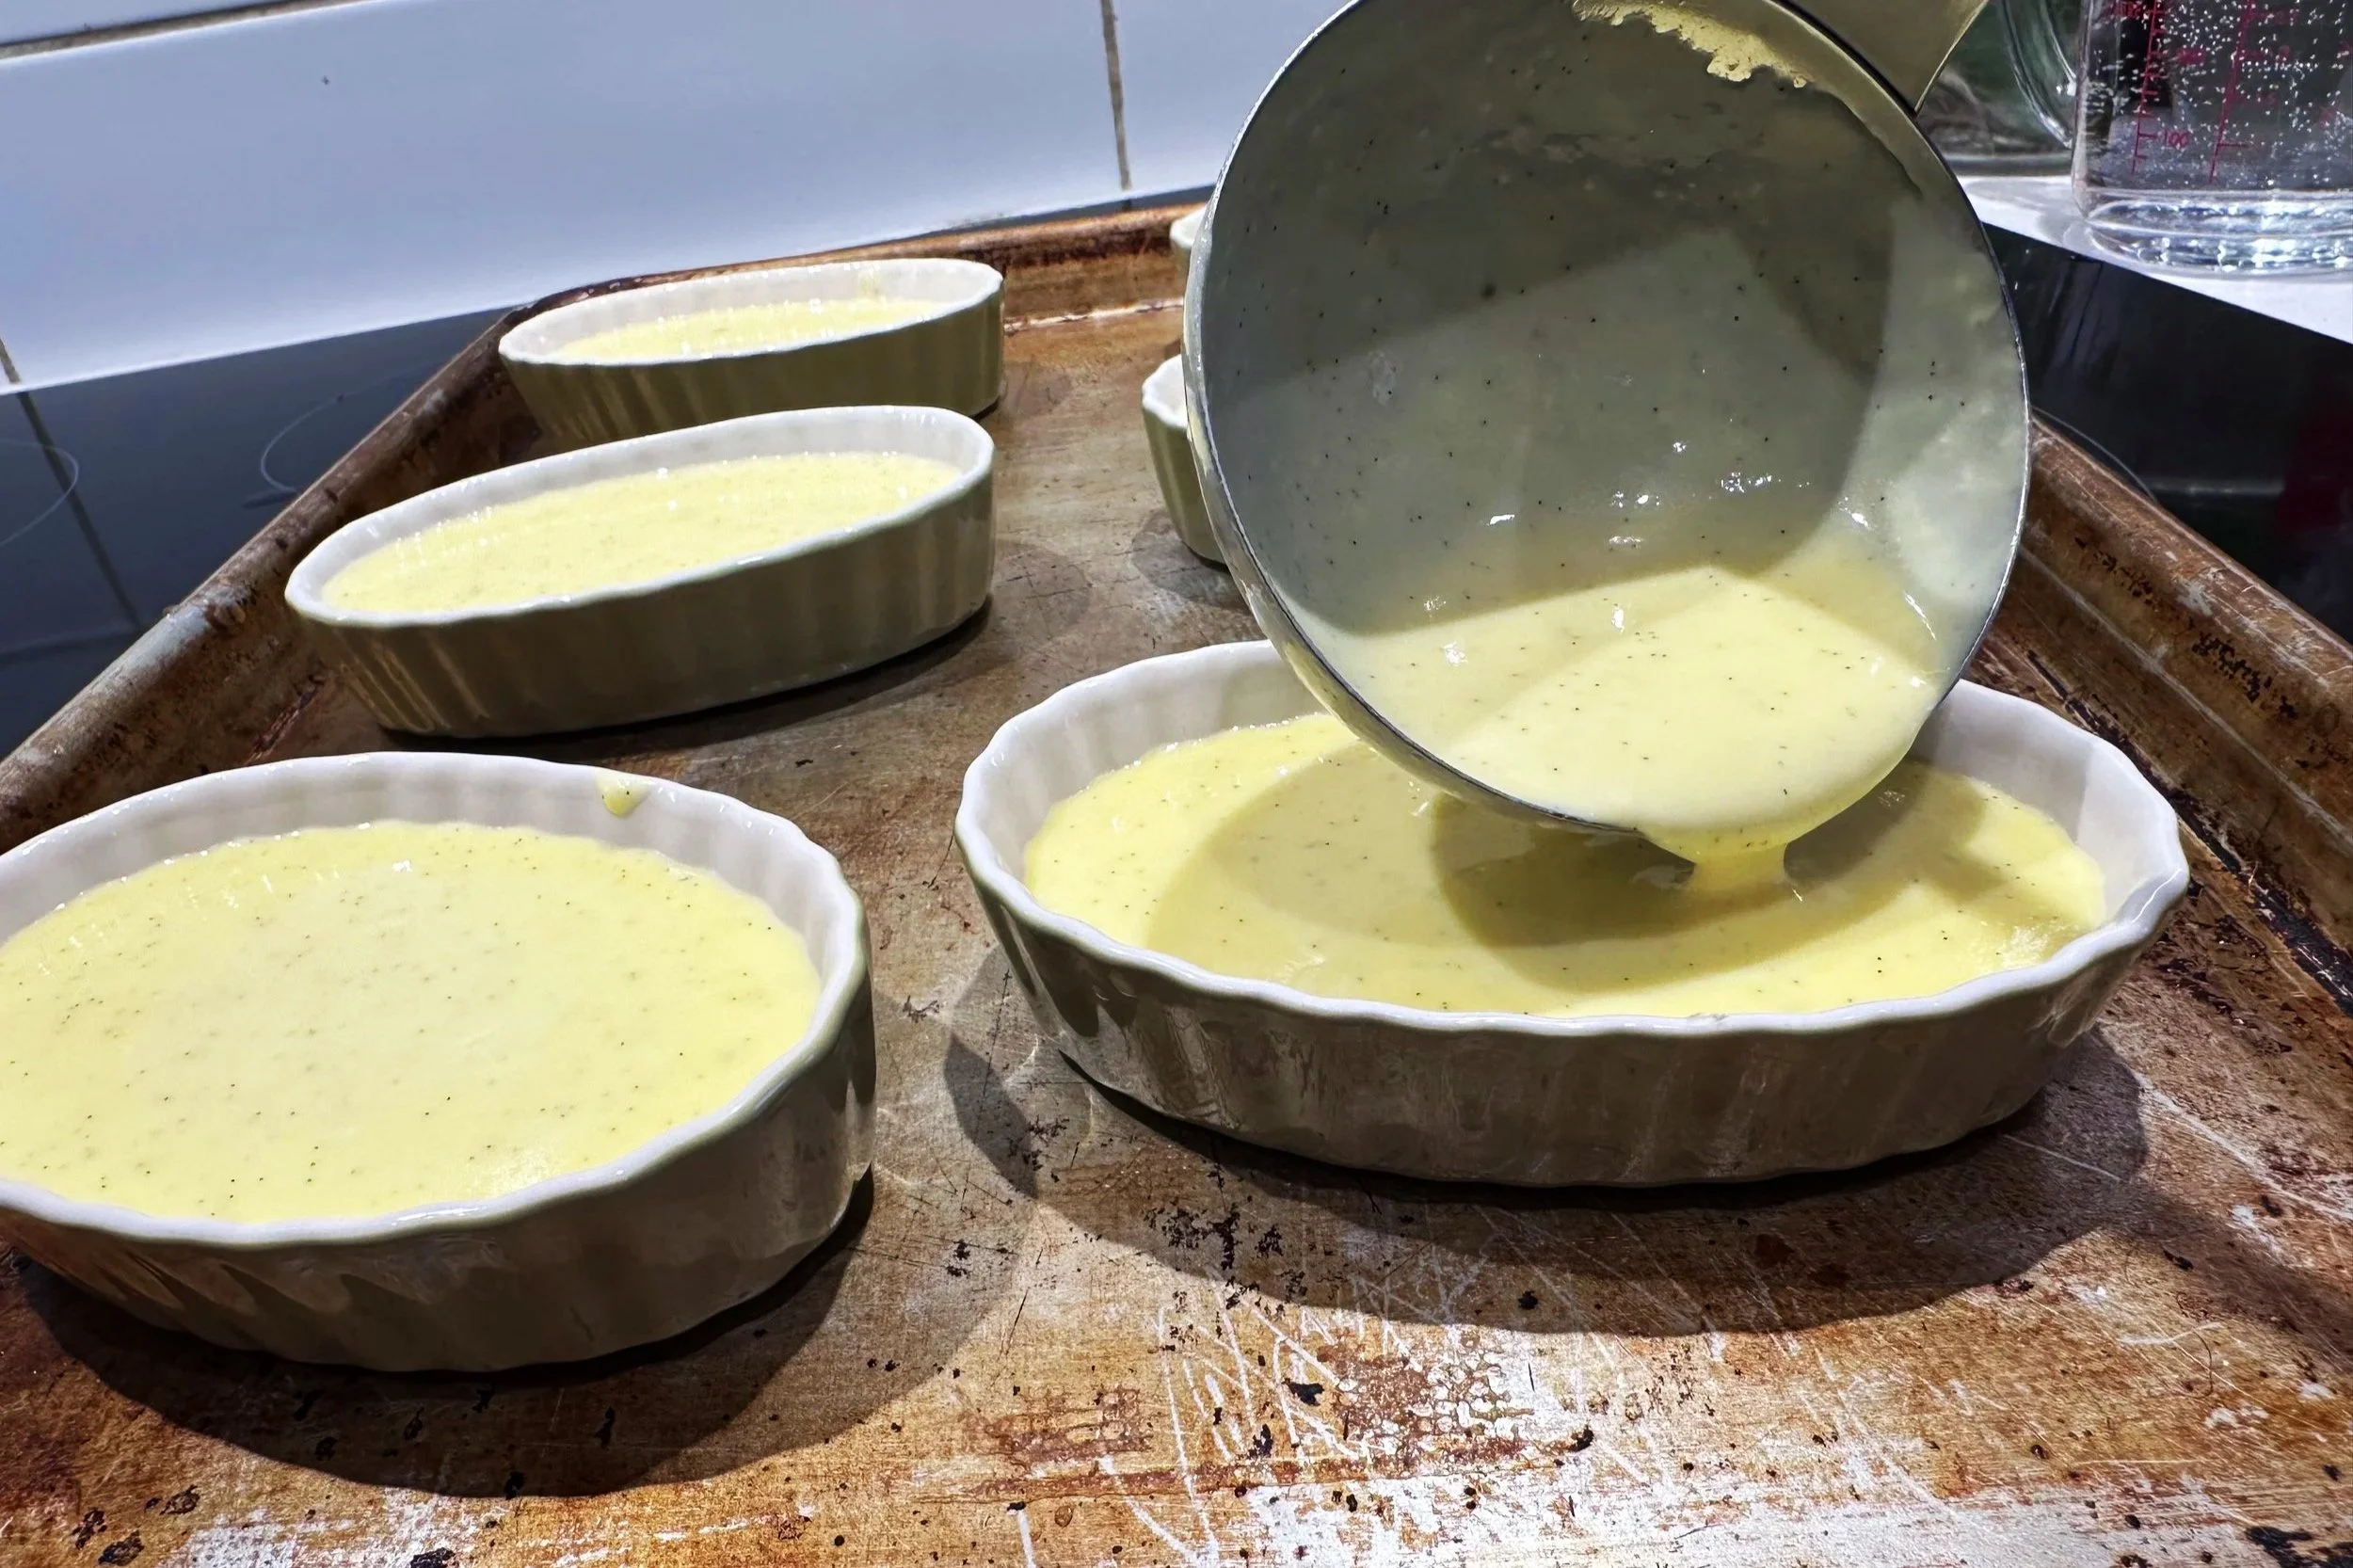
Arrange the ramekins in a deep baking tray.
Divide the custard evenly among the ramekins.
Add approximately 1 cup hot water to the baking tray to create a water bath.
Bake at 330–340°F (165–170°C) for approximately 15–20 minutes, depending on the size and depth of your ramekins.
Avoid overbaking. The outside should be set while the center still has a gentle jelly-like wobble.
Remove the ramekins from the water bath and allow them to cool.
Refrigerate until completely cold and set.
My Finger Test
In addition to looking for the gentle wobble, I use a simple touch test that I learned through experience.
Lightly touch the surface of the baked custard with the tip of a clean finger.
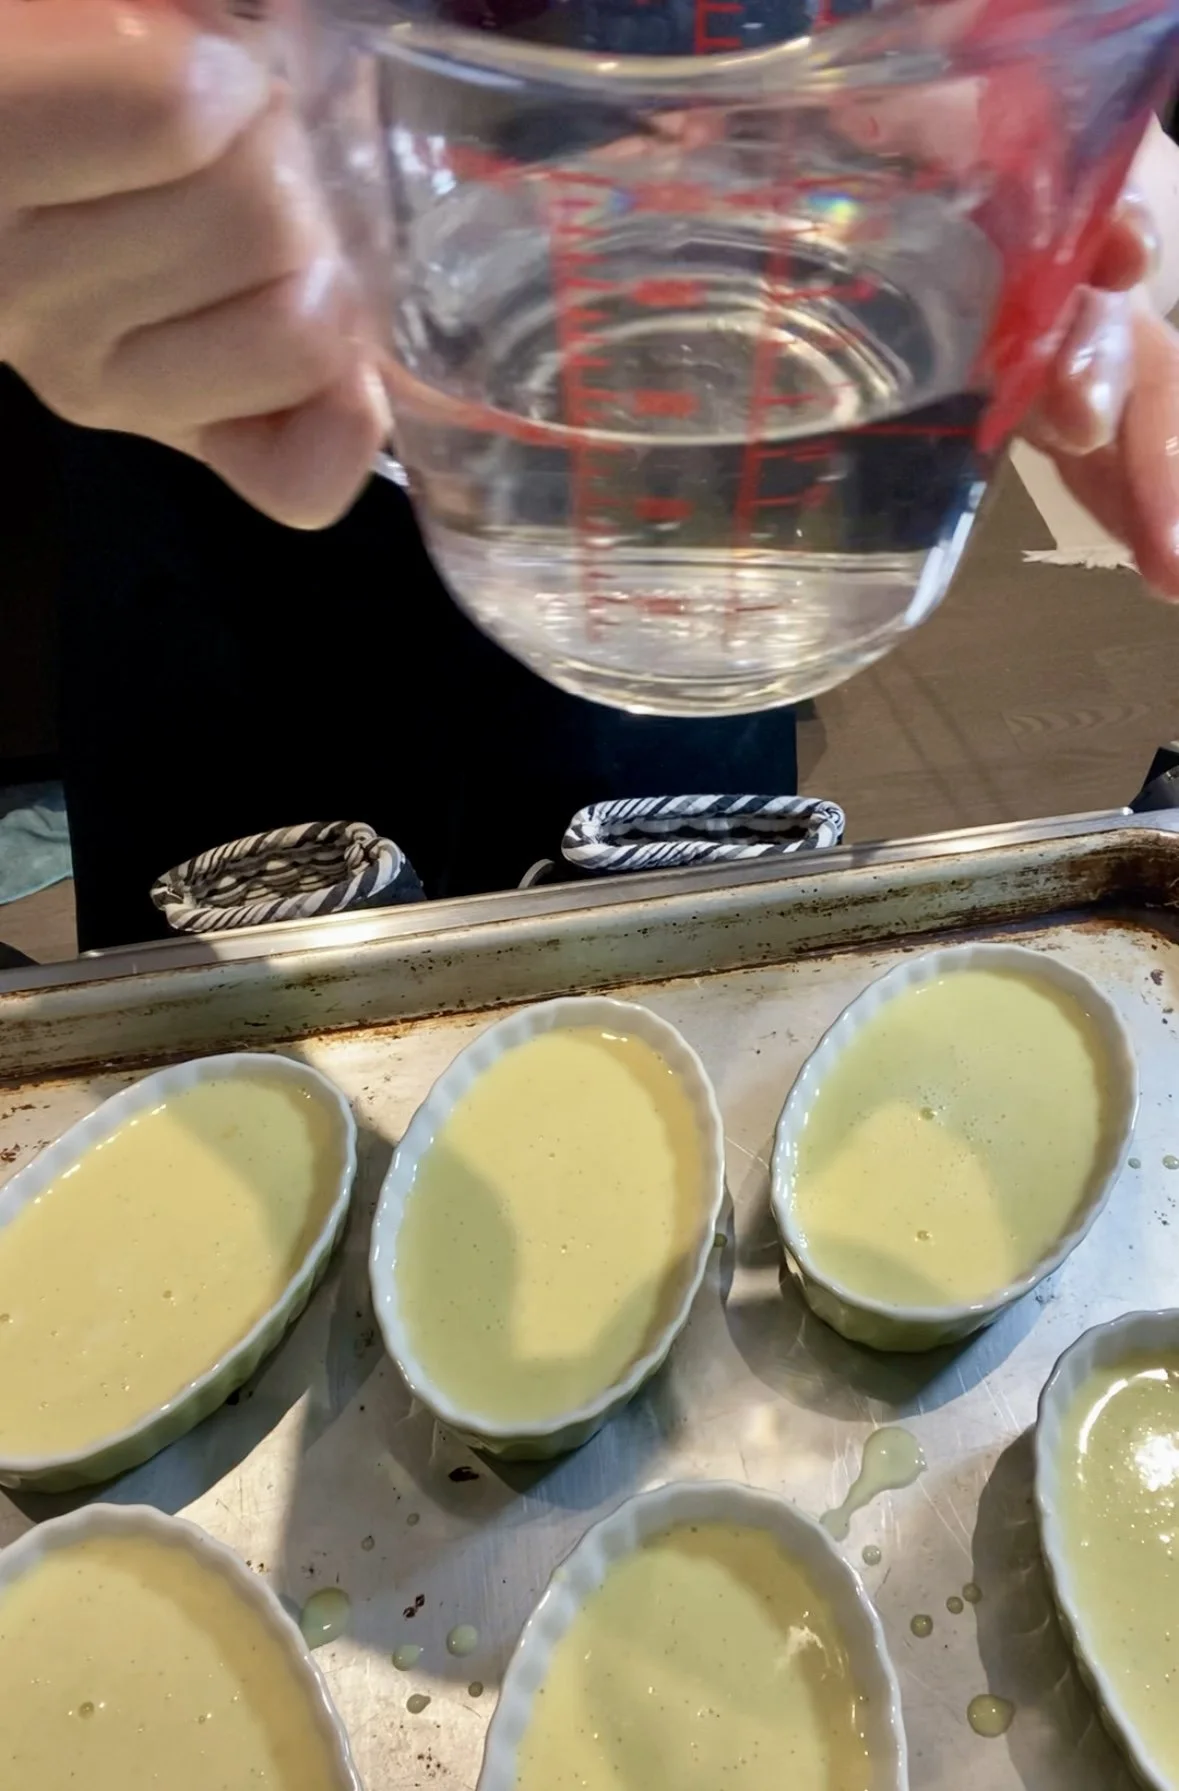
Add water to the baking tray (water bath)
If the surface feels set and does not stick to your finger, the custard is ready.
If custard sticks to your finger and the touch leaves a small hole in the surface, it needs a little more baking time.
Touch very lightly—you are checking the surface, not pressing into the custard.
Caramelize the Sugar
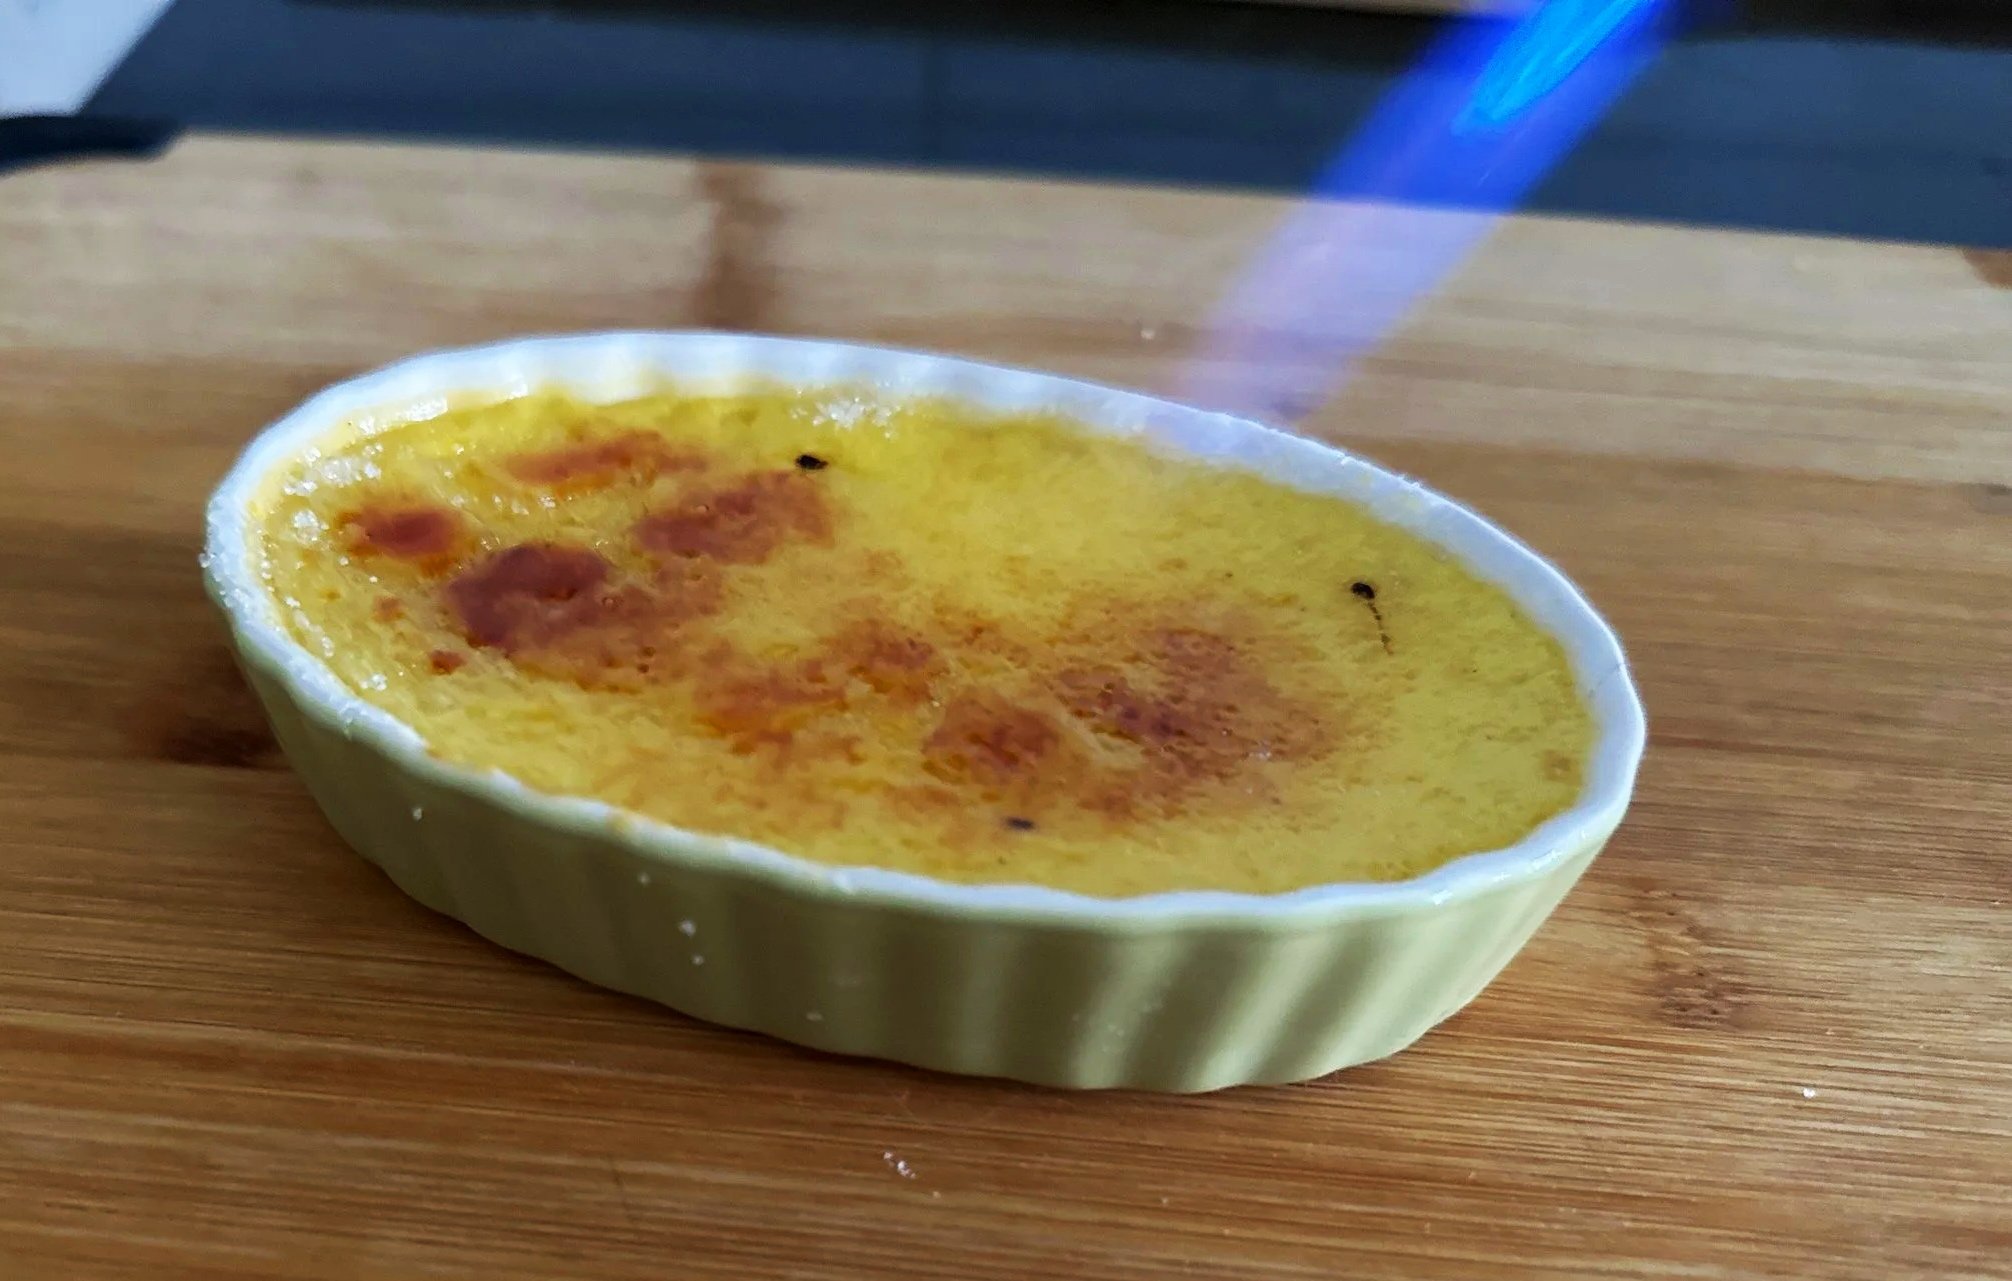
Just before serving, sprinkle a thin, even layer of granulated sugar over each chilled custard.
Use a kitchen torch to caramelize the sugar until golden amber.
Allow the caramelized sugar to sit briefly until it hardens.
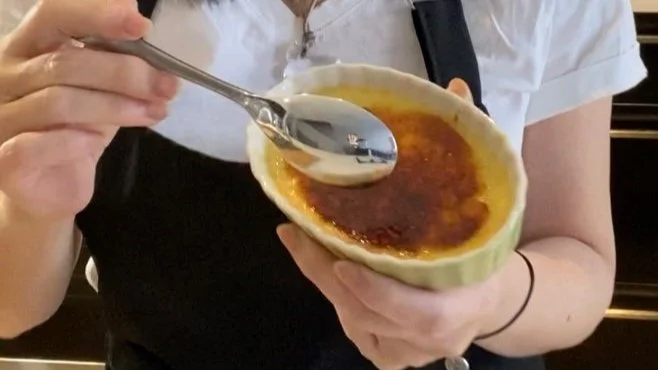
The best part is that first spoonful: the caramel should crack, followed by the cold, creamy custard underneath.
How to Know When Crème Brûlée Is Ready
Look for two signs: The custard should have a gentle jelly-like wobble when the ramekin is moved, and the surface should feel set when touched very lightly. If wet custard sticks to your finger and leaves a hole, continue baking for a little longer.
Do Not Overbake
Crème brûlée should be smooth and creamy, not firm like a baked cheesecake. Overbaking can create holes in the custard and give it a separated, buttery texture. Since I partially cook the custard on the stovetop first, it only needs a short time in the oven to finish setting.
Baking with Confidence
Temper gradually. Adding the hot cream slowly prevents the egg yolks from scrambling.
Don't whisk aggressively. Air bubbles aren't desirable in crème brûlée. You want a dense, silky surface rather than a foamy custard.
Use the wobble test. Your “jelly-like consistency” is a useful visual cue. Don't wait for the center to become completely firm in the oven; residual heat continues cooking the custard.
Keep the caramel layer thin. Too much sugar creates a thick slab instead of that delicate crack crème brûlée is known for.
Caramelize just before serving. If the brûléed custards sit too long in the refrigerator, moisture from the custard can soften the caramel.
From One Recipe to Several Desserts
Once I mastered the basic vanilla crème brûlée, I began using the technique in different ways. The custard can be flavored with chocolate or raspberry, and I have also combined baked custard with sponge cake or brownies to create more elaborate desserts.
Common Issues and Solutions:
1. Grainy texture: Overmixing or inadequate tempering.
2. Too firm: Overbaking or insufficient cream.
3. Too soft: Underbaking or excessive cream.
4. Caramel too dark: Burned sugar; adjust heat or timing.
Variations:
1. Vanilla Bean Cream Brûlée
2. Chocolate Cream Brûlée
3. Lemon Lavender Cream Brûlée
4. Coffee Cream Brûlée
5. Pistachio Cream Brûlée
Cream brûlée