Homemade Shokupan for Sando Hybrid Loaf
The first time I saw Japanese sando was during a family trip to Japan. We stopped at a 7-Eleven after dinner so my son could grab something to eat. He couldn't eat fish at the restaurant we had just visited, so we let him choose whatever he wanted from the convenience store.
I was surprised by the variety of fresh food. There were crispy fried chicken, steamed buns, instant noodles, rice balls, and beautifully made sandwiches with the softest, fluffiest bread I had ever seen. I was already full from dinner, so I didn't try one, but I never forgot how fresh and inviting they looked.
Years later, I watched a Japanese food journalist on YouTube explain how shokupan and Japanese sandwiches are made. That inspired me to make my own.
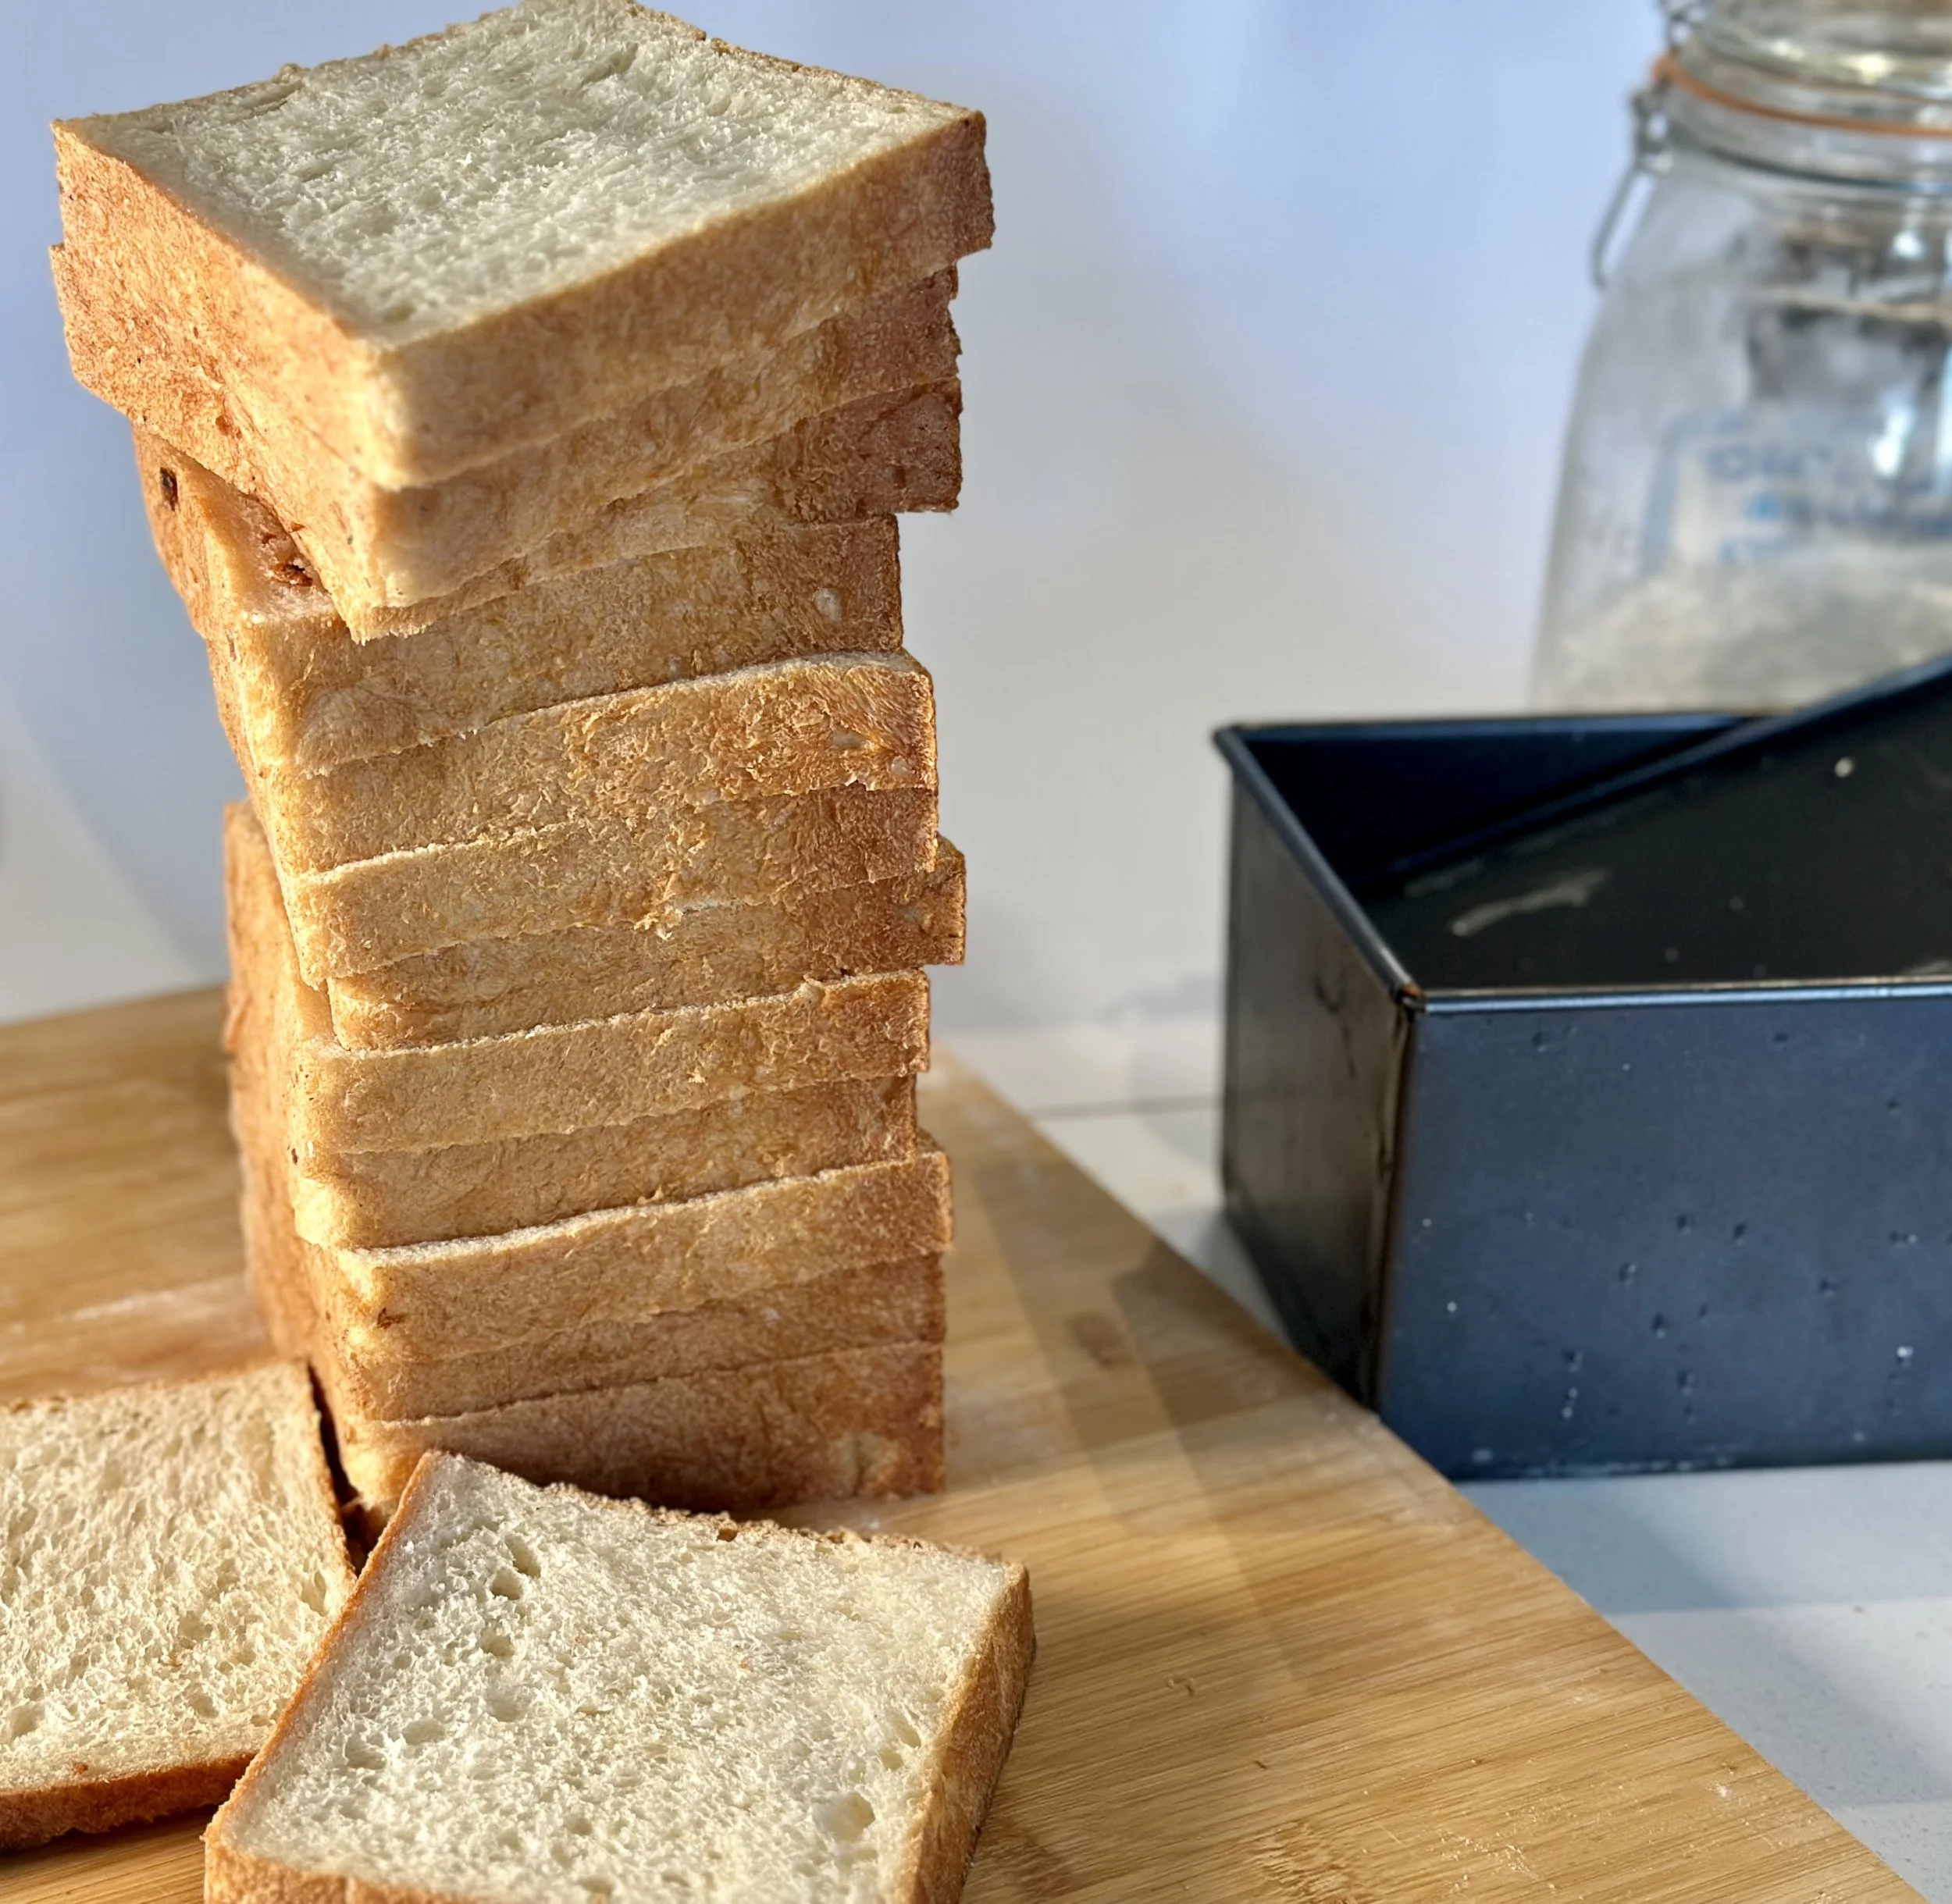
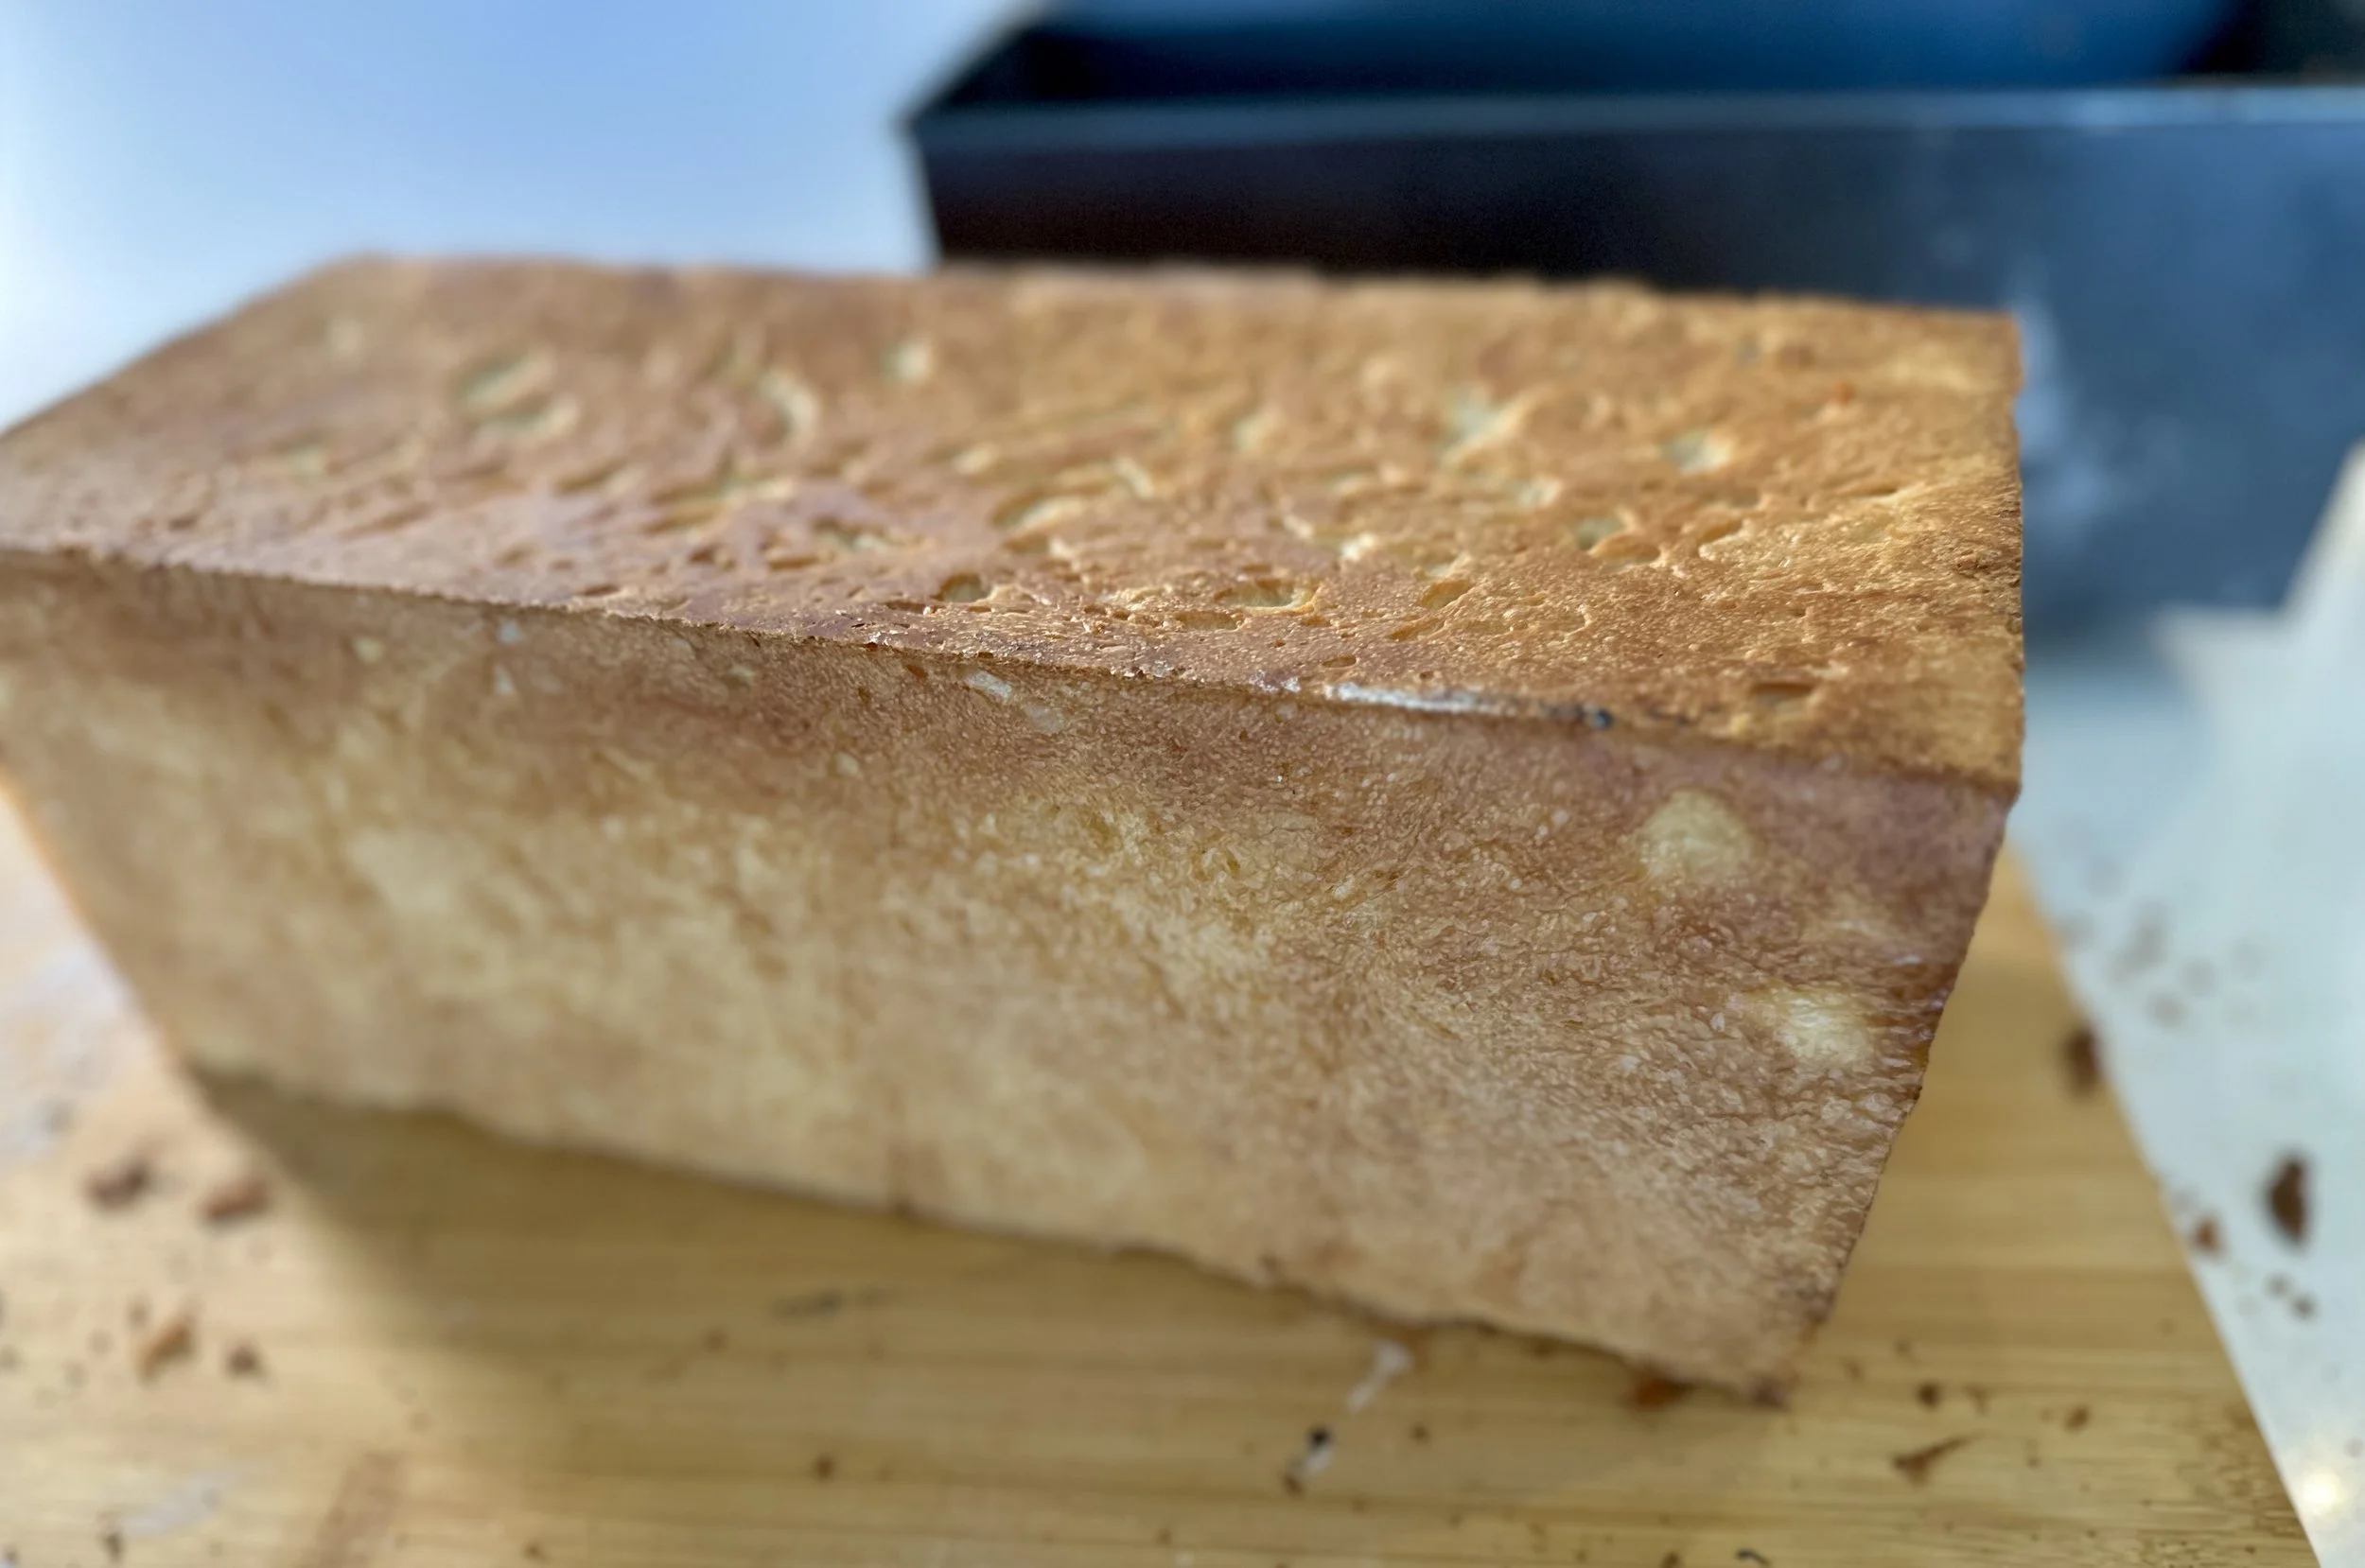
Yesterday, my son came home from college for a visit, so I baked a fresh loaf of shokupan using a little sourdough starter that had been sitting in my refrigerator. Rather than throwing the starter away, I added it to the dough for extra flavor while letting instant yeast do most of the work.
The bread turned out even better than I expected—soft, light, and wonderfully tender. I used it to make burger sando, and the sandwiches were delicious.
I don't think I'll ever buy commercial sandwich bread again. Once you've tasted fresh homemade shokupan, it's hard to go back.
Ingredients:
Tangzhong
50g bread flour
225g water
Cook on low till 65%C/thick paste. cool to room temperature.
Dough
with mother dough starter
500g bread flour
150-160g milk
50g cold starter (discard sourdough starter, mother dough starter)
40g sugar
7g salt
50g butter
1 egg
6g instant yeast
1.5 tsp Baker Club bread improver (optional)
All of the tangzhong
without mother dough starter
500g bread flour
150-160g milk
40g sugar
7g salt
50g butter
1 egg
8g instant yeast
1.5 tsp Baker Club bread improver (optional)
All of the tangzhong
Steps:
Mix all ingredients except the butter until a rough dough forms.
Knead until the dough begins to develop gluten.
Add the softened butter gradually.
Continue kneading until the dough reaches a full windowpane.
Bulk ferment until doubled. 60-75 minutes in warm spot, or till 1.5 X
Divide into 4 equal pieces. Greased 5×12” pan.
Rest for 20 minutes.
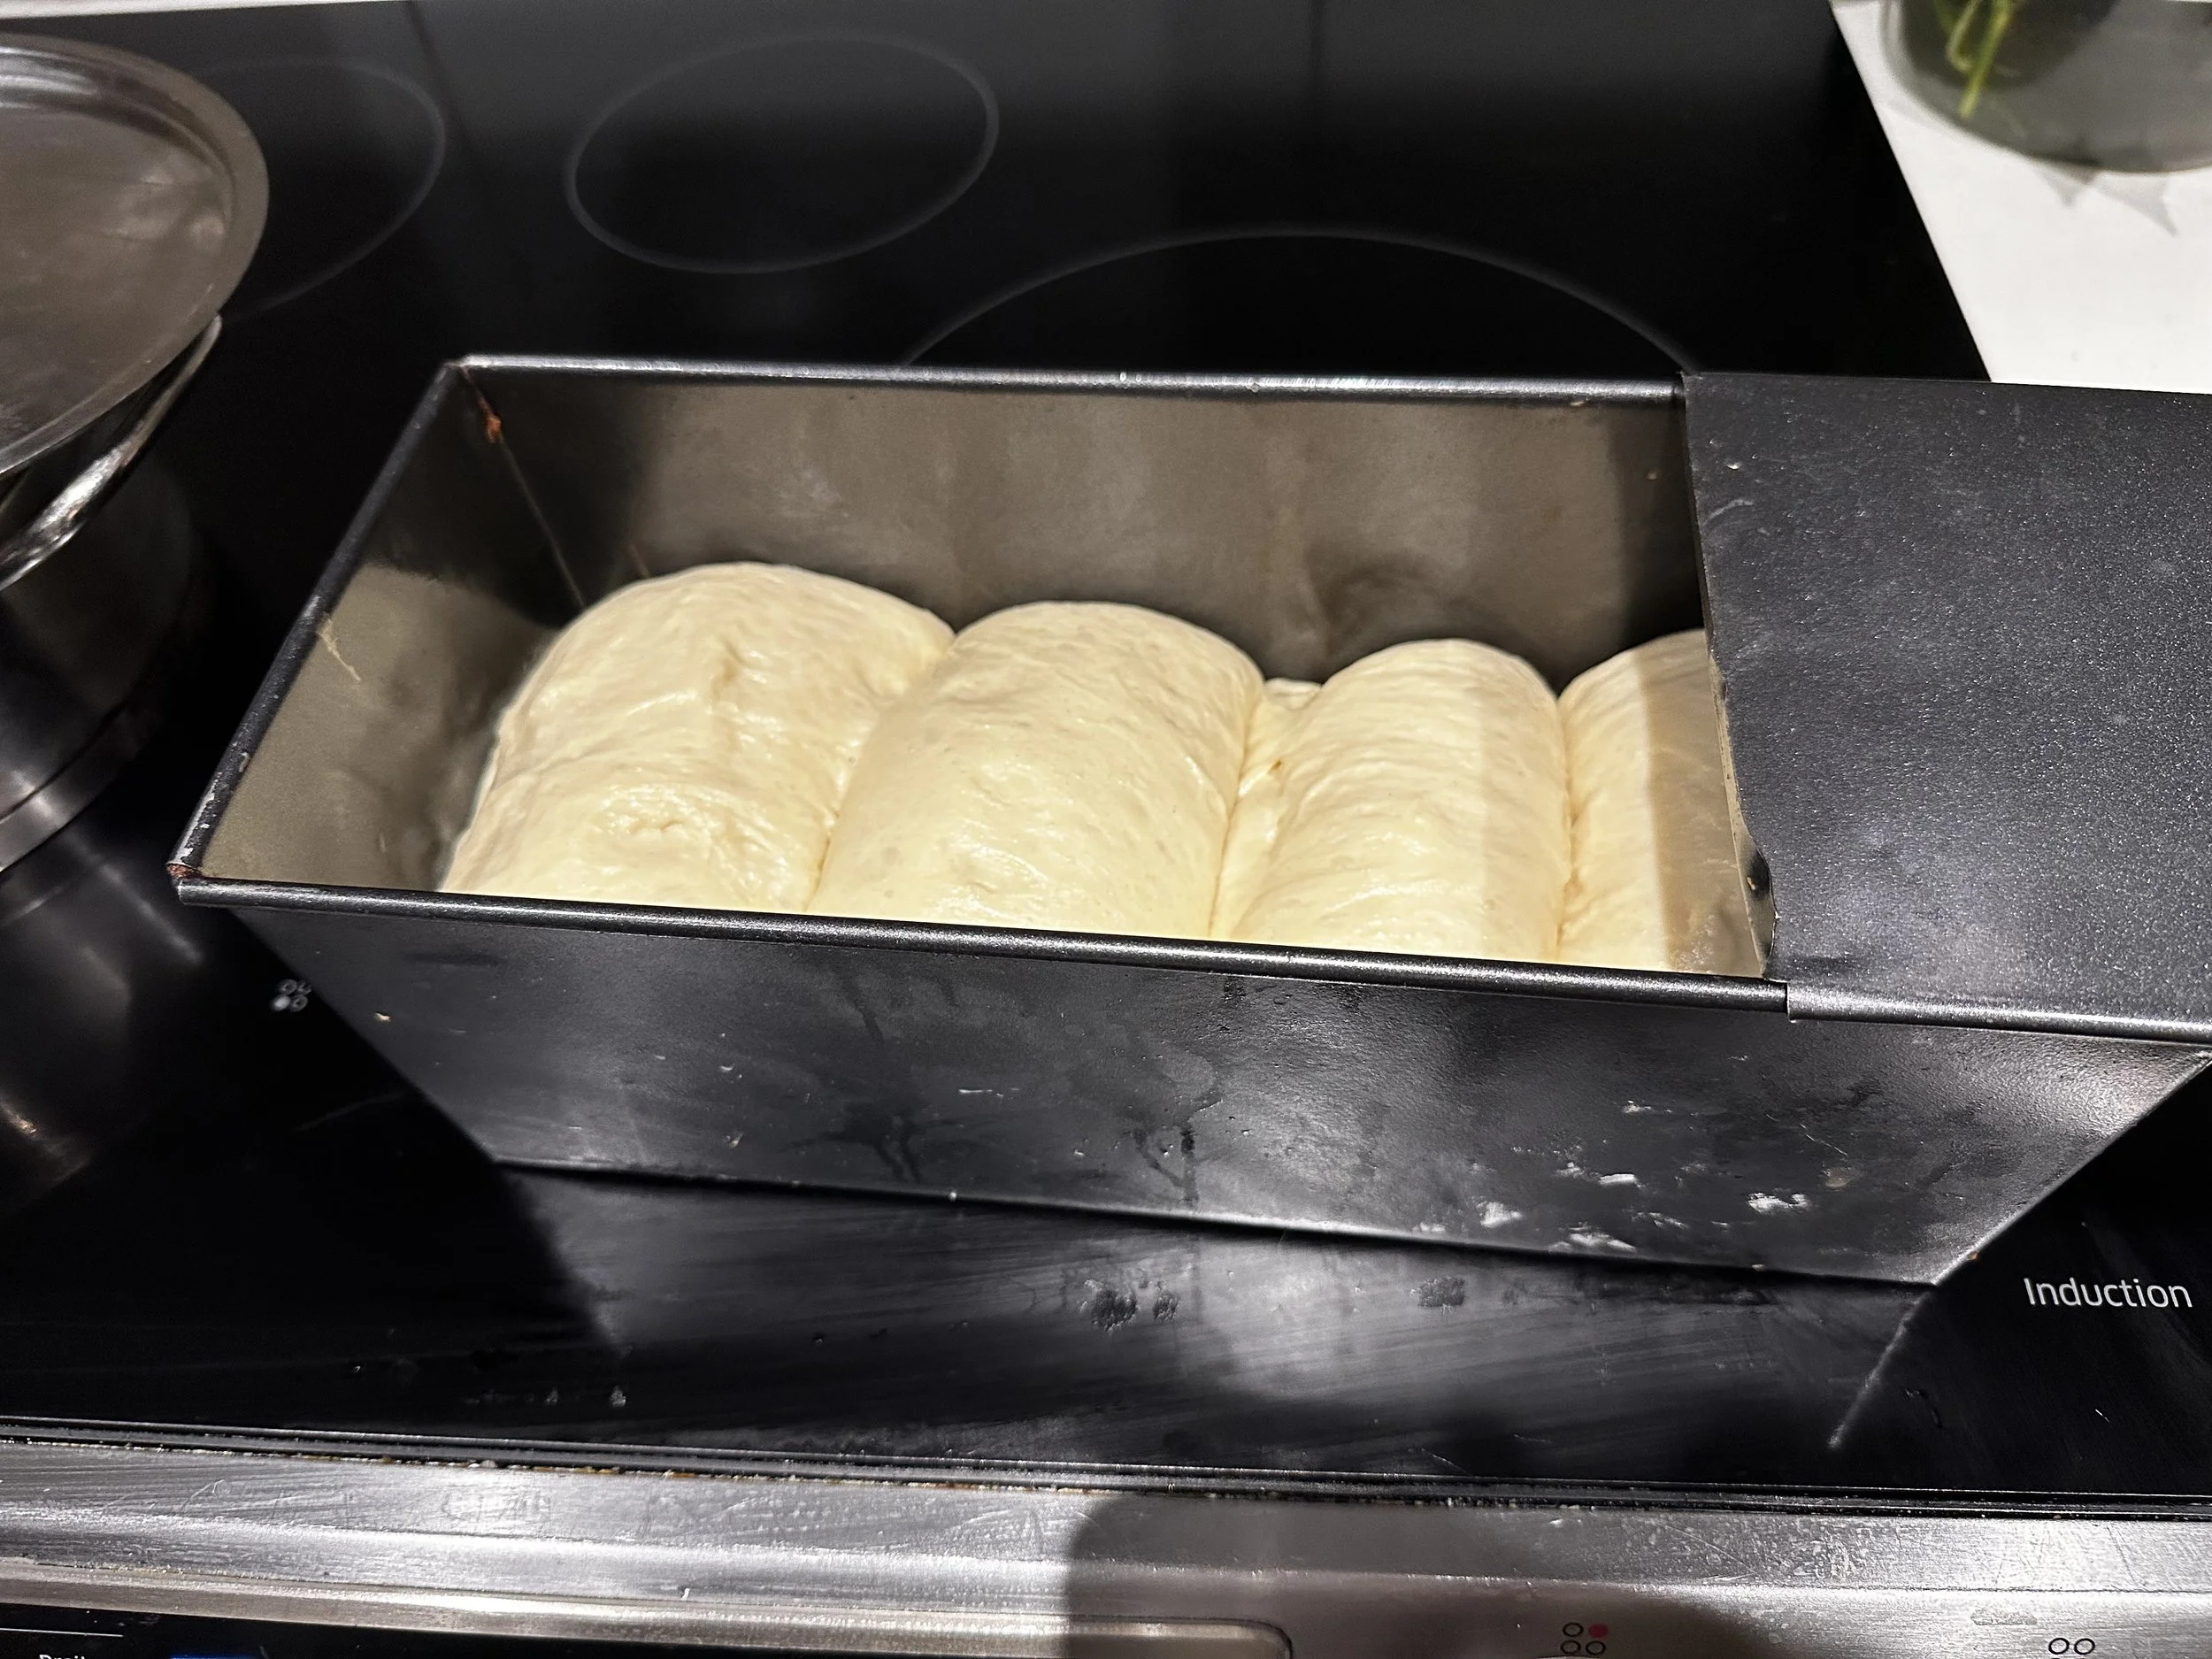
Roll each piece into a rectangle, fold, roll up tightly, and place seam-side down in the Pullman pan.
2nd rise 40-60 mini. Stop when dough is 2cm/1 inch below lid. Poke test : dent comes back slow=ready.
Proof until the dough reaches about 80–90% of the pan height.
Place the lid on and bake at 350°F (175°C) for 35–40 minutes.
Remove from the pan immediately and cool on a wire rack.
Why I Add a Little Sourdough Starter
I like adding a small amount of refrigerated sourdough starter to my shokupan, even though I use instant yeast for rising. The starter doesn't make the bread sour. Instead, it adds depth of flavor, helps keep the loaf soft, and improves the overall texture. It's a simple way to use extra starter while giving the bread a more complex, bakery-style taste.
Why add 50g sourdough starter?
It contributes:
Better flavor
Improved dough extensibility
Softer crumb
Longer freshness
A subtle complexity without making the bread noticeably sour
Since you're using only about 5% starter relative to the dough weight, it won't dominate the flavor or significantly slow fermentation.
One suggestion
If your refrigerated starter hasn't been fed for a week or more, I would either:
feed it once before using it, or
use it straight from the fridge if it's only a few days old and still smells pleasantly tangy.
Very old, neglected starter can introduce a stronger acidic flavor that may slightly weaken gluten in an enriched dough.
Want to know how to make sourdough starter? See here