LEVEL 4: Module 10 — Modern Pastry Architecture
High-Density Sponge
with Poured Fondant Glaze
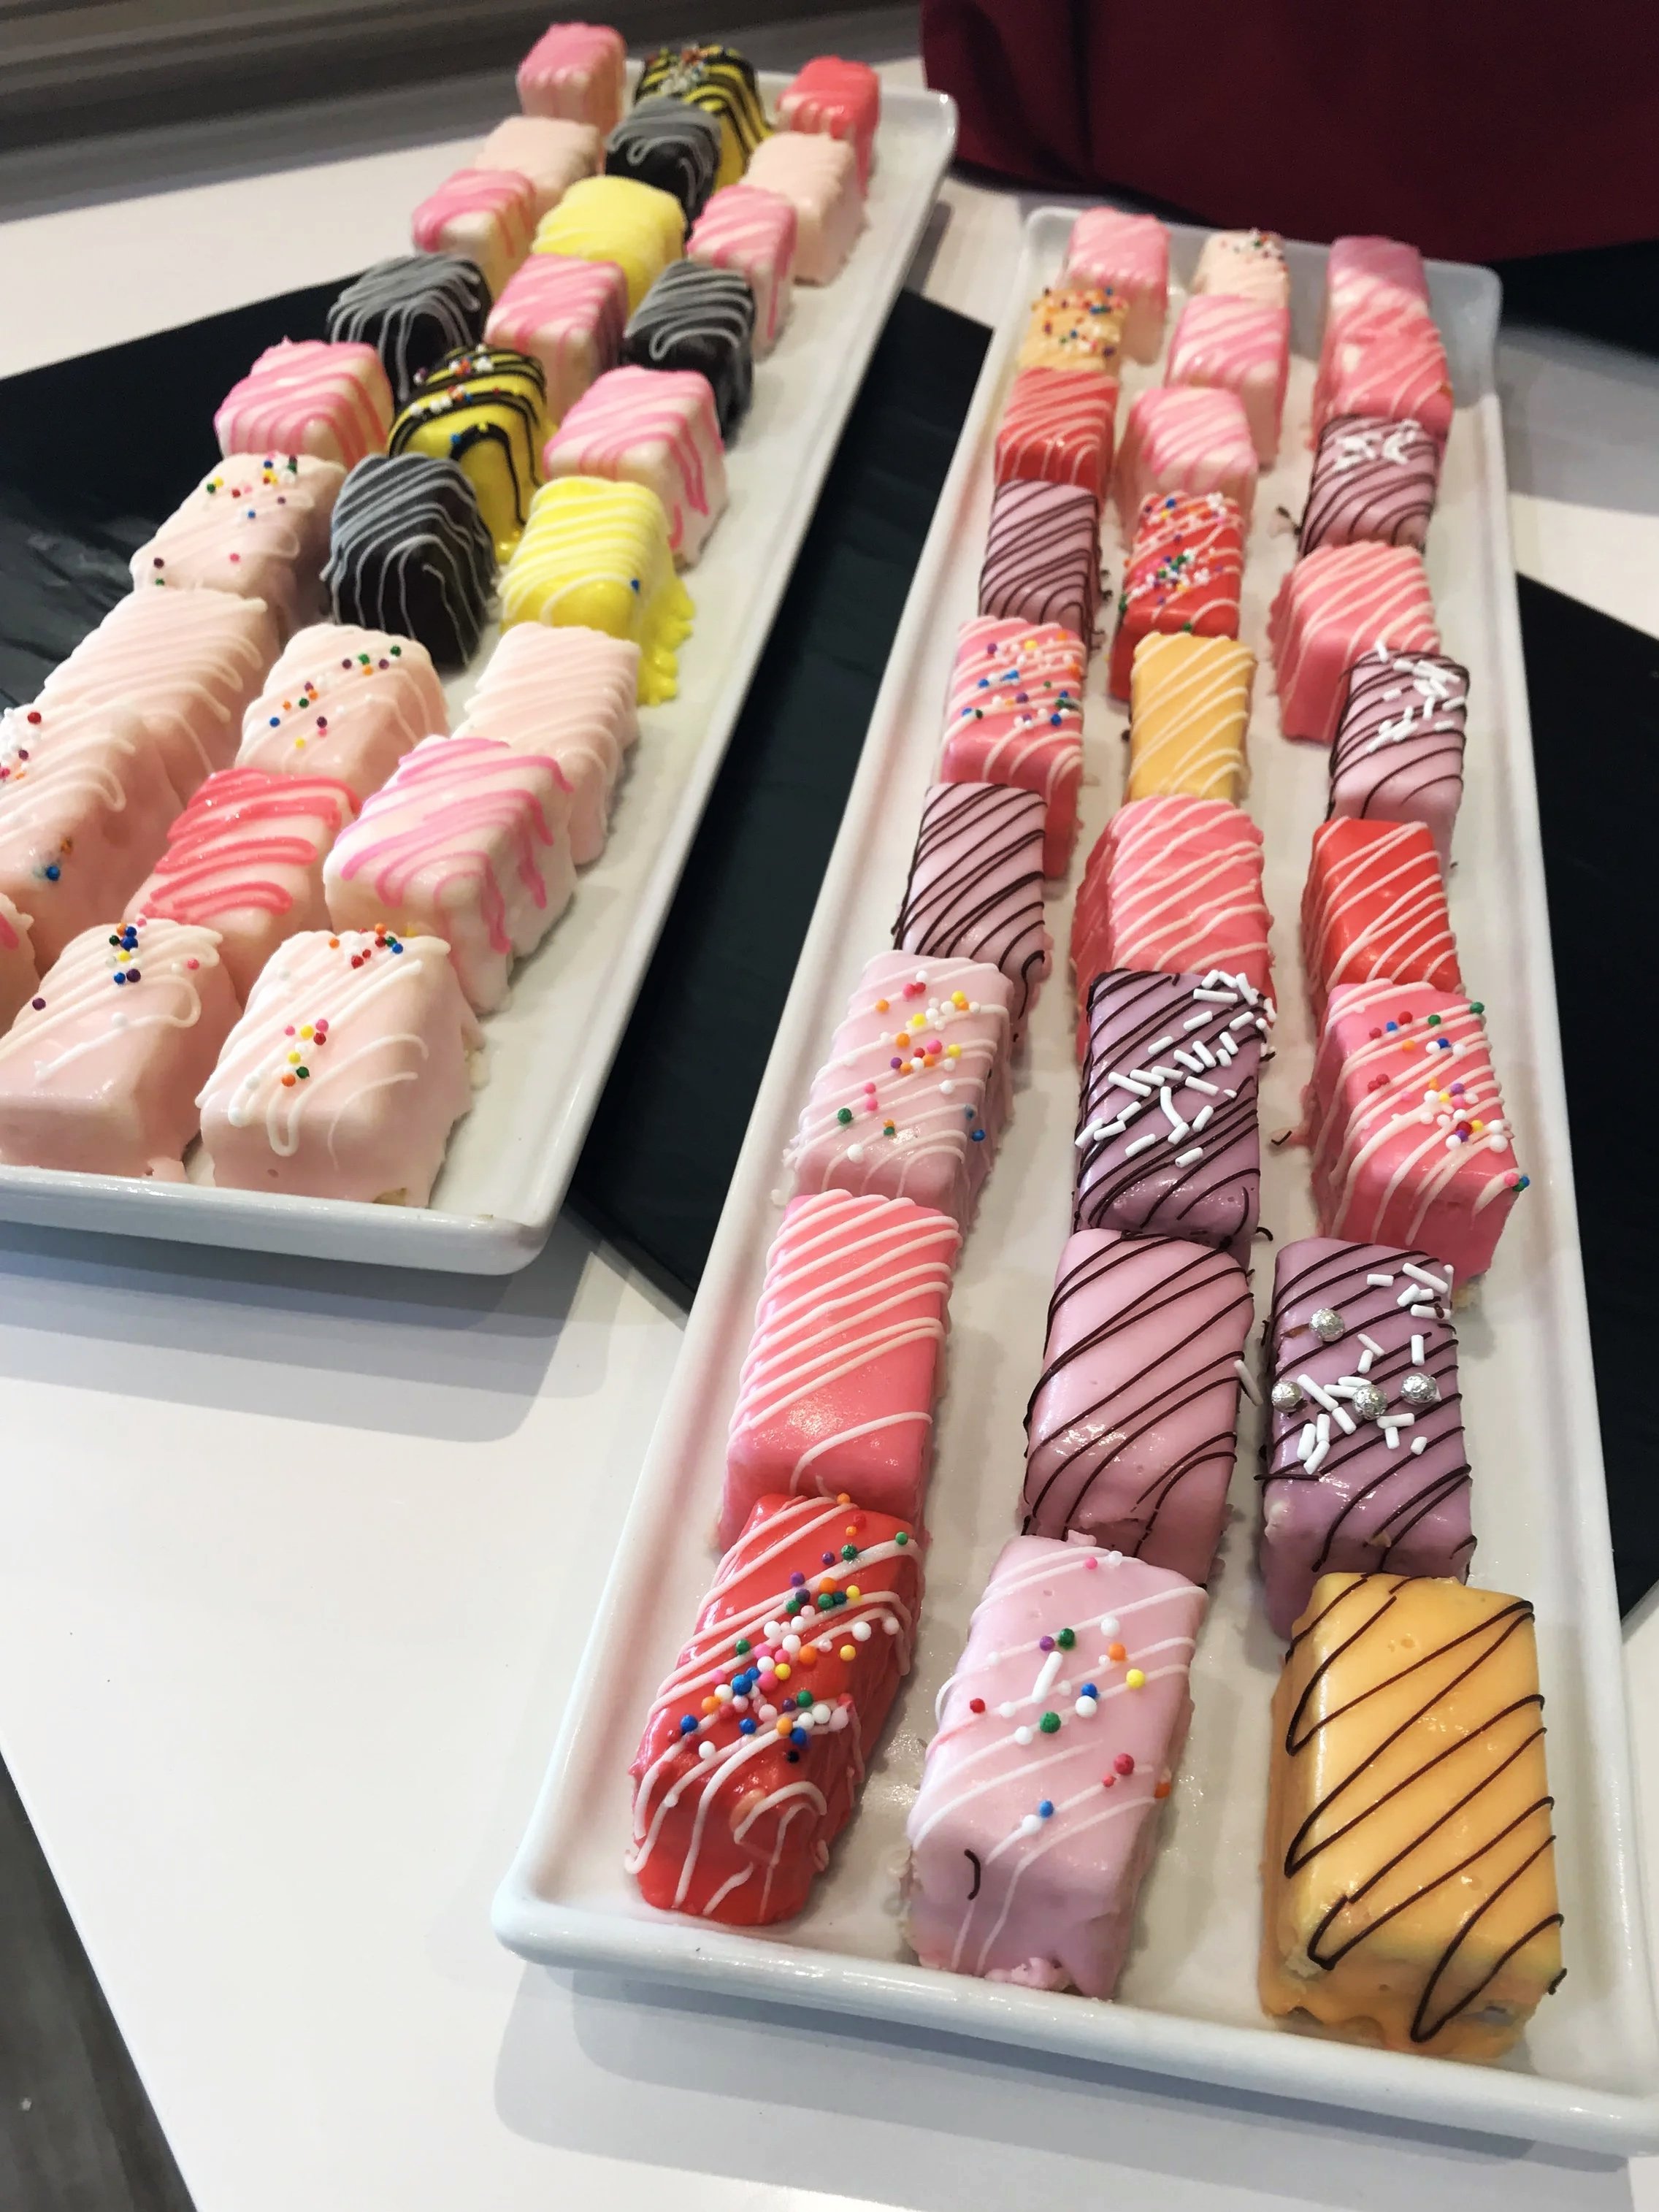
Petit fours are small, elegant cakes that I made many times for catering events.
They can be decorated in different colors and arranged beautifully on dessert tables.
Although they look delicate and cute when finished, the cake underneath needs to be strong enough to withstand cutting and glazing.
For this reason, I use a high-density sponge cake. It has a firm, close crumb that holds its shape and doesn't crumble easily when dipped into warm fondant.
For the smooth coating, I use a poured fondant made with icing sugar, glucose, white chocolate, and warm water. Light corn syrup can be used in place of glucose. Once the fondant dries, it forms a smooth coating with a lovely shine.
I prefer dipping the petit fours rather than simply pouring the fondant over them. When pouring, it is easy to miss one of the sides. Dipping gives more complete and even coverage.
High-Density Sponge Cake
500g (4 cups) cake flour
4 tsp baking powder
570g (2½ cups) granulated sugar
75ml (⅓ cup) cold water
500g whole eggs
This is intentionally a dense, sturdy cake, suitable for petit fours that will be cut into small pieces and coated.
Once baked and completely cooled, chill the cake before cutting. A cold, firm cake is much easier to portion neatly and produces cleaner edges.
Cut into small squares, rectangles, or other desired shapes.
White Chocolate Poured Fondant
1080g icing sugar
120ml glucose
112g white chocolate
½–1 cup warm water, as needed
Substitution: Light corn syrup may replace the glucose.
Prepare the Fondant
Place the icing sugar, glucose, and white chocolate together.
Gradually add warm water, beginning with the smaller quantity.
Mix until the chocolate has melted and the fondant becomes completely smooth.
Add additional warm water gradually until you reach a fluid coating consistency. It should flow smoothly over the cake while remaining thick enough to leave an opaque coating.
Divide the fondant into smaller bowls if making several colors.
Tint each portion as desired.
Coat the Petit Fours
Make sure the cut cakes are cold and firm before glazing.
Working with one piece at a time, carefully dip the petit four into the warm fondant.
Coat the cake completely, including the sides.
Lift it carefully and allow the excess fondant to drip away.
Place on a rack or prepared tray and allow the coating to set.
Decorate while appropriate for your chosen finish.
Leave the petit fours undisturbed until the fondant has completely dried. Once set, the glaze develops its characteristic smooth, shiny finish.
Why I Dip Instead of Pour
I prefer dipping the petit fours into the fondant because it gives me better coverage. When fondant is poured over the cakes, sometimes one side doesn't get completely covered. Dipping allows me to coat the top and all four sides more evenly.
Why High-Density Cake Matters
Petit fours may look delicate, but the cake underneath needs structure. A very light or crumbly cake can break apart during dipping. I use a high-density sponge because its close, firm crumb holds its shape while being handled and coated with fondant.